Daphne Bridgerton Crochet Royal Free Pattern Inspired Crochet Doll
This Daphne Bridgerton crochet pattern brings elegance and charm into amigurumi form. The design highlights Daphne’s signature blue dress, graceful silhouette, and iconic curled hairstyle.
Crochet Daphne Bridgerton
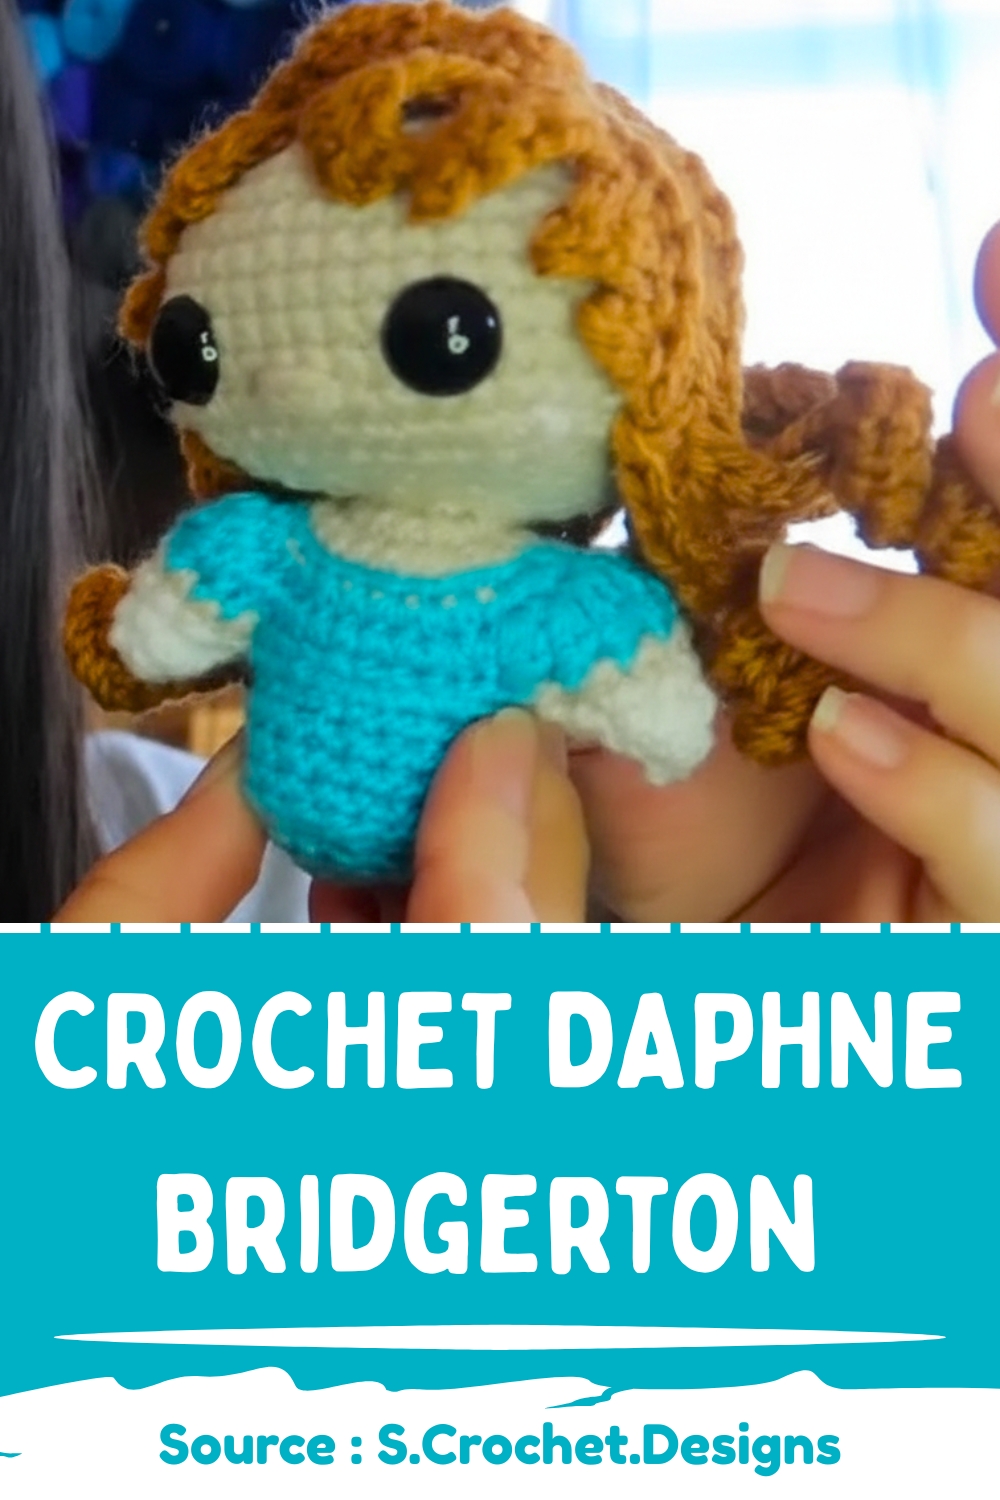
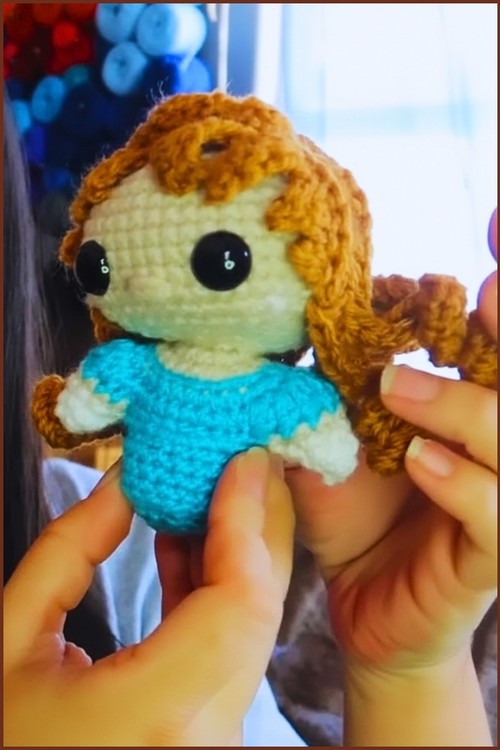


Stepping into the lavish world of Regency romance is now possible with your yarn and hook through the enchanting Crochet Daphne Bridgerton design. Capturing the Duchess’s signature elegance, this project features her iconic empire-waist gown and delicate upscale styling. It serves as both a stunning collectible and a creative escape, allowing makers to effortlessly stitch television history into a beautiful, tactile masterpiece.
Skill Level
-
Intermediate to Advanced
-
This project requires comfort with asymmetric shaping, working into specific loops, handling modified bobbles, and executing multi-step assembly.
Finished Size
-
Approximately 8 to 10 inches tall
-
Final dimensions will vary depending on your individual tension, yarn brand choice, and exact hook measurement.
Materials
- Flesh tone yarn
-
Blue yarn
-
White yarn
-
Light brown yarn
-
5 mm hook
-
16 mm safety eyes
-
Stuffing
-
Tapestry needle
-
Stitch markers
-
Pins
Abbreviations
-
SC: Single crochet
-
Inc: Increase (two stitches into the same stitch)
-
Dec: Decrease (invisible decrease recommended for amigurumi)
-
BLO: Back loops only
-
HDC: Half double crochet
-
DC: Double crochet
-
TC: Treble crochet
-
SS: Slip stitch
-
Ch: Chain
Helpful Notes Before Starting
-
Use a highly visible stitch marker in the very first stitch of every round because counting is critical for the asymmetric head and dress rounds.
-
Keep your tension firmly consistent so that the stuffing does not peak through the stitches, especially around the shaping zones.
-
When a round instructs you to repeat a sequence around, continue that exact sequence until you reach the end of your round marker.
-
Choose a firm, non-stretching yarn like a structured cotton or a low-pill acrylic to maintain the crisp edges of the hair curls and the facial structure.
Construction Overview
-
The doll is built structurally from the top down, starting with an anatomically sculpted head that transitions directly into the neck and body dress.
-
The arms are built directly onto the body by attaching yarn straight into the arm openings created during the dress construction phase.
-
The hair is created as a separate multi-piece unit consisting of a base wig cap, twelve individually spiraled curls, and seven distinct asymmetric bangs.
-
The final stage involves layering, pinning, and sewing the hair elements to create depth, dimension, and a secure finish.
Stitch and Shaping Clarity
-
The head uses clustered double increases and double decreases to build defined cheeks and a realistic chin structure rather than a perfectly round sphere.
-
The modified bobbles in the dress create dimensional texture, which require you to keep your loops loose enough to pull your hook through easily.
-
Working in the back loops only (BLO) creates distinct structural ridges on the outside of the dress that serve as anchors for future decorative trim.
-
The armpit loops require you to pick up the loose strands between the body and arm openings to prevent large, unsightly gaps from forming.
Step by Step Pattern Instructions
Head
-
Round 1: SC 8 into a ring
-
Round 2: Inc around
-
Round 3: (SC, Inc) around
-
Round 4: SC 1, Inc 2, SC 6, Inc 2, SC 2, Inc 2, SC 6, Inc 2, SC 1
-
Round 5: SC 2, Inc 2, SC 8, Inc 2, SC 4, Inc 2, SC 8, Inc 2, SC 2
-
Round 6 to 12: SC around for 7 rounds
-
Round 13: SC 2, Dec 2, SC 8, Dec 2, SC 4, Dec 2, SC 8, Dec 2, SC 2
-
Round 14: SC 1, Dec 2, SC 6, Dec 2, SC 2, Dec 2, SC 6, Dec 2, SC 1
-
Round 15: (SC Dec, SC) around
-
Round 16: Dec around
-
Round 17: SC around for neck
Body Dress
-
Round 1: Inc around
-
Round 2: (Inc, SC) around
-
Round 3: Change to blue, (Inc, SC 2) around
-
Round 4: SC Inc, 6 modified bobbles, SC 1, SC Inc, SC 7, SC Inc, 6 modified bobbles, SC 1, SC Inc, SC 7
-
Round 5: Add neckline trim with white, Skip 8, SC 9, skip 8, SC 9
-
Round 6: SC in BLO
-
Round 7 to 9: SC around for 3 rounds
-
Round 10: Add waist trim in white, (SC Dec, SC 2) around in BLO
-
Round 11: (SC Dec, SC) around
-
Round 12: Dec around
Arms
Arm 1
-
Round 1: Attach yarn, SC 1
-
Round 2: Dec with armpit loops
-
Round 3: Dec with armpit loops
-
Round 4: SC 5
-
Round 5 to 6: SC around for 2 rounds with white
Arm 2
-
Round 1: Attach yarn, SC 6
-
Round 2: Dec with armpit loops
-
Round 3: Dec with armpit loops
-
Round 4 to 5: SC around for 2 rounds with white
Hair Wig Cap
-
Round 1: SC 8 into a ring
-
Round 2: Inc around
-
Round 3: (Inc, SC) around
Curls (Make 12)
-
Row 1: Chain 26
-
Row 2: HDC Inc in 2nd stitch, HDC Inc in next 9, HDC 15, Slip stitch to next stitch, Slip stitch to following
-
Repeat for all curls
Bangs (Make 7)
-
Spike 1: Ch 3, SS, SC
-
Spike 2: Ch 4, SS, SC, HDC
-
Spike 3: Ch 5, SS, SC, HDC, DC
-
Spike 4: Ch 9, SS, SC, HDC, DC x2, TC x2
-
Spike 5: Ch 7, SS, SC, HDC, DC x3
-
Spike 6: Ch 4, SS, SC, HDC
-
Spike 7: Ch 3, SS, SC
Assembly Guidance
-
Align the wig cap squarely on the crown of the head before attaching any exterior hair pieces to ensure the entire skull is evenly covered.
-
The seven bang spikes are designed with varying heights to create a natural, sweeping fringe across the forehead of the doll.
-
Pin the bangs down across the brow line first, arranging them from shortest to longest to establish the face framing before securing the longer strands.
-
Sew the main wig cap edge down firmly using a clean whipstitch that catches both the cap stitches and the underlying head stitches.
-
Arrange the twelve individual curls systematically around the back and sides of the head to distribute the visual volume evenly.
-
Stitch the curls to the head at their base points, then lightly tack them to one another to prevent any gaps from showing when the doll moves.
Eye and Facial Feature Placement
-
Locate the structural cheek bulges created by the double increases to find the optimal horizontal plane for the safety eyes.
-
Insert the 16 mm safety eyes between the designated shaping rounds, ensuring there are exactly 6 unworked stitches between the inner edges of the eyes.
-
Verify the symmetry of the eyes from a straight front facing angle before pressing the plastic washers firmly into place on the inside of the head.
-
Centering the nose precisely between the eyes, use your tapestry needle and flesh tone yarn to embroider a horizontal bar across two stitches.
-
Wrap the yarn around this nose bar two or three times to create a clean, raised dimensional feature just below the eye line.
Stuffing Tips
-
Add your stuffing material in small, torn apart tufts rather than large clumps to avoid creating interior lumps or misshapen exterior walls.
-
Push the stuffing firmly into the sides of the cheeks during the head reduction rounds to emphasize the specialized facial contours.
-
Pack the neck section incredibly firmly so it can fully support the weight of the completed head and the heavy, layered hair assembly.
-
Keep the body filling dense at the base to provide structural balance, but avoid overstuffing the arm openings so they can lay naturally against the sides.
Finishing Notes
-
Weave in all remaining yarn tails through the interior of the doll body, pulling tightly before snipping to let the ends pop safely inside.
-
Check that the white neckline and waist trims sit perfectly flat against the blue dress fabric, adjusting any loose loops with your tapestry needle.
-
Gently twist each of the twelve hair curls with your fingers to train the stitches into a clean, uniform spiral shape.
Hair Assembly
-
Pin bangs and curls
-
Sew bangs
-
Sew wig cap around head
-
Sew curls to head and each other
-
Bring 4 curls back
-
Form bun rosettes with middle curls
-
Secure outer curls underneath
Beginner Notes
-
If your curls are turning out straight instead of spiraling, check that you are placing two half double crochets into every single chain stitch as instructed.
-
Do not pull your yarn too tightly when working the slip stitches across the armpits, or you will distort the shape of the upper shoulders.
-
Use long, rust proof sewing pins to mock up the entire hairstyle completely before you pick up your needle to sew anything down permanently.
Troubleshooting
-
If the head shape looks completely lopsided, count your stitches to confirm the double increases and double decreases line up perfectly on opposite sides.
-
If you notice gaps forming around the armpit transitions, use your yarn tail to weave a small figure eight stitch through the open loops to close the hole.
-
If the hair cap feels too small for the head, check your row gauge or try using a slightly looser tension when crocheting the flat circle base.
Customization Ideas
-
Vary the personality of the doll by shifting the hair color to a deep charcoal, bright blonde, or a vibrant ginger tone.
-
Add a delicate surface slip stitch embroidery detail along the white dress trim to mimic a lace edge or a traditional decorative hemline.
-
Incorporate a thin strand of metallic thread into the bun rosettes to give the hairstyle a subtle, magical shimmer.