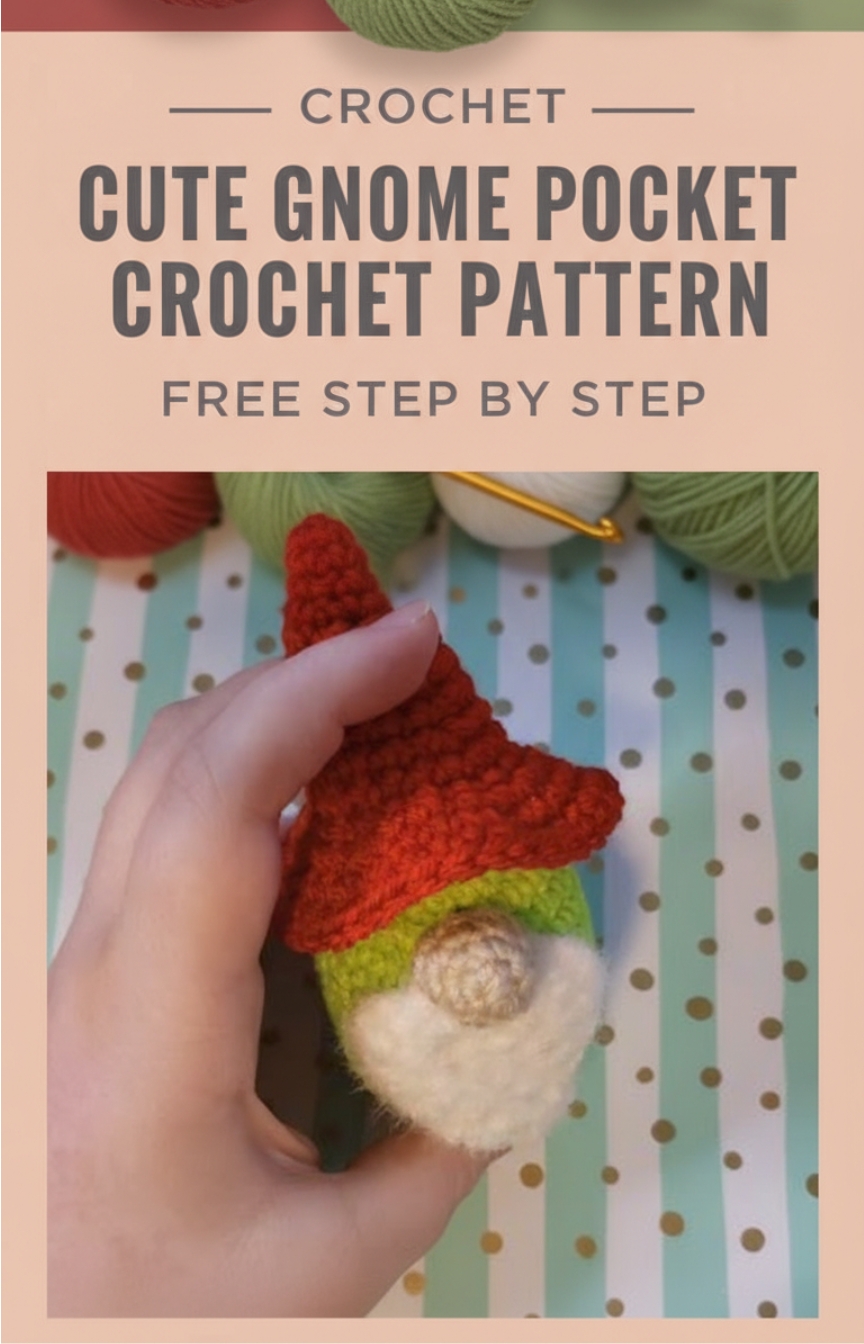
Cute Gnome Pocket Crochet Pattern Free Step By Step
This Pocket Gnome crochet pattern is a charming and easy project that brings a touch of whimsy to any space. Perfect for beginners, this step-by-step guide shows how to make a cute mini gnome using simple stitches and basic materials.
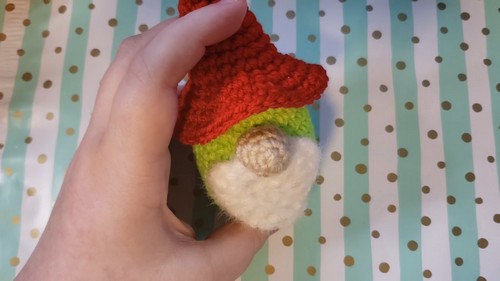
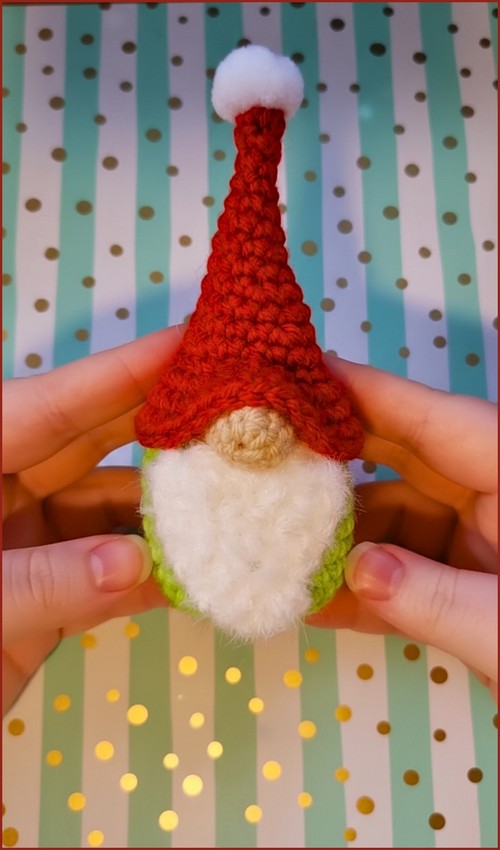
Crochet Pocket Gnome
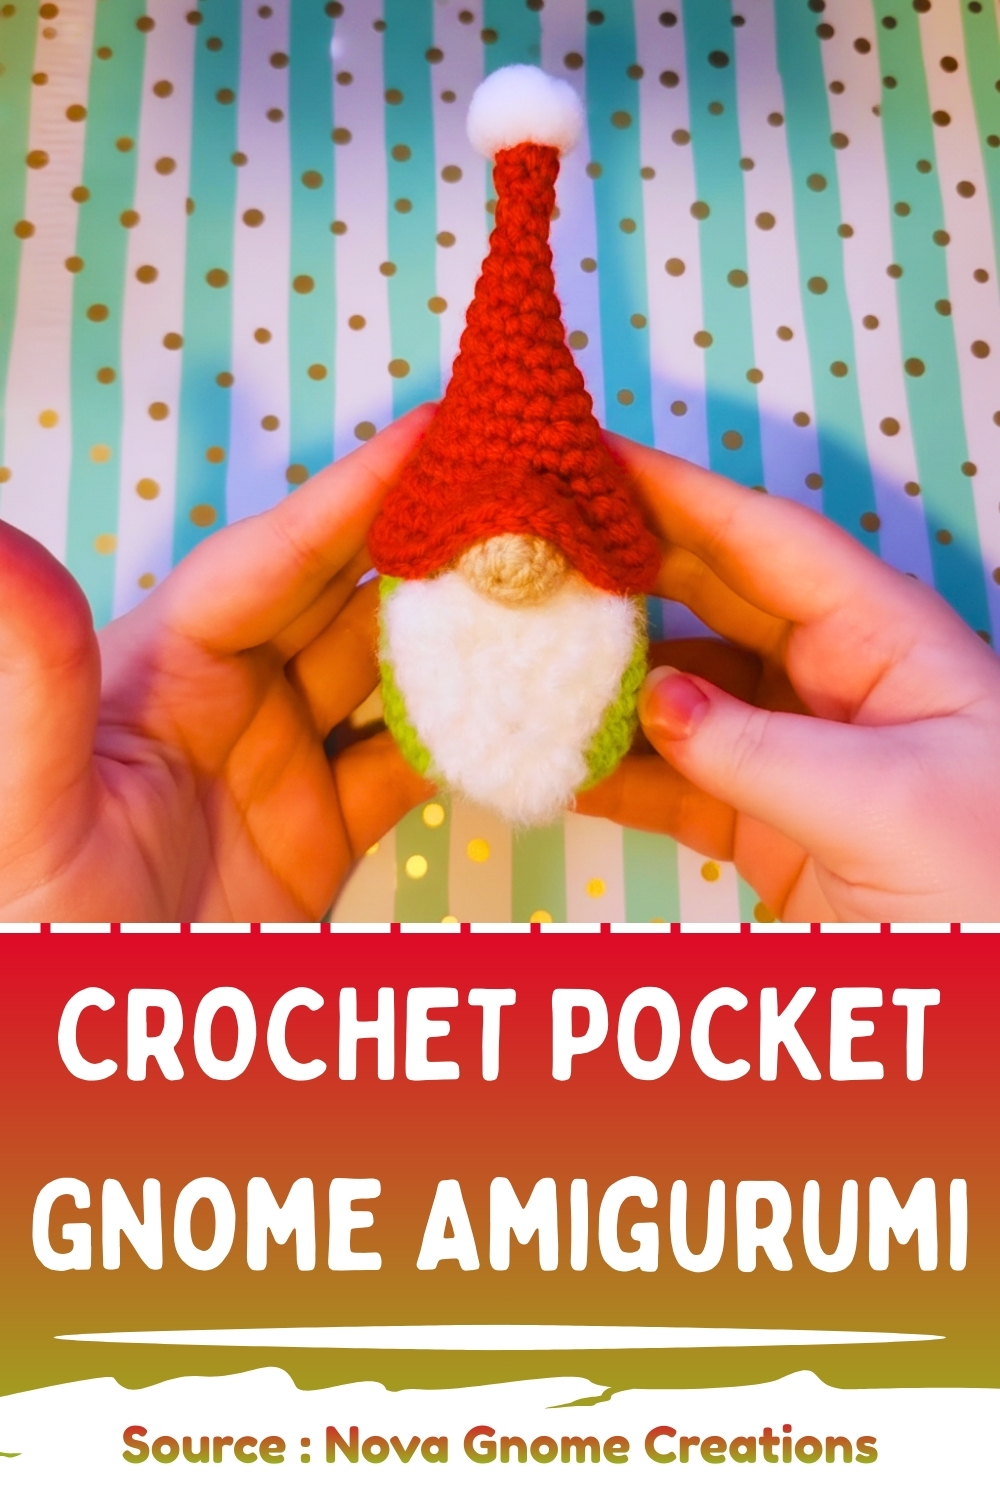
You can customize the colors for different holidays or themes like Christmas, Valentine’s, or spring decor. The finished gnome makes a wonderful handmade gift or a delightful addition to your home, shelf, or workspace. Whether you sew or glue the parts together, this pattern ensures your tiny gnome turns out adorable every time.
Materials
- Worsted weight yarn in colors for Body, Hat, Beard, and Nose
- 3.5mm crochet hook (body, hat, nose) and 4.25mm hook (for beard)
- Polyfill stuffing
- Scissors, yarn needle, stitch marker
- Hot glue gun or sewing needle
- Optional: small pom-pom for hat tip
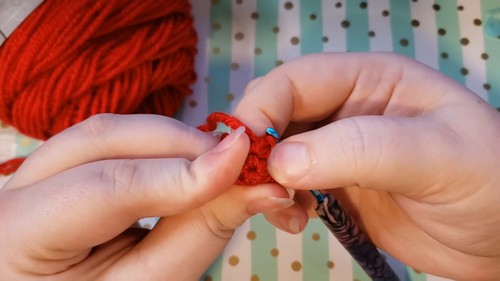
Body Pattern
- Begin with a magic circle.
- R1: 6 SC in a magic circle (6).
- R2: INC in each stitch (12).
- R3: (SC, INC) repeat around (18).
- R4: (SC x2, INC) repeat around (24).
- R5: BLO SC in each stitch (24).
- R6–R14: SC in each stitch (24).
- R15: (SC x2, InvDec) repeat around (18).
- R16: (SC, InvDec) repeat around (12).
Stuff firmly.
- R17: InvDec around (6).
- Finish off, weave tail through front loops, pull tight to close.
Hat Pattern
- Start with a magic circle.
- R1: 5 SC in a magic circle (5).
- R2–R3: SC in each stitch (5).
- R4: SC x4, INC in last stitch (6).
- R5: SC in each stitch (6).
- R6: (SC, INC) repeat (9).
- R7: SC in each stitch (9).
- R8: (SC x2, INC) repeat (12).
- R9: SC in each stitch (12).
- R10: (SC x3, INC) repeat (15).
- R11: SC in each stitch (15).
- R12: (SC x4, INC) repeat (18).
- R13: SC in each stitch (18).
- R14: FLO SC in each stitch (18).
- R15: INC in each stitch (36).
- R16–R17: SC in each stitch (36).
- Finish off and weave in ends.
Nose Pattern
- R1: 3 SC in a magic circle (3).
- R2: INC in each stitch (6).
- R3: (SC x2, INC) repeat (8).
- R4: SC in each stitch (8).
- Stuff lightly.
- Finish off leaving a long tail for sewing.
Beard Pattern
- Hold two strands together.
- Chain 5.
- Skip first chain, Sl St in next, HDC in next, DC in next, TrC in last.
- Work border around edge: (SC, CH1) along sides, CH2 at corners, Sl St to first SC.
- Weave in ends.
Assembly
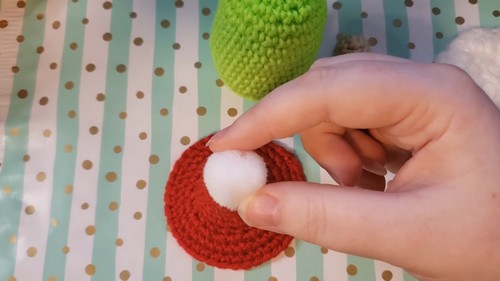
- Attach optional pom-pom to hat tip with glue.
- Place hat on body to mark beard and nose placement.
- Glue or sew beard first, centered on the front.
- Attach nose slightly overlapping the beard’s top edge.
- Position hat just above the nose and glue or sew around the brim.
- Let dry completely before displaying.