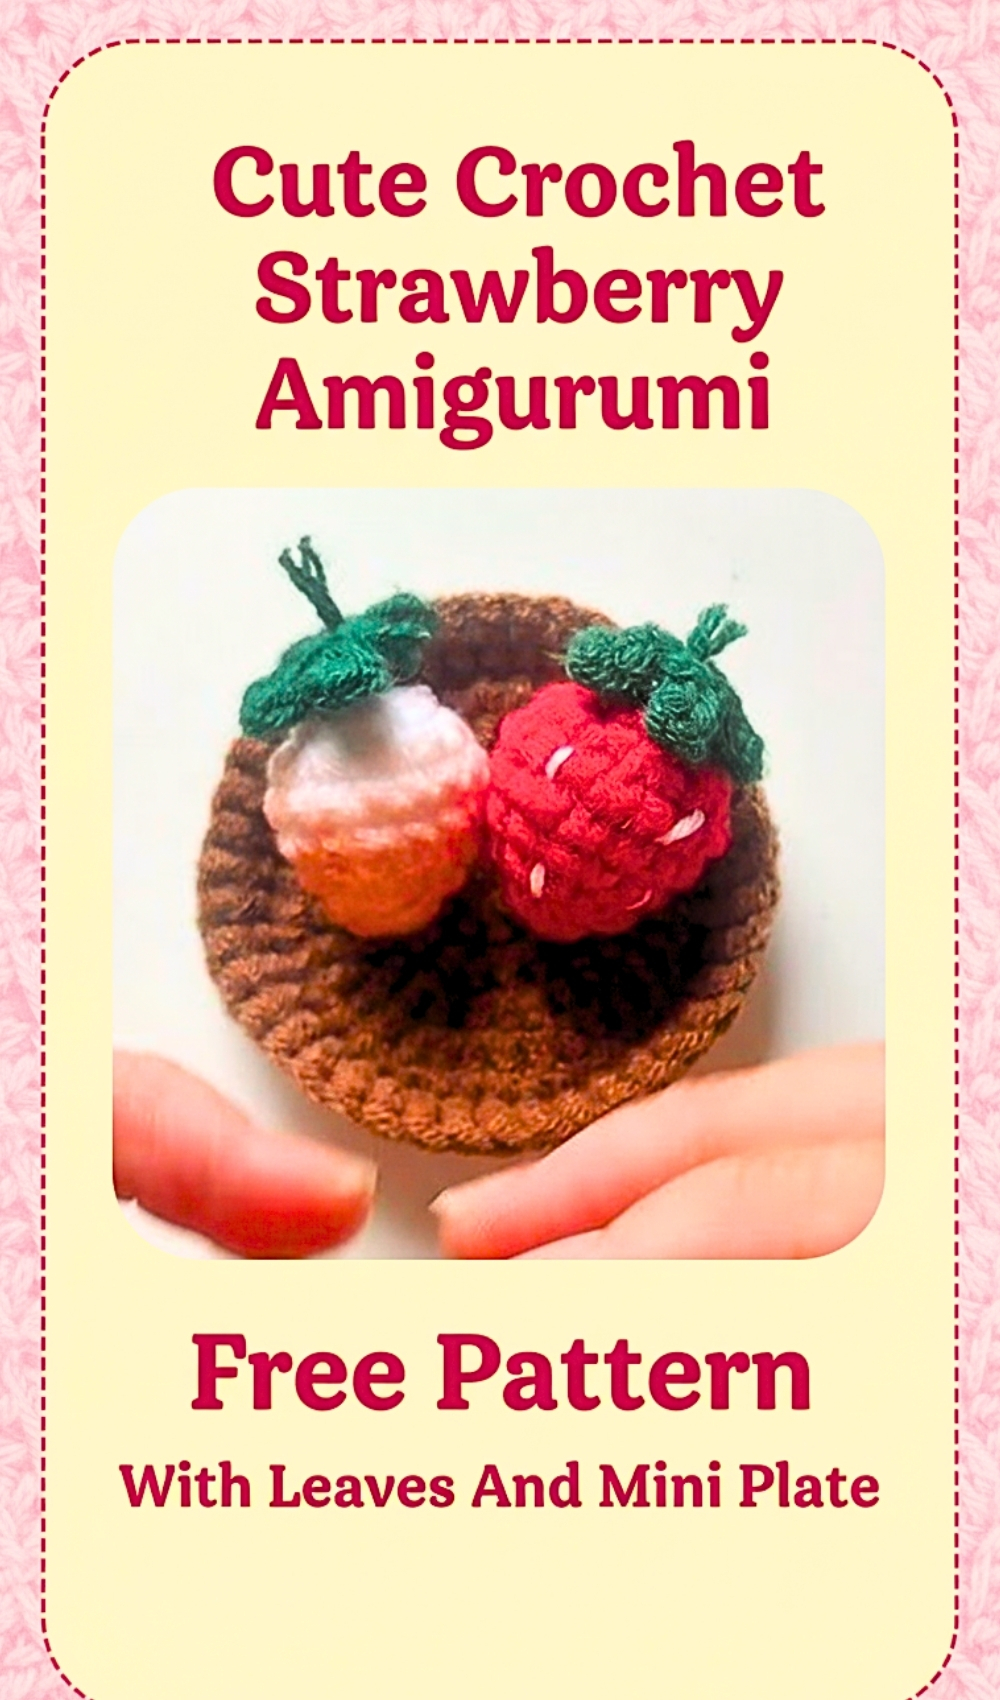
Cute Crochet Strawberry Amigurumi Free Pattern With Leaves And Mini Plate
This Sweet Strawberry Set crochet pattern teaches you how to create an adorable amigurumi strawberry complete with fresh green leaves and a little matching plate. Perfect as a charming desk accessory, playful décor piece, or cute handmade gift, this project is both beginner-friendly and quick to complete.
Crochet Strawberry Amigurumi
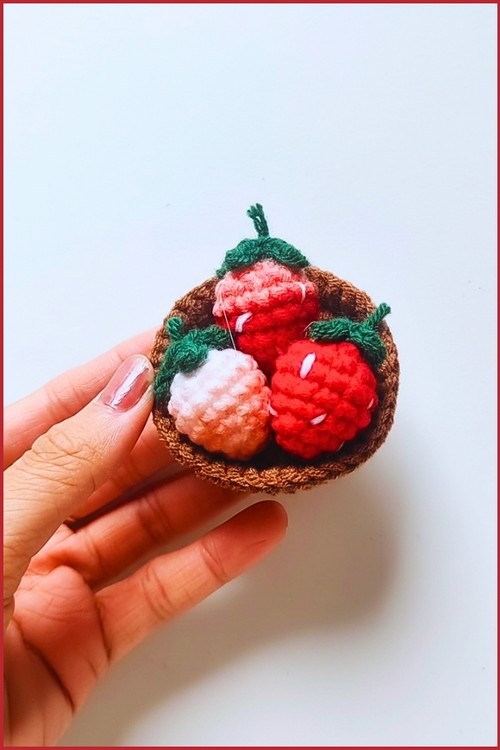
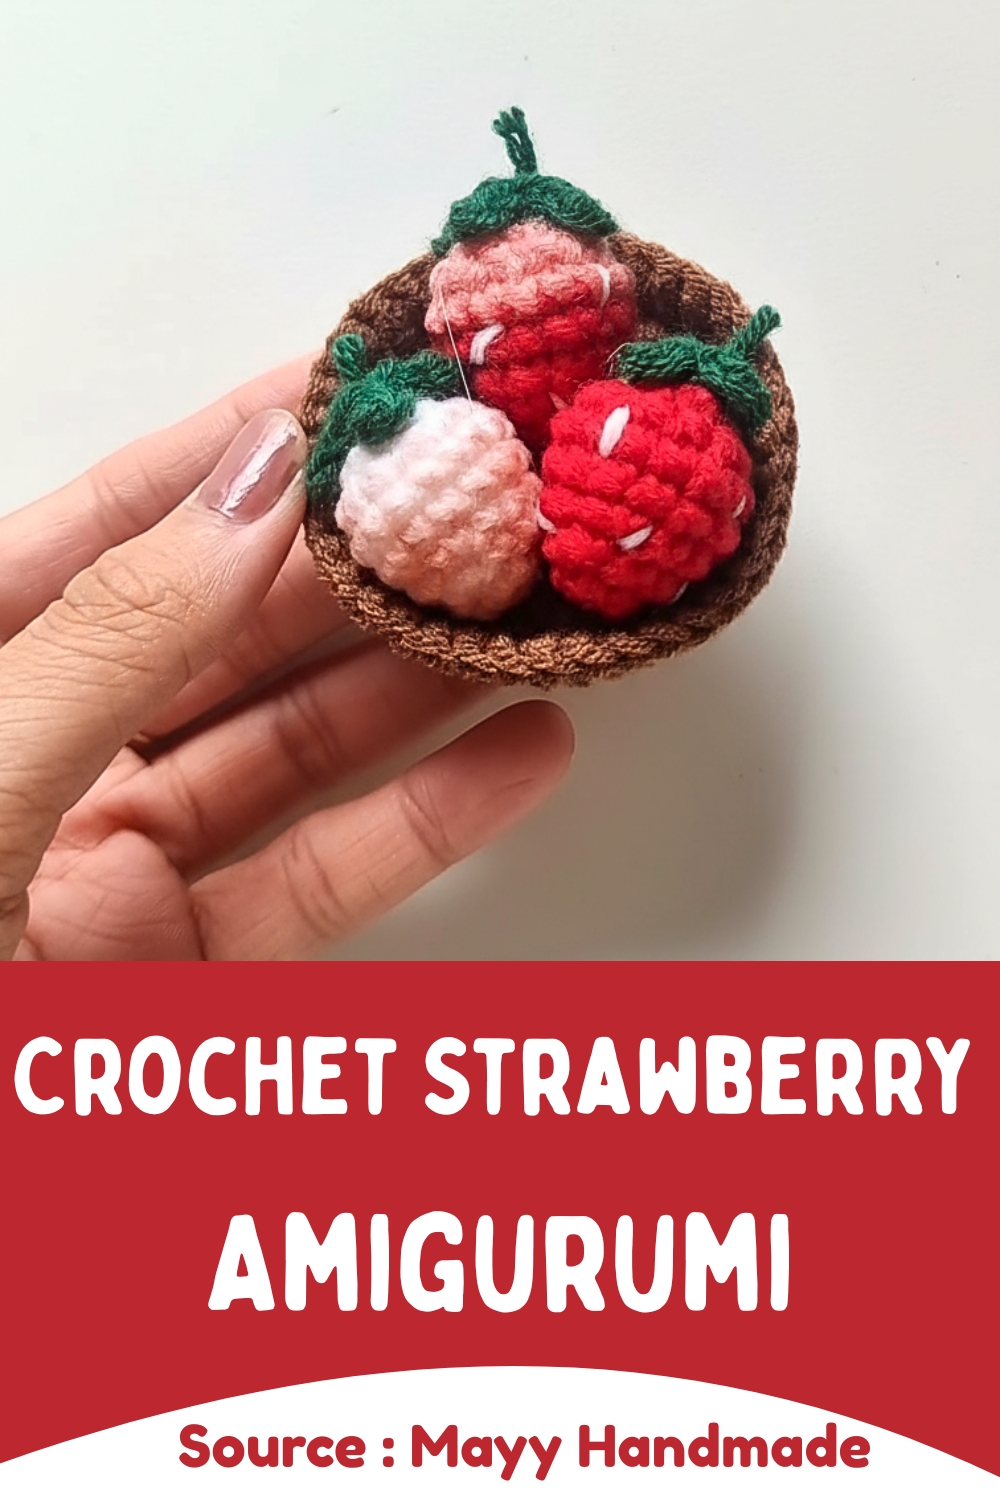
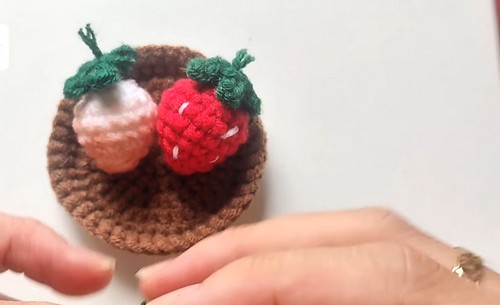

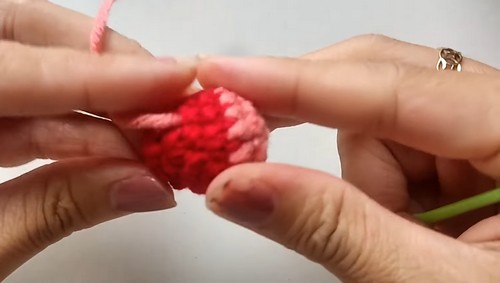
Mastering the art of a Crochet Strawberry Amigurumi allows you to design a rounded, ruby-colored fruit featuring delicate stippled seeds and a sprawling green cap. These berries are highly useful as aromatic car fresheners when stuffed with lavender. Since the pattern focuses on spiral rounds, it offers an engaging creative journey for hobbyists seeking to produce charming, bite-sized fiber art.
Skill Level
-
Ideal for confident beginners who have mastered the magic ring and are ready to practice shaping and color transitions.
Finished Size
-
Approximately 2 inches tall depending on yarn weight and tension, making it a perfect size for keychains or play food sets.
Materials
-
Yarn in strawberry and leaf colors
-
Crochet hook
-
Fiberfill stuffing
-
Needle
-
Optional wire for seeds
-
Glue
Abbreviations
-
sc: single crochet
-
inc: increase (two stitches in one stitch)
-
dec: decrease (joining two stitches into one)
-
sl st: slip stitch
-
ch: chain
-
sk: skip
-
BLO: back loops only
Construction Overview
-
The strawberry is worked from the wide top down to the tip, allowing you to control the fullness of the fruit before tapering.
-
The leaves are worked as a single unit with points radiating from a central ring, which simplifies the assembly process.
-
The plate uses a flat circle base with a single round of back-loop stitches to create a sharp 90-degree turn for the rim.
Stitch and Shaping Clarity
-
Round 3 uses a staggered increase pattern (1 sc, inc, 1 sc) rather than a standard start to ensure the top of your strawberry remains perfectly round without developing "corners" or a hexagonal shape.
-
The decrease round near the tip creates the characteristic pointed bottom of the berry; ensure your decreases are tight to prevent stuffing from showing through.
-
The "BLO" instruction on the plate is the secret to getting a flat bottom; by working only in the back loops, you create a natural fold line for the sides of the plate to stand upright.
Crochet Strawberry Instructions
-
Make a magic ring with 6 sc
-
Sl st to close round, ch 1
-
Round 2: (1 sc, inc) repeat around
-
Round 3: (1 sc, inc, 1 sc) repeat around
-
Round 4: (3 sc, inc) repeat around
-
Change color
-
Round 5: Sc in each st
-
Round 6: (1 sc, dec) repeat around
-
Stuff with fiberfill
-
Round 7: Make 5 decreases
-
Thread needle through outer loops and pull closed
-
Split wire and sew to surface as seed detail
Strawberry Stops Leaves Instructions
-
Make a magic ring
-
Ch 3
-
Sk first ch from hook
-
Sl st in next 2 ch
-
Sl st into magic ring
-
Repeat to make 4 total leaf points
-
Pull tight and cut yarn
-
Glue on top of strawberry
Little Plate Instructions
-
Make a magic ring with 6 sc
-
Round 2: Inc in each st (12)
-
Round 3: (1 sc, inc) repeat (18)
-
Round 4: (2 sc, inc) repeat (24)
-
Round 5: (3 sc, inc) repeat (30)
-
Round 6: Sc in each st BLO (30)
-
Round 7: Sc in each st (30)
-
Hide yarn tail
-
Glue strawberries onto plate
Stuffing Tips
-
Add the majority of your fiberfill after Round 6, but keep a small pinch aside to poke into the very tip after Round 7 is complete.
-
Use the back of your crochet hook to push the stuffing into the sides to emphasize the plump, rounded top of the strawberry.
Assembly and Seed Placement
-
When using the wire for seeds, aim for a "staggered" look rather than straight vertical lines to mimic the natural organic pattern of a real strawberry.
-
If using glue for the leaves, apply it sparingly to the center of the leaf piece first so it doesn't seep out through the stitches.
Troubleshooting
-
If your strawberry looks too blocky, your tension might be too loose during the decrease round; try pulling the yarn slightly tighter when working the (1 sc, dec) sequence.
-
If the plate won't sit flat, ensure you didn't accidentally add extra stitches in Round 6 or 7, which can cause the rim to ruffle.
Customization Ideas
-
Vary the colors to create "white" strawberries (pineberries) with red seeds for a unique look.
-
Embroider the seeds with yellow or cream yarn if you prefer not to use wire, which makes the toy safer for very small children.