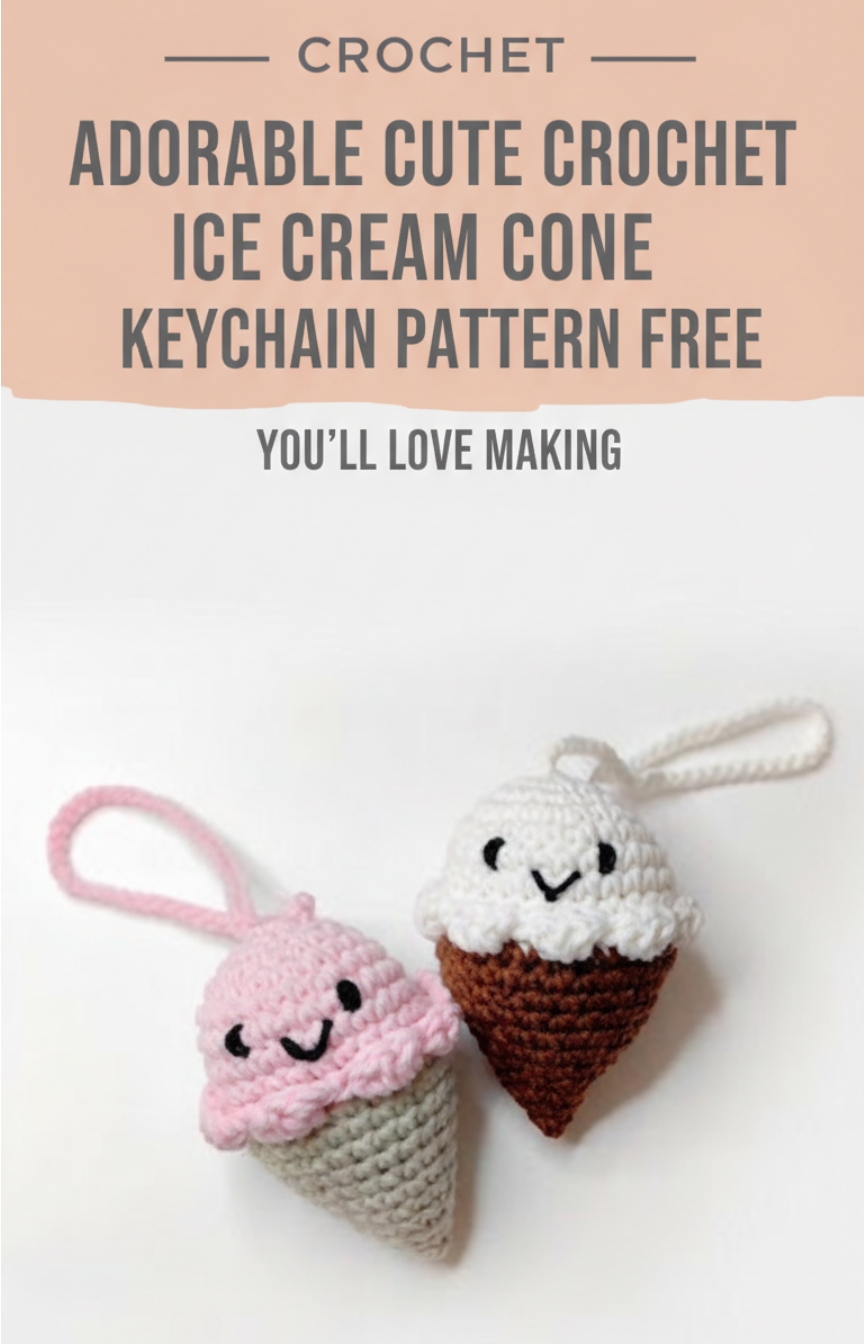
Cute Crochet Ice Cream Cone Keychain Pattern Free You’ll Love Making
Create a delightful and whimsical crochet ice cream keychain that adds a touch of sweetness to your everyday accessories. This fun and easy amigurumi project is perfect for beginners and seasoned crocheters alike.
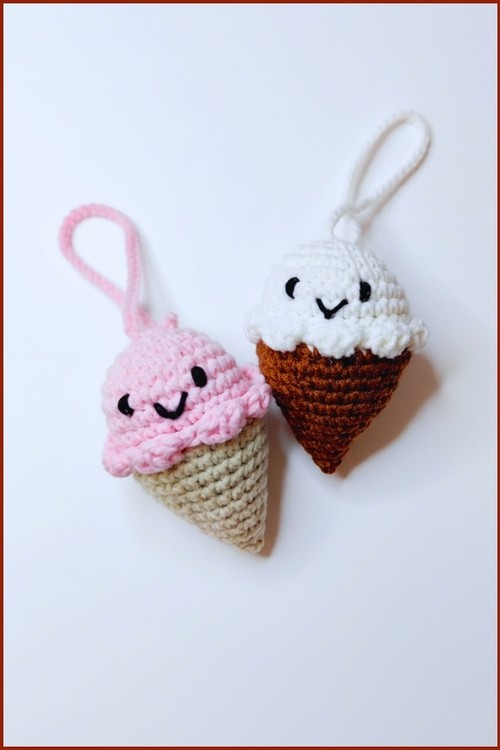
Crochet Ice Cream Keychain
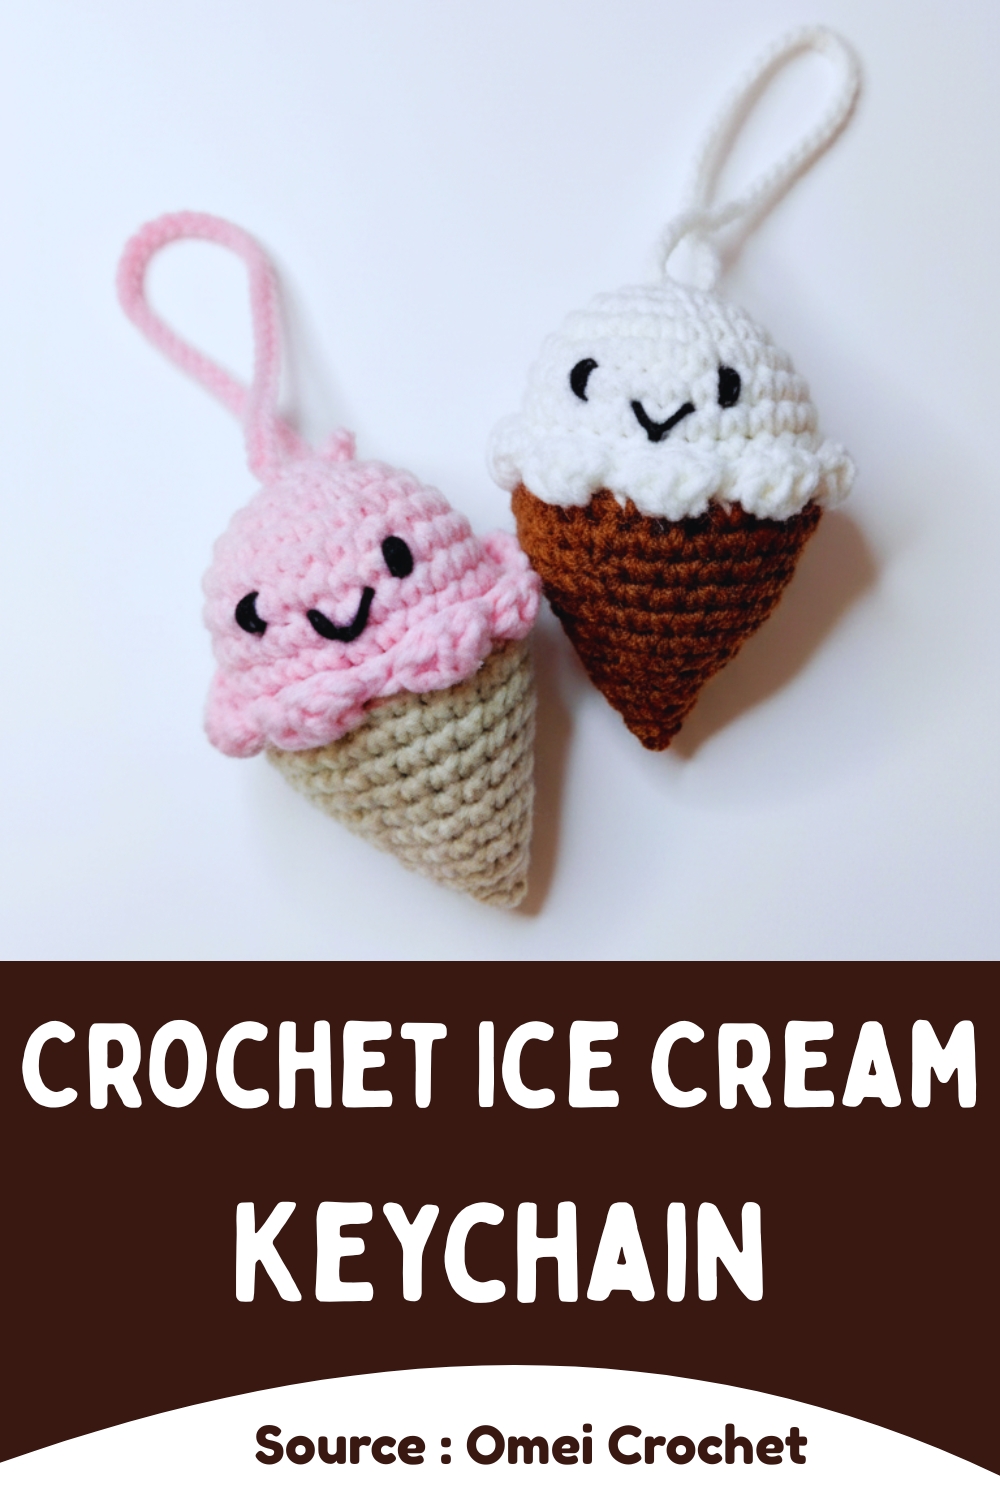
Customize your ice cream cone with your favorite yarn colors mint, strawberry, chocolate, or vanilla and make each one uniquely your own. The pattern uses simple stitches and minimal materials, making it a quick handmade gift or a charming addition to your keyring, purse, or backpack. It’s an adorable way to showcase your creativity wherever you go.
Materials
- Size 3 DK weight yarn (beige or brown for cone, color of choice for ice cream)
- 2.75 mm crochet hook
- Polyester fiberfill (stuffing)
- Yarn needle and scissors
- Keychain hardware (ball chain or clasp)
- Optional: 6 mm safety eyes, black embroidery thread, white ribbon for decoration
Abbreviations
- Mc: Magic circle
- Sl st: Slip stitch
- Sc: Single crochet
- Inc: Increase (2 sc in same stitch)
- Rnd(s): Round(s)
- St(s): Stitch(es)
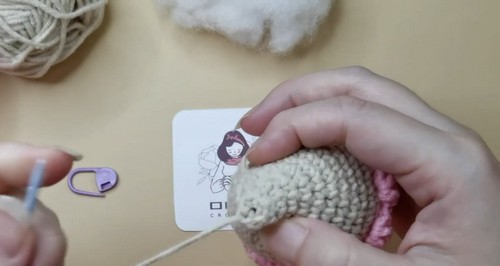
Cone (Use Cone Color Yarn)
- Start with a magic circle
- Rnd 1: Sc 6 in mc (6)
- Rnd 2: Sc 1, inc 1 repeat 3 times (9)
- Rnd 3: Sc 2, inc 1 repeat 3 times (12)
- Rnd 4: Sc 3, inc 1 repeat 3 times (15)
- Rnd 5: Sc 4, inc 1 repeat 3 times (18)
- Rnd 6: Sc 5, inc 1 repeat 3 times (21)
- Rnd 7: Sc 6, inc 1 repeat 3 times (24)
- Rnd 8: Sl st and fasten off, leaving a long tail for sewing
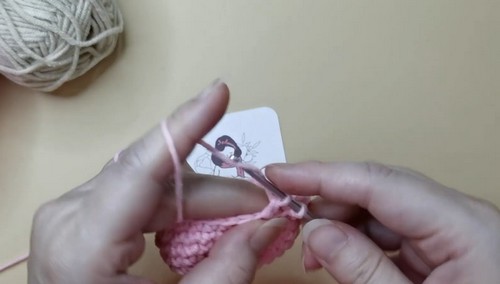
Ice Cream (Use Main Color Yarn)
- Start with a magic circle
- Rnd 1: Sc 6 in mc (6)
- Rnd 2: Inc around (12)
- Rnd 3: Sc 1, inc 1 repeat 6 times (18)
- Rnd 4: Sc 2, inc 1 repeat 6 times (24)
- Rnds 5–8: Sc around (24)
- Change color for topping or whipped cream if desired
- Tie off ends on the inside and add stuffing
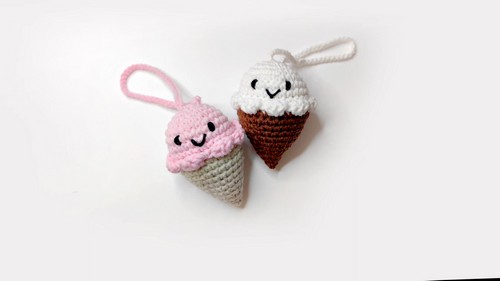
Assembly
- Sew the ice cream to the cone using the long tail from the cone
- Sew through back loops only for a clean finish
- Add more stuffing before closing for a firm shape
- Embroider facial details or add safety eyes
- Attach ribbon and keychain hardware to the top
