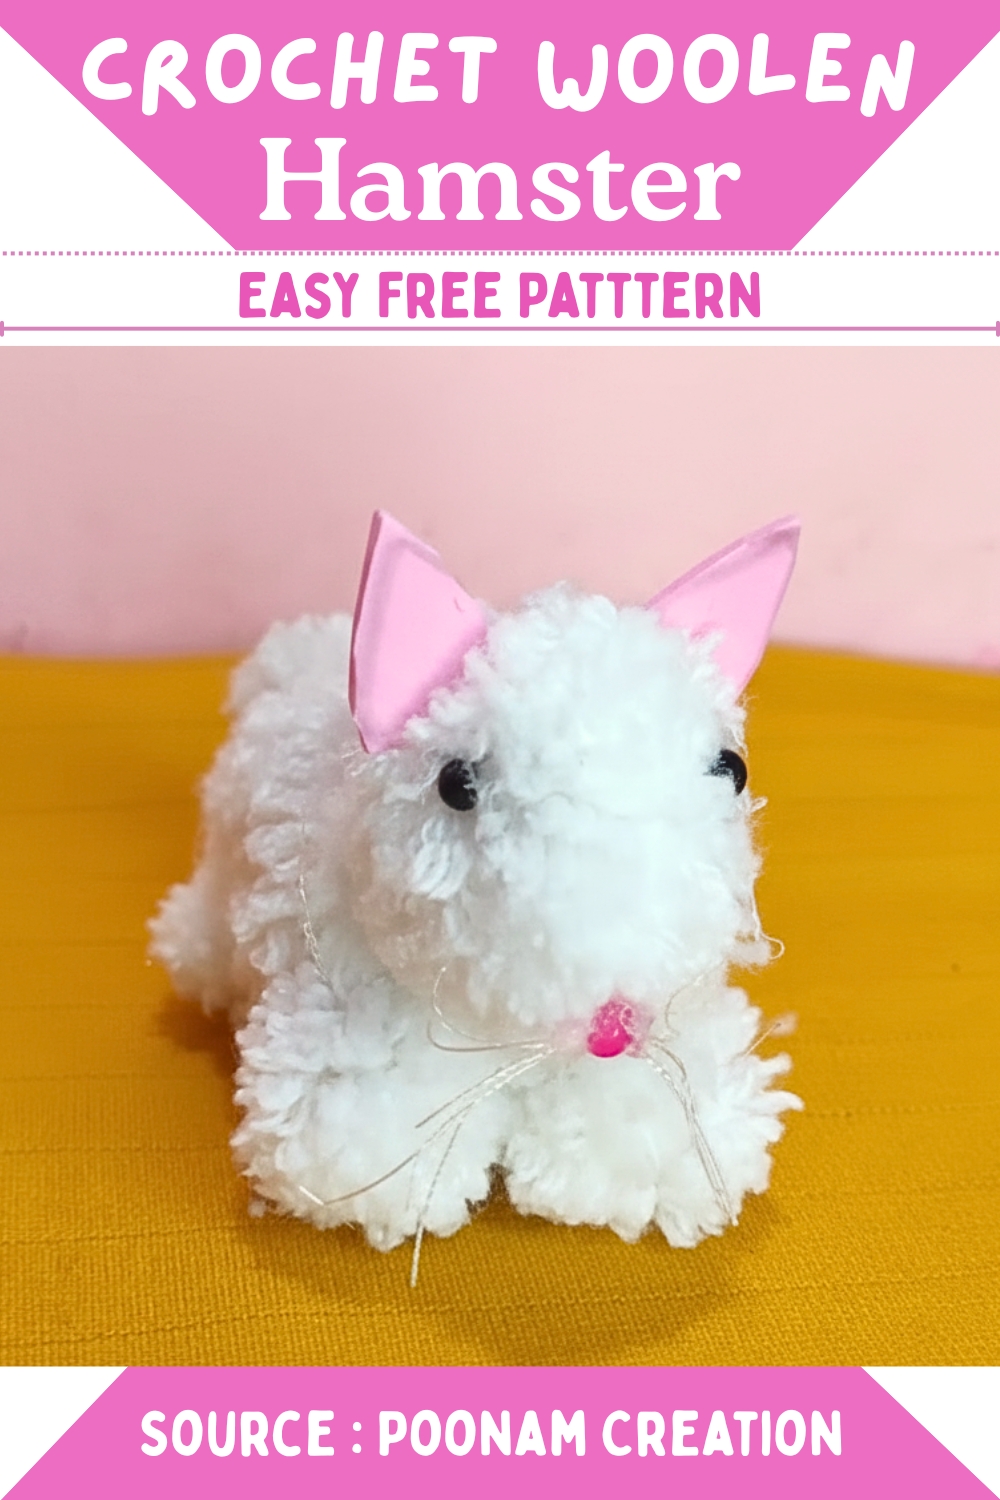
Crochet Woolen Hamster Amigurumi Pattern That Everyone Will Love
Full, plush texture and a softly rounded silhouette make the Crochet Pom Pom Woolen Hamster pattern feel more like sculpting with yarn than working through rows of stitches. By building the shape through wrapped fibers, the hamster develops a dense yet airy body that looks fluffy from every angle and feels light when held. It suits display on shelves, adds personality to handmade gift sets, and can even be used as a gentle decorative toy. The finished piece carries a cozy, brushed look that highlights its softness while still keeping clear facial features and a balanced, compact form.
Crochet Woolen Hamster
Skill Level
Beginner friendly
No stitch work is required, but this project benefits from patience during trimming and shaping. If you’re comfortable handling yarn and assembling small parts, you’ll find this very approachable.
Finished Size
- Varies depending on how tightly you wrap and trim your yarn
- Typically fits in the palm of your hand
Materials
- White woolen thread
- Small beads (for eyes)
- Pink thread
- Pink foam
- Glue gun
Abbreviations
No standard crochet abbreviations are used in this pattern.
Helpful Notes Before Starting
- The number of wraps directly affects the fullness of each part. More wraps create a denser, rounder shape.
- Keep your tension consistent while wrapping to avoid uneven bulk.
- Sharp scissors make a big difference when trimming for a clean, rounded finish.
- This project relies heavily on shaping after cutting, so take your time refining each piece.
Construction Overview
This hamster is built in separate fluffy sections:
- A large pom pom style body
- A smaller head
- Four compact legs
- A short tail
- Ears and facial details added at the end
Instead of crocheting in rounds, you are forming volume by wrapping yarn, tying the center, cutting, and then trimming into shape. Think of it as sculpting with yarn.
Stitch and Shaping Clarity
There are no stitches involved, but shaping replaces stitch work here.
- Wrapping = building volume
- Tying the center = locking structure
- Cutting loops = releasing the fibers
- Trimming = shaping the final form
The tighter and more centered your tie is, the more even your final shape will be.
MAKING THE BODY PART
- Wrap white woolen thread around your fingers 150 times
- Cut the thread and tie the middle with another piece of thread
- Cut the surrounding area of the wool bundle and trim it to create the body

Guidance:
- This is your largest piece, so take extra care when trimming. Rotate the bundle as you cut to maintain a rounded, even shape.
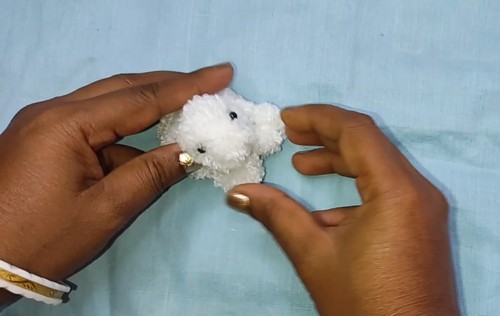
THE HEAD PART
- Wrap white woolen thread around your fingers 80 times
- Tie the middle and trim it to create the head
Guidance:
- Keep the head slightly smaller than the body for a natural proportion. You can lightly flatten one side where it will attach.
MAKING THE LEGS
- Wrap white woolen thread around your fingers 30 times to make one leg
- Tie the middle and cut it to the required size
- Repeat three more times to create a total of four legs
Guidance:
Try to keep all four legs similar in size. After trimming, place them side by side to compare before attaching.
Assembly Guidance

ASSEMBLING THE HAMSTER
- Use a glue gun to attach the head to the body
- Glue the four legs to the body
- Attach two small beads to the head for the eyes
Guidance:
- Attach the head slightly forward on the body to give a natural sitting posture
- Place the front legs a bit closer together than the back legs
- Before gluing, position everything first to check balance and symmetry
Eye and Facial Feature Placement
- Eyes should sit slightly above the center line of the head
- Leave enough space between them for the nose
- Keep both eyes level to avoid a tilted expression
Finishing Touches
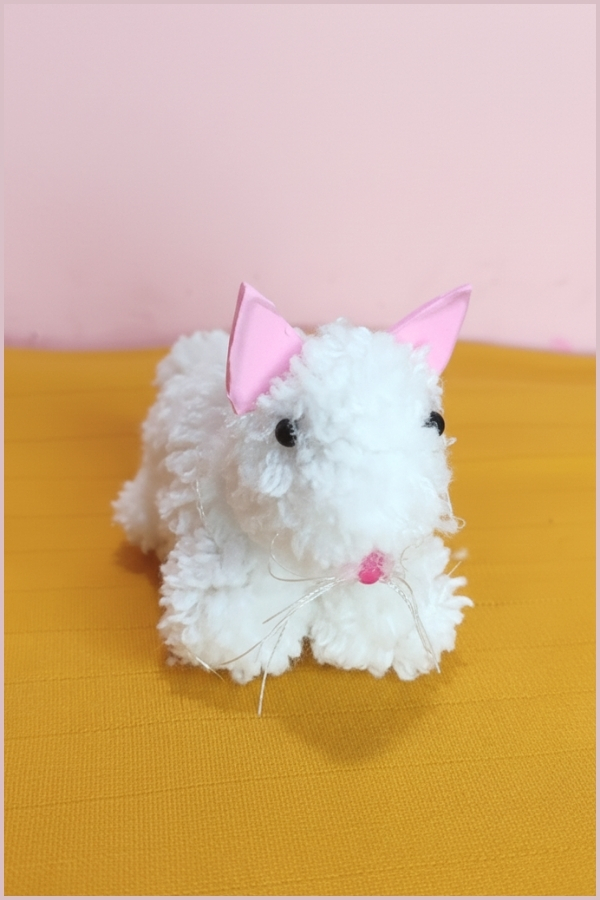
FINISHING THE HAMSTER
- Wrap white woolen thread around your fingers 15 times for the tail
- Tie and trim the tail, then glue it to the back of the body
- Cut two ear shapes from pink foam and glue them to the top of the head
Use a pink thread to create the nose and whiskers
Guidance:
- Keep the tail small and neat so it doesn’t overpower the body
- Angle the ears slightly outward for a more natural look
- For whiskers, use short strands and secure them firmly so they don’t shift

Stuffing Tips
- No stuffing is needed, but density comes from how tightly you wrap and tie the yarn. If your piece feels loose, you can trim less and keep more volume.
Beginner Notes
- If your shape looks uneven at first, keep trimming slowly rather than cutting large sections at once
- Always rotate your piece while shaping to maintain balance
- It’s normal for fibers to shed slightly during trimming
Troubleshooting
- Shape looks lumpy: Trim gradually and evenly from all sides
- Pieces feel loose or falling apart: Make sure the center tie is tight enough before cutting
- Head or legs look uneven: Compare all parts before assembly and adjust with small trims
Customization Ideas
- Use grey, brown, or beige yarn for different hamster colors
- Add a tiny felt mouth for more expression
- Try slightly longer yarn lengths for a fluffier, softer look
- Replace foam ears with yarn ears for a fully yarn based finish