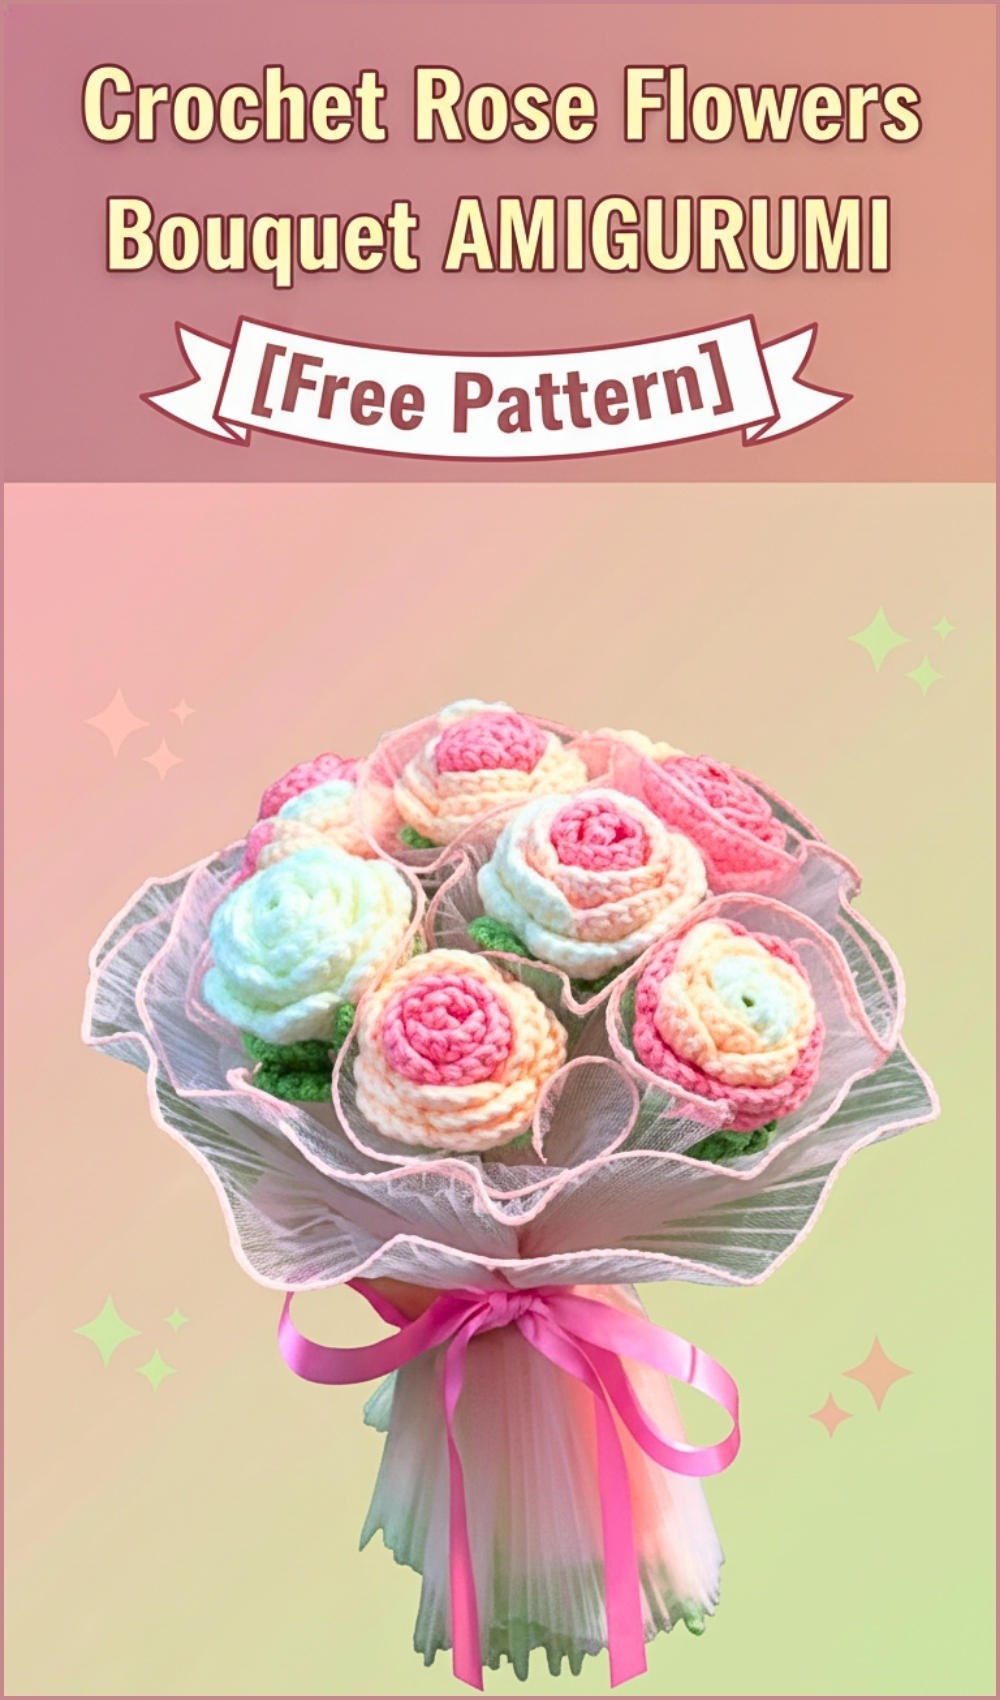
Crochet Rose Flowers Bouquet Pattern To Showcase Your Crocheting Skills
Shaping yarn into a lifelike floral form becomes especially rewarding with this Crochet Rose Bud Amigurumi pattern, where each stitch contributes to the gentle curve of layered petals. The finished rose carries a refined, natural look that makes it perfect for decorative arrangements, gift toppers, or adding a handcrafted detail to accessories and home pieces.
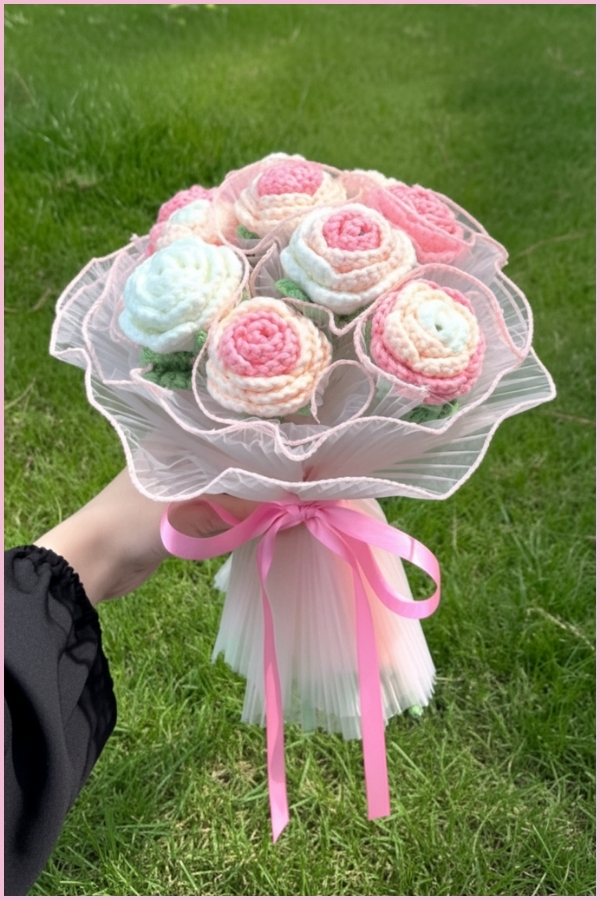
Crochet Rose Flowers Bouquet

Its compact bud structure creates depth without bulk, allowing the petals to sit in a soft, realistic spiral. Working through this design also builds confidence in forming dimension, helping crocheters understand how simple stitch placement can create such an elegant and recognizable flower.
Skill Level
Beginner to intermediate
You should be comfortable with basic stitches like single crochet, half double crochet, and double crochet, as well as working into chains and identifying stitches.
Finished Size
The final size depends on your yarn and hook choice, but typically this rose forms a small decorative flower suitable for bouquets, appliqués, or embellishments.
Materials
Use the materials listed in your original pattern.
Abbreviations
- SC – Single Crochet
- HDC – Half Double Crochet
- DC – Double Crochet
- Sl St – Slip Stitch
Helpful Notes Before Starting
- The rose bud is worked flat first, then rolled into shape.
- Pay close attention to stitch placement in Row 3 of the bud. This is where the petal texture is created.
- The calyx is worked in the round and forms the base that holds the bud.
- The leaf is worked on both sides of the foundation chain, creating a symmetrical shape.
Construction Overview
This rose is made in three main parts:
- A long strip (rose bud) that is rolled into a flower
- A small circular base with pointed extensions (calyx)
- A flat leaf worked symmetrically along a chain
Once all pieces are complete, they are assembled onto a branch or stem.
Stitch and Shaping Clarity
- Rose Bud Shaping: The increases and grouped stitches in Row 3 create natural curves. These curves are what allow the strip to wrap into a spiral, forming the layered petals. Working in the back loop only helps the petals fold outward more easily.
- Calyx Formation: Each repeated sequence creates a pointed section that sits under the flower. These points mimic the green base of a real rose and help visually separate the petals from the stem.
- Leaf Structure: By working on both sides of the chain, the leaf becomes balanced and slightly curved. The finishing edge adds texture and definition.
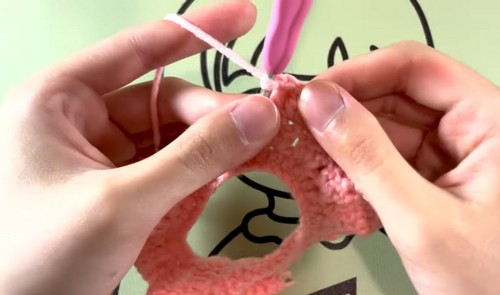
CROCHETING THE ROSE BUD
- Row 1: Create a foundation chain of 49 chains. Then, make a total of 48 Half Double Crochets (HDC), starting from the second chain from the hook.
- Row 2: Make 2 chains, then a Double Crochet (DC) in the marked stitch. Repeat the pattern of 3 DC and skipping 2 stitches a total of 24 times.
- Row 3: Working in the back loop only, the pattern is: 1 chain, followed by 1 DC, 2 DC, 1 DC on the same stitch, 1 chain, and 1 slip stitch. Repeat this 18 times in total.
CROCHETING THE CALYX
- Row 1: Create a magic ring and make 6 Half Double Crochets (HDC) in a circle. Pull the thread to tighten the center.
- Row 2: Make a chain of 6, then a slip stitch in the second chain from the hook. Make a single crochet (SC), followed by a half double crochet (HDC) and two double crochets (DC). Make a slip stitch into the marked stitch. Repeat this pattern 5 times to create the 6 petals of the calyx.
CROCHET THE LEAF
- Row 1: Make a slip knot and create 10 chains. Then, create a single crochet (SC), followed by one half double crochet (HDC), five double crochets (DC), another half double crochet (HDC), and a single crochet (SC).
- Row 2: Repeat the previous stitches on the other side of the chain, mirroring the first row. The pattern is: one half double crochet (HDC), five double crochets (DC), one half double crochet (HDC), and one single crochet (SC).
- Finishing: Make a chain and a slip stitch on the next stitch. Repeat this process 20 times around the leaf.
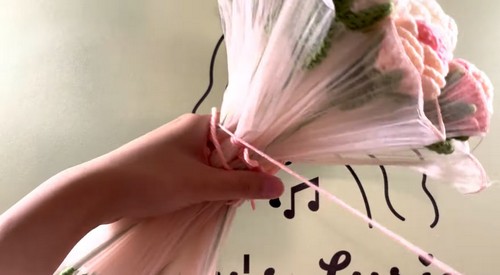
Assembly Guidance
Shaping the Rose Bud
- After completing the bud strip, gently roll it from one end to the other. Start tightly at the center and allow the outer layers to loosen slightly. This creates a natural blooming effect.
- Use your fingers to adjust the folds so the petal edges sit at slightly different heights rather than stacking evenly.

Attaching the Calyx
Position the calyx underneath the rolled bud. The pointed sections should spread evenly around the base. This helps stabilize the flower and gives it a finished look.
Eye and Facial Feature Placement
Not applicable for this pattern.
Stuffing Tips
- No stuffing is required. The structure comes entirely from shaping and assembly.
Finishing Notes
- Secure the base of the rolled bud with stitches or glue before attaching the calyx.
- Adjust petal spacing before final fixing to avoid a tight or flattened look.
- Keep the center tighter than the outer layers for a realistic rose shape.
Beginner Notes
- If your petals are not curling well, check your tension. Looser stitches often create softer, more flexible petals.
- Working in the back loop only is important for shaping. Skipping this can make the flower look flat.
- Take your time when rolling the bud. This step defines the final appearance more than any other.
Troubleshooting
- Rose looks flat instead of layered: Try rolling tighter at the beginning and loosening gradually as you go outward.
- Petals not forming clearly: Check that you are placing multiple stitches into the same stitch in Row 3. These grouped stitches create the petal effect.
- Leaf looks uneven: Make sure you are mirroring the stitches correctly on the second side of the chain.
Customization Ideas
- Use different yarn weights for larger or smaller roses
- Create a bouquet by making multiple buds in varying sizes
- Add multiple leaves along the stem for a fuller look
- Experiment with color gradients for more realistic petals