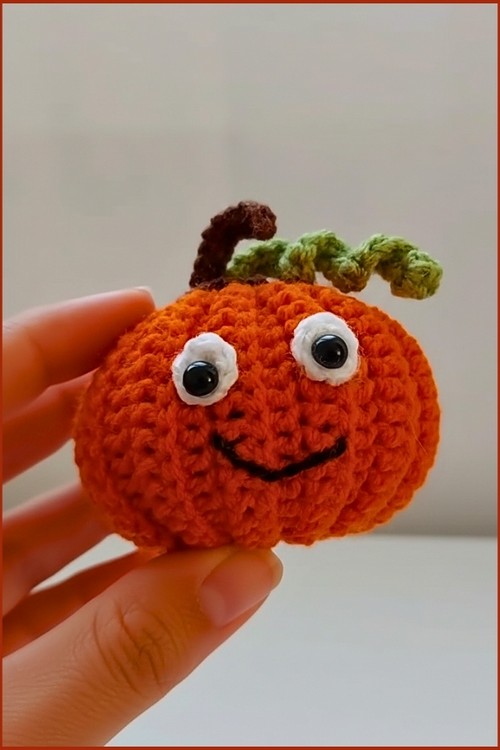
Crochet Pumpkin Free Pattern You Can Make In One Evening
This beginner-friendly crochet pumpkin pattern is perfect for creating cozy fall decor with minimal shaping and simple stitches. The pumpkin is made from a flat rectangle using an easy back loop only technique, then seamed and cinched to form a classic pumpkin shape.
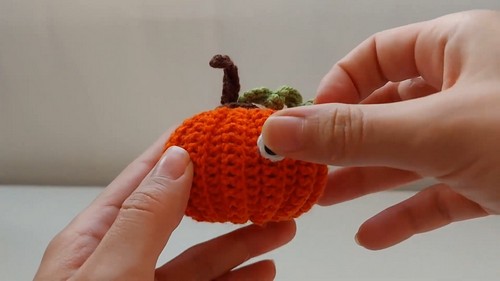
Crochet Pumpkin
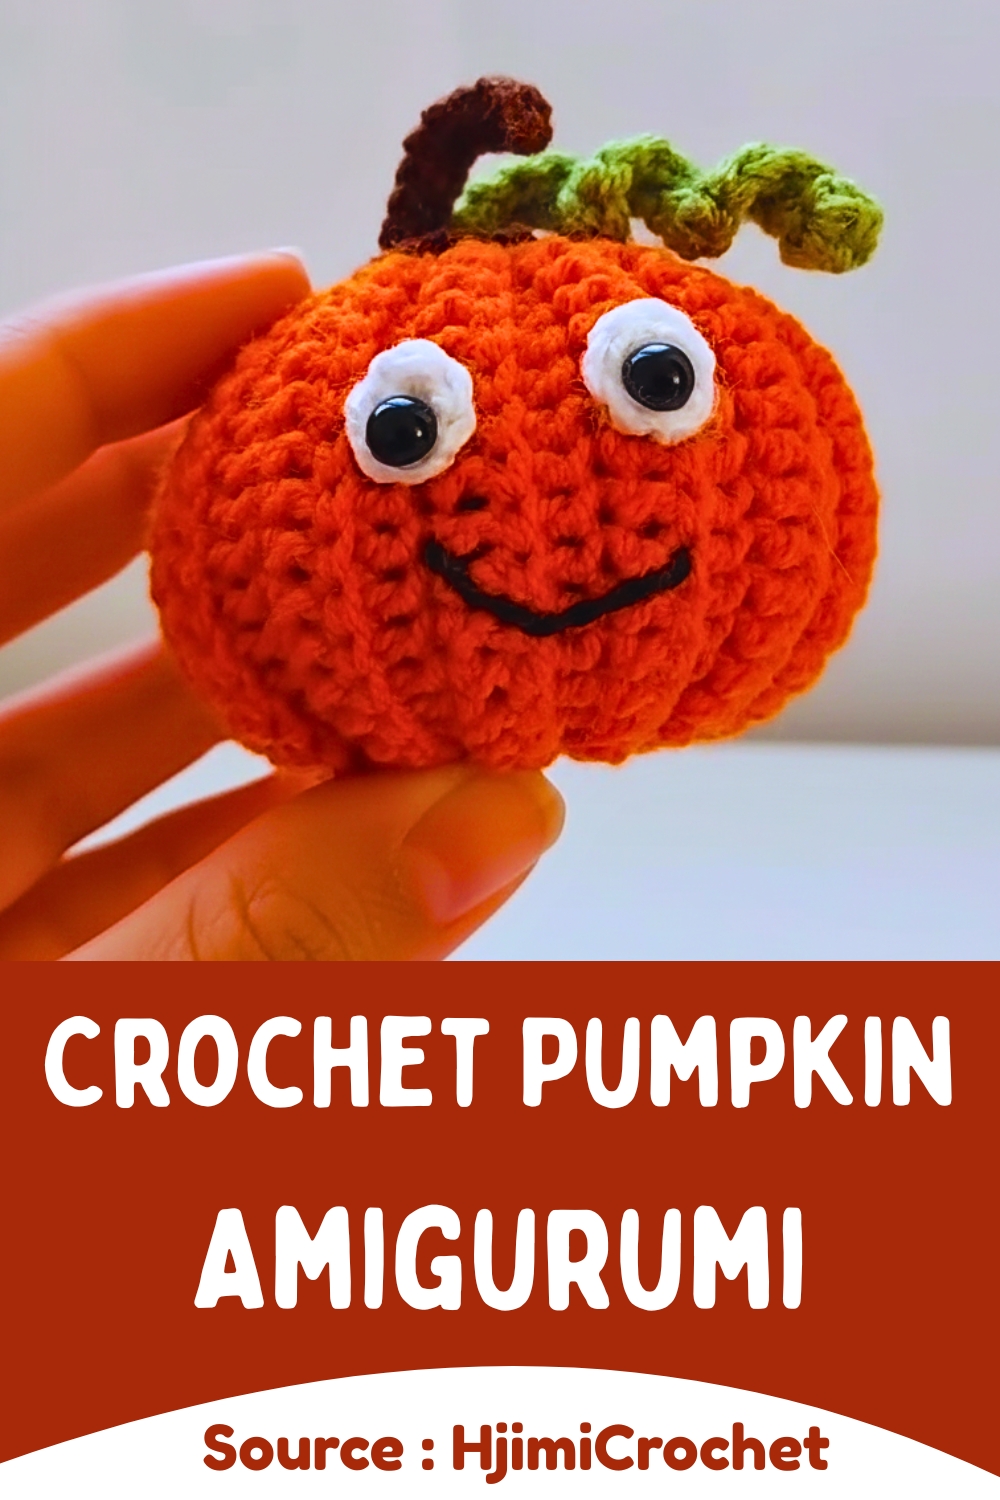
Designed with plush velvet or chenille yarn, this pattern works up quickly and gives a soft, luxurious finish that looks beautiful on shelves, tables, or mantels. You can easily customize the size, texture, and stem style, making it a versatile project for autumn decorating, gifting, or selling at craft fairs.
Materials
- Velvet or chenille yarn
- 5.0 mm or 5.5 mm crochet hook
- Fiberfill stuffing
- Darning needle
- Scissors
- Cinnamon stick or wine cork for the stem
Foundation
- Make a slip knot on the hook
- Chain 15 for a small pumpkin or chain 20 for a medium pumpkin
- The starting chain determines the height of the pumpkin
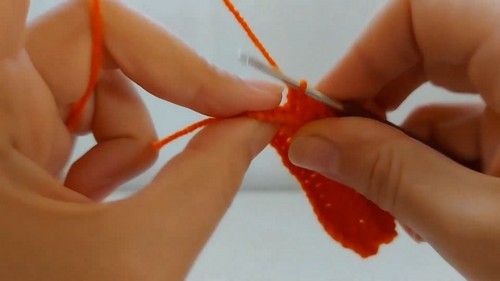
Main Body
- Single crochet in the second chain from the hook and in each stitch across, chain 1 and turn
- Work single crochet in the back loop only across each row, chain 1 and turn
- Continue repeating back loop only rows until the rectangle is about twice as long as it is tall
- For a 15-chain start, work approximately 25 to 30 rows
Seaming the Sides
- Fold the rectangle so the short edges meet
- Slip stitch through both layers to join the sides and form a tube
- Fasten off and leave a long yarn tail
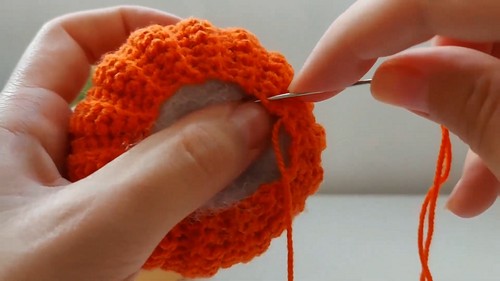
Closing the Bottom
- Thread the yarn tail onto a darning needle
- Use a running stitch around the bottom edge
- Pull tight to cinch the opening closed and secure with a knot
Stuffing and Closing the Top
- Turn the pumpkin right side out
- Stuff firmly with fiberfill
- Use a running stitch around the top edge
- Pull tight to close, leaving a small opening for the stem
Stem and Finishing
- Insert a cinnamon stick or cork into the center opening and secure if needed
- Optional shaping can be added by passing yarn through the center from top to bottom and tightening to create a squashed pumpkin look