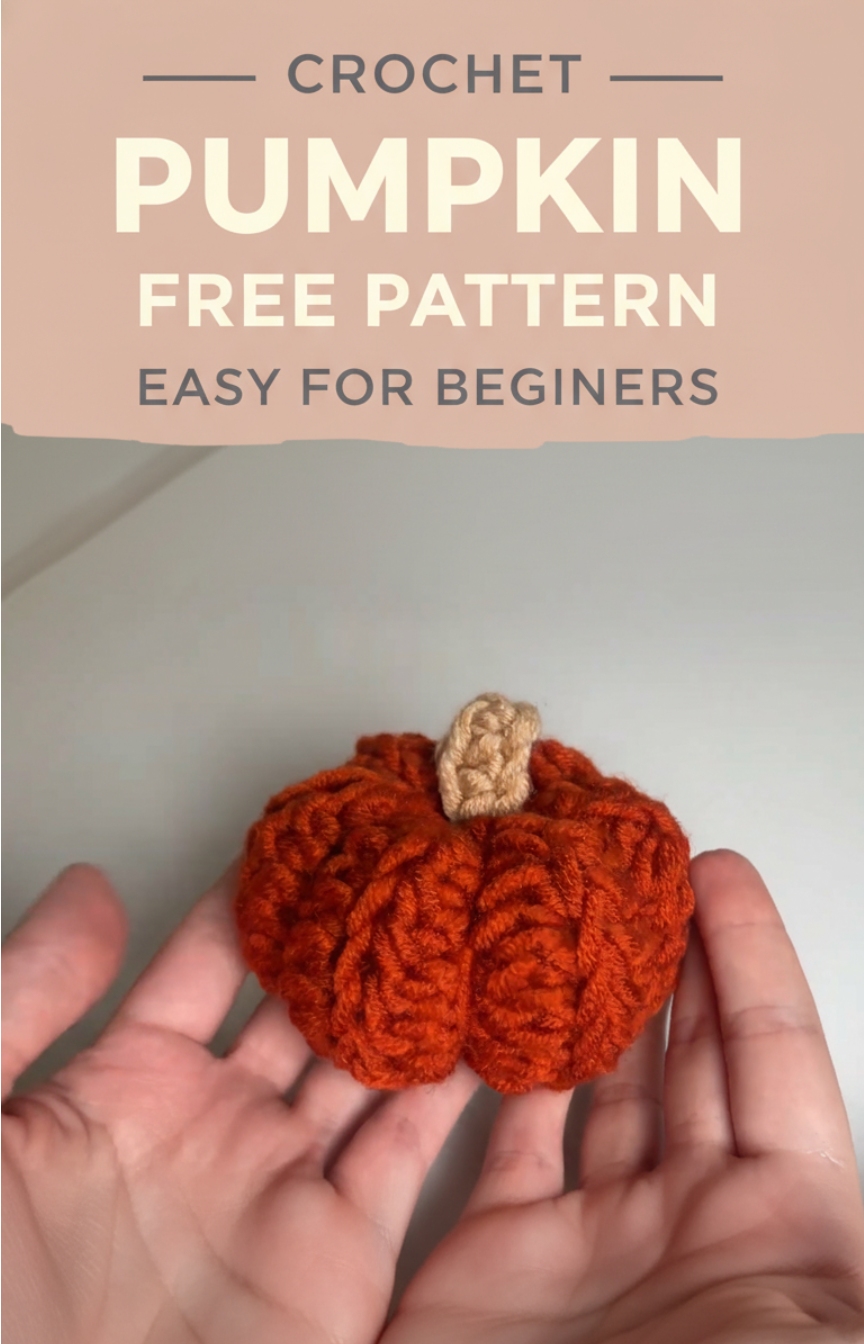
Crochet Pumpkin Free Pattern Easy For Beginners
This easy crochet pumpkin pattern is perfect for beginners and creates a beautiful fall decoration in just a few steps. Using half double crochet stitches in the back loop only, it forms a ribbed texture that looks just like a real pumpkin.
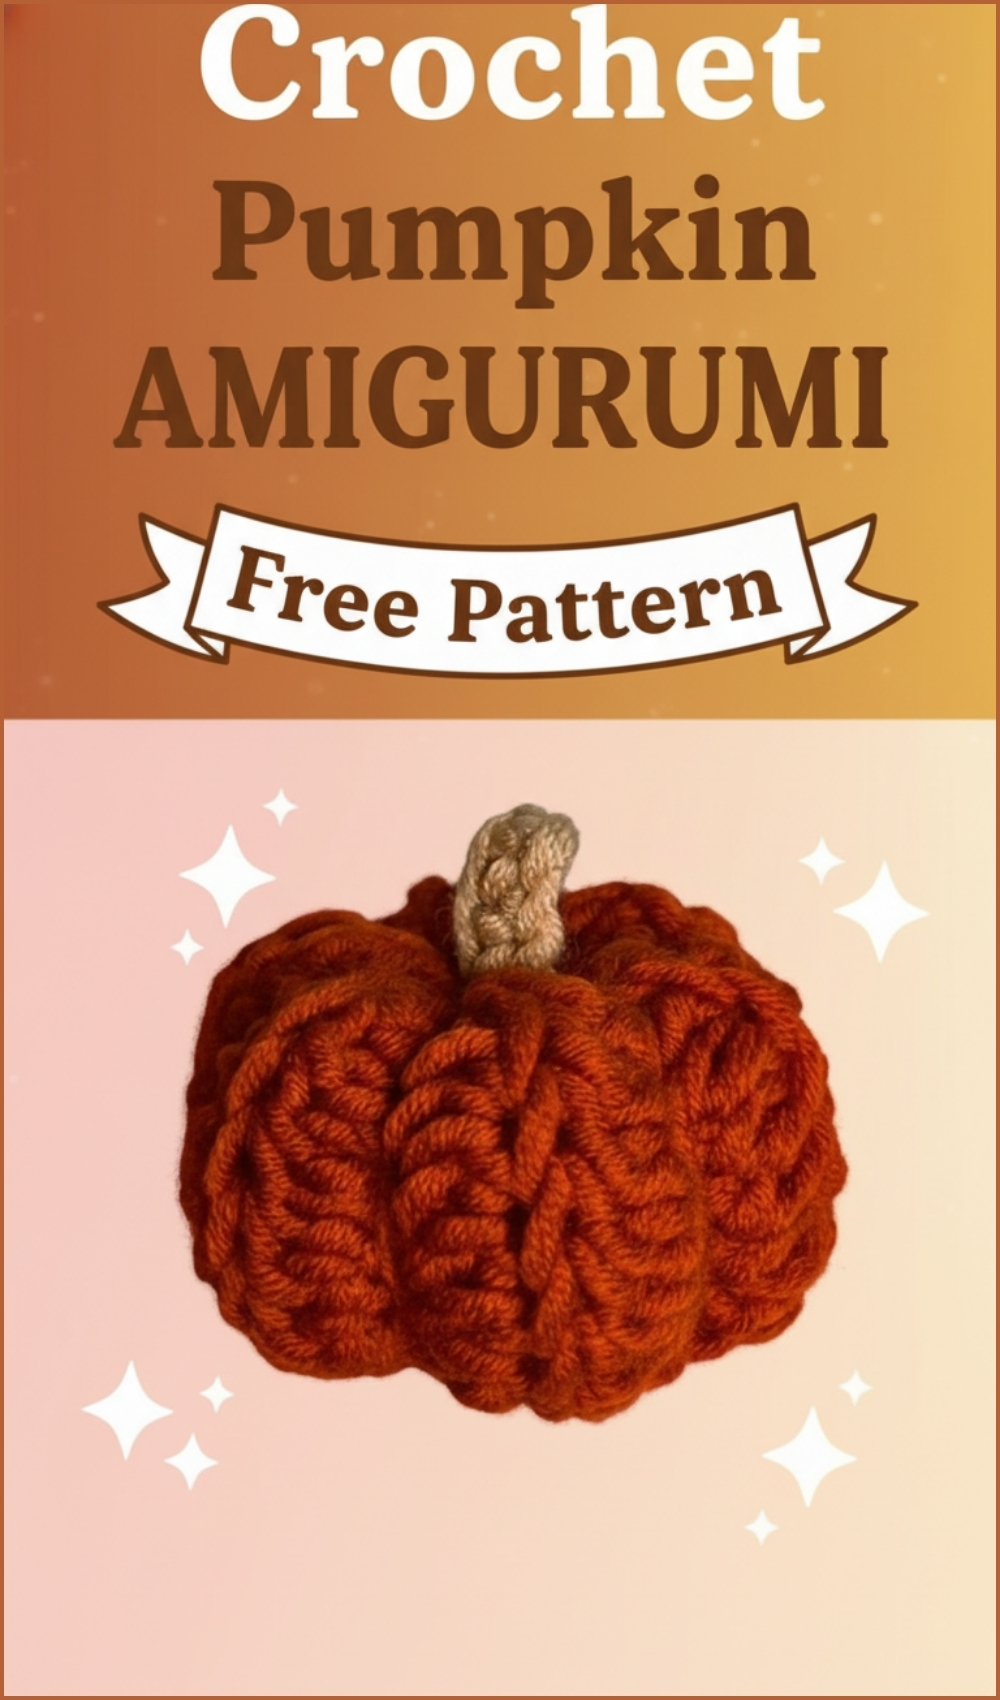
Crochet Pumpkin
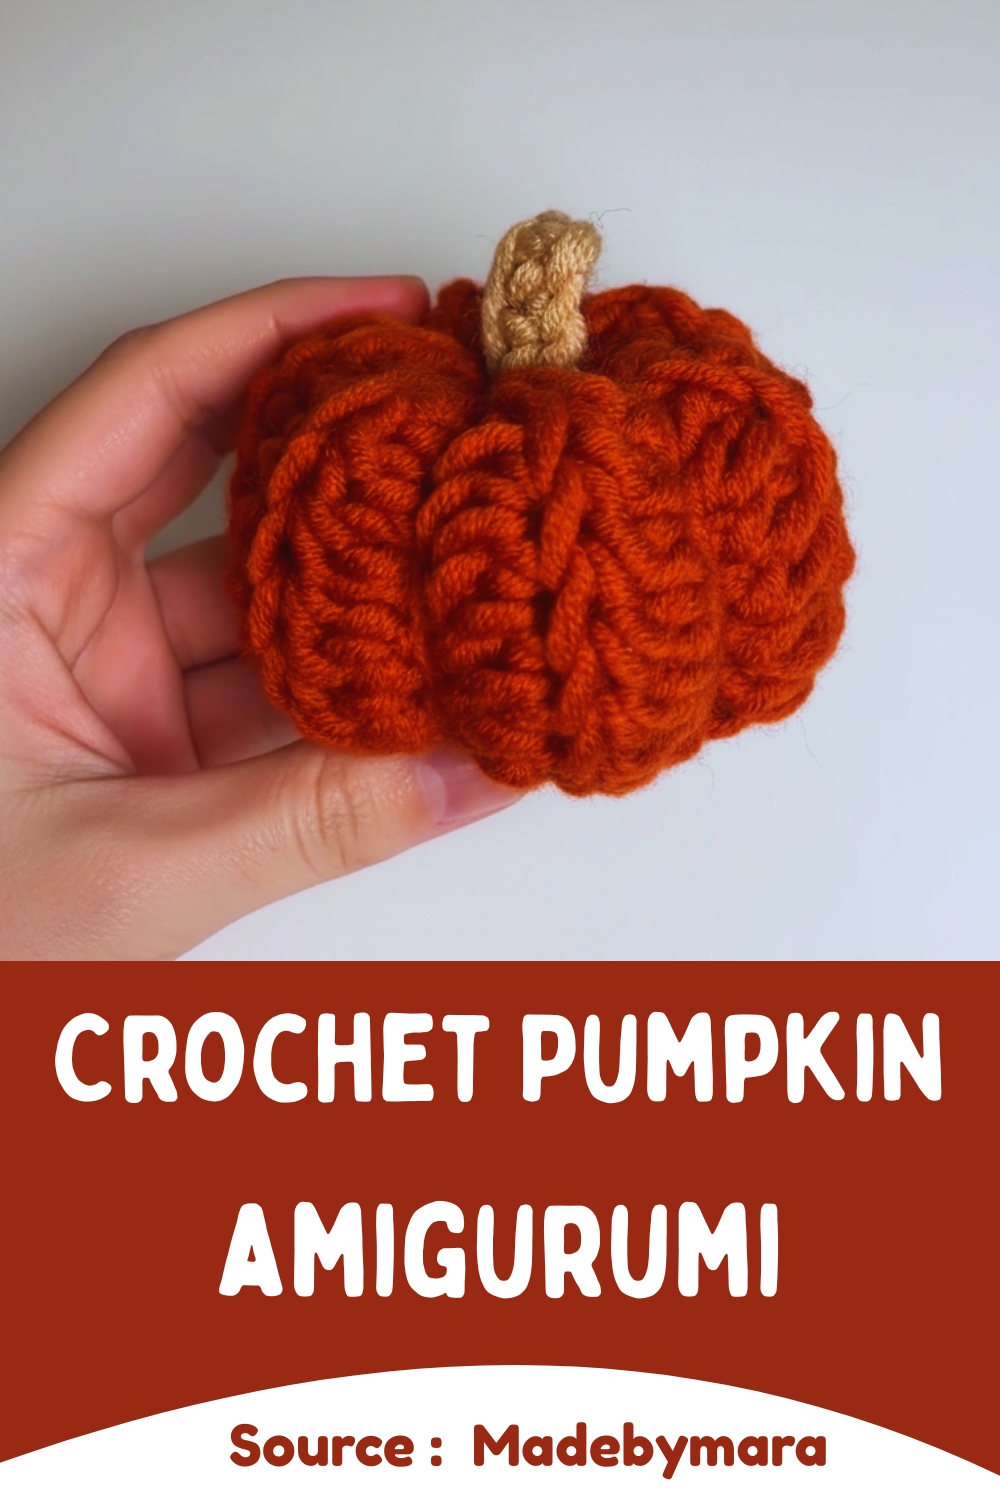
You can customize its size, color, and shape to suit your home décor or seasonal theme. Whether you’re crafting for Halloween, Thanksgiving, or cozy autumn vibes, this project is quick, fun, and perfect for using leftover yarn.
Materials
- Yarn of your choice (Bulky yarn recommended)
- Crochet Hook (8mm for bulky yarn)
- Scissors and Yarn Needle
- Stitch Marker (optional)
- Contrast color yarn for stem
- Stuffing (fiberfill or scrap yarn)
Creating the Foundation
- Make a slip knot and chain 11 for the base height of your pumpkin.
- Yarn over and insert your hook into the second chain from the hook to start your first half double crochet.
- Continue making one half double crochet into each chain across for a total of 10 stitches.
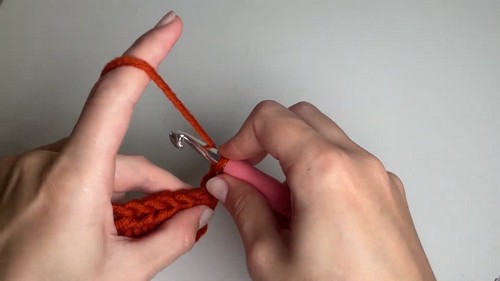
- Chain 1 and turn your work.
- Work one half double crochet in the back loop only in each stitch across.
- Always have 10 stitches per row.
- Repeat until your rectangle reaches the desired circumference. Around 12 rows make a 20x10 cm piece.
Seaming and Closing the Bottom
- After the final row, chain 1 and fold the rectangle so the short ends meet.
- Use slip stitches to join the sides together.
- Cut the yarn, leaving a long tail for sewing.
- Thread the tail through a yarn needle and weave in and out along the edge of one open side.
- Pull tight to close the bottom and secure with a knot.
- Weave in the end neatly.
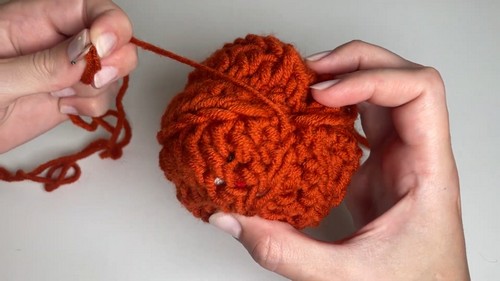
Stuffing and Shaping
- Turn the tube right side out so the seam is inside.
- Weave your needle in and out along the remaining open edge.
- Stuff the pumpkin with fiberfill or yarn scraps until firm.
- Pull the yarn tightly to close the top and tie to secure.

- For ridges, insert the needle through the top center down to the bottom center, pull tight to create a ridge, then repeat several times around.
- Tie off and weave in the yarn ends.
Making and Attaching the Stem
- Use your contrast color yarn and make a slip knot.
- Chain 4 for stem height.
- Starting in the second chain from hook, make 3 single crochets across.
- Cut the yarn with a long tail and pull through the last loop.
- Thread the tail through a yarn needle and sew the stem securely onto the pumpkin’s top center.
- Go through the pumpkin a few times to secure, then hide yarn tails inside.