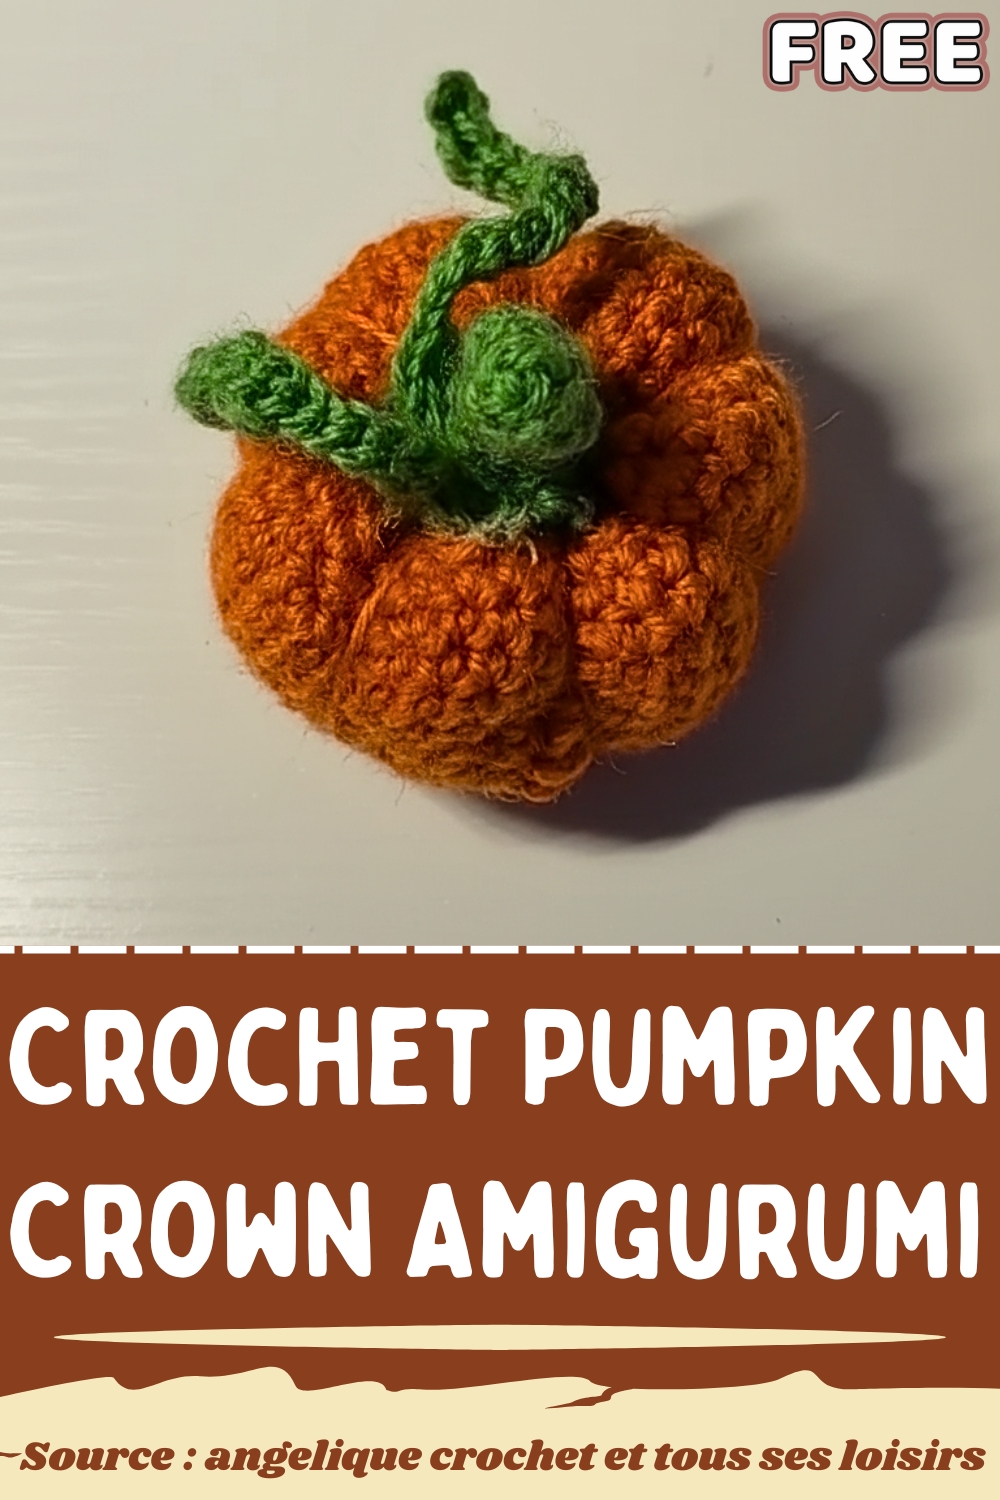
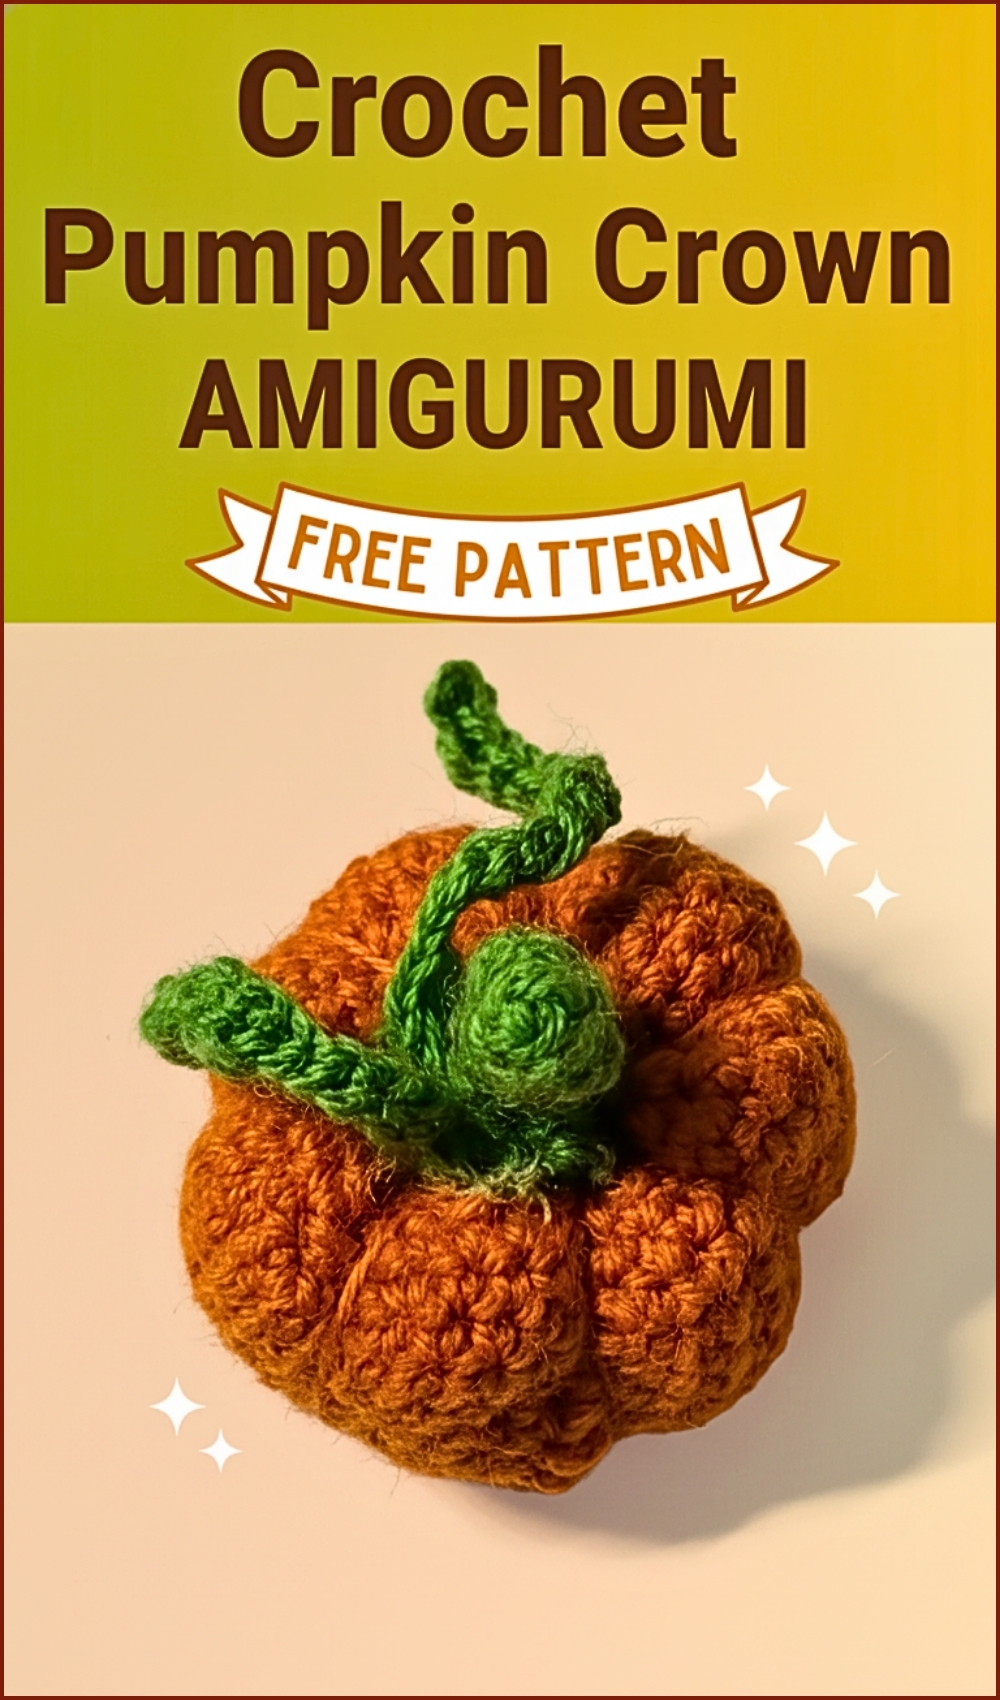
Crochet Pumpkin Crown Amigurumi Pattern With Leaf In Easy Steps
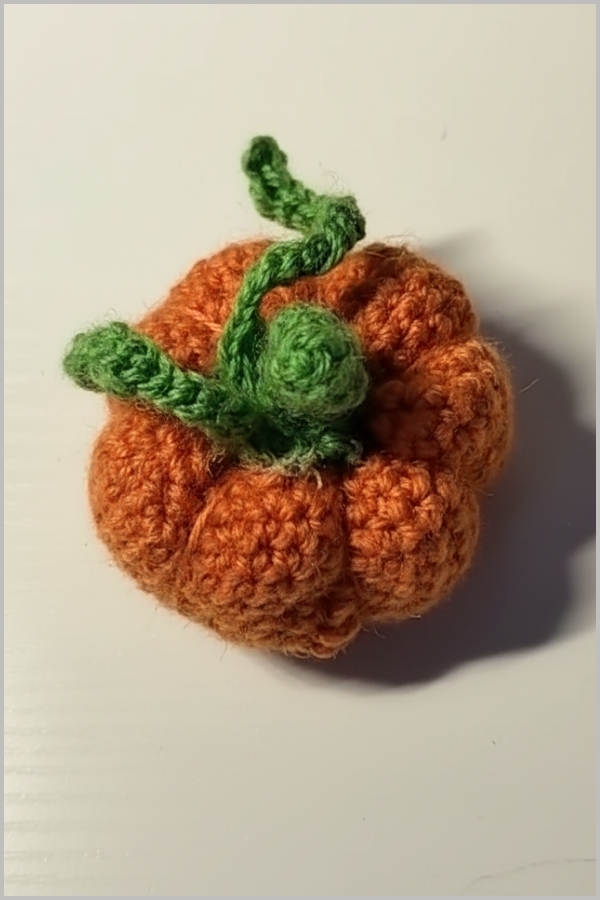
Shaping a pumpkin’s top details is what gives the piece its personality, and this crown and leaf combination does exactly that. The crown builds structure and height, while the leaf adds movement and a natural finish that makes the pumpkin feel complete.
Crochet Pumpkin Crown
Working these two elements separately allows you to focus on clean shaping first, then bring everything together during assembly for a balanced, polished look.
Skill Level
Beginner to intermediate
Finished Size
- Depends on your yarn and hook size, but designed to sit proportionally on top of a finished pumpkin amigurumi.
Materials
- Use the exact materials from your original pattern.
Abbreviations
- Use the exact abbreviations from your original pattern.
Helpful Notes Before Starting
- The crown is worked in joined rounds, not continuous spirals. Each round ends with a slip stitch.
- Stitch markers are important here to maintain alignment, especially when shaping begins.
- The leaf is intentionally simple, relying on slip stitches to create a flat, slightly textured shape.
- Keep tension consistent so the crown holds its form and doesn’t collapse inward.
Construction Overview
This topper is made in two parts:
- Crown: A small structured piece worked in rounds, gradually shaped to sit neatly on top of the pumpkin.
- Leaf: A long chain worked back with slip stitches to create a flat, slightly curved leaf.
Both pieces are completed separately and then attached during finishing.
Stitch and Shaping Clarity
- Back loop only stitches (Row 2) create a subtle ridge. This helps define the base of the crown and gives it a more realistic, layered look.
- Decrease in Row 3 pulls the crown inward slightly, helping it taper instead of staying cylindrical.
- Even rounds (Rows 4–7) stabilize the shape so it sits upright without flaring.
- Picot edging (Row 8) adds a decorative, slightly pointed edge that mimics the texture of a real pumpkin stem top.
Step by Step Pattern Instructions
CREATING THE CROWN
- Row 1: Start with a magic loop, chain one stitch, and work six single crochet stitches into the loop. Close the circle and finish with a slip stitch.
- Row 2: Chain one stitch, then work six single crochet stitches into the back loop of each stitch. Close the row with a slip stitch.
- Row 3: Chain one stitch. Place a single crochet stitch in the stitch under the chain and mark it. Place a second single crochet in the next stitch, then make a decrease by crocheting two stitches together.
- Rows 4–7: Chain one stitch. Place a single crochet in the first stitch and mark it. Work six single crochet stitches in each row and end each row with a slip stitch.
- Row 8: Create a decorative border by making one single crochet in each stitch, then create a picot by chaining two and making a slip stitch in the first chain. Repeat for all stitches. Close with a slip stitch and chain one. Cut the yarn and pull to secure it.
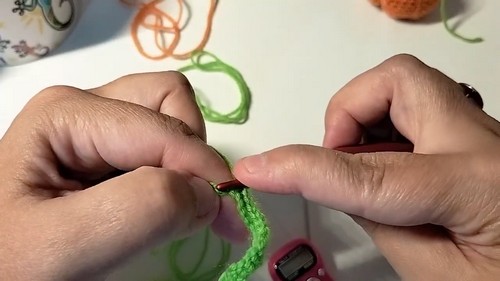
CREATING THE LEAF
- Step 1: Create a chain of 38 stitches.
- Step 2: Starting from the second chain from the hook, make a slip stitch in each chain all the way to the end.
- Step 3: When you reach the end, make a slip stitch in the last chain, then chain one. Cut the yarn and pull to secure it.
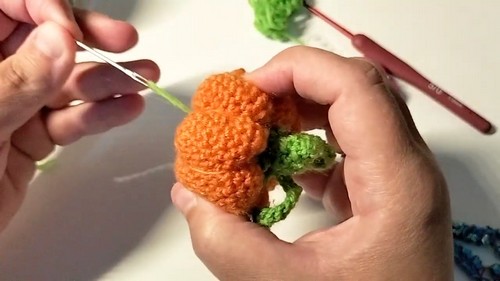
Assembly Guidance
- Position the crown at the center top of the pumpkin.
- Check alignment from all angles before attaching to ensure it sits straight.
- The leaf should rest naturally over the crown, slightly angled for a more organic look.
Eye and Facial Feature Placement
Not applicable for this pattern section.
Stuffing Tips
- The crown is typically not stuffed.
- If your yarn is soft and the crown collapses, you can lightly reinforce it by tightening stitches or using slightly smaller hook tension next time.
Finishing Notes
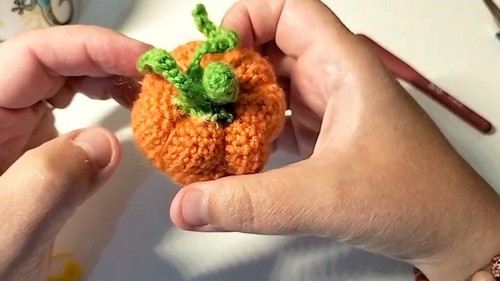
FINISHING TOUCHES
- Attach the crown and the leaf to the top of the pumpkin using a hot glue gun.
- The leaf is glued on top of the crown.
- Weave in the loose ends of the yarn from both pieces.
Beginner Notes
- Don’t skip marking the first stitch in each round—it keeps your rows aligned and prevents twisting.
- When working slip stitches for the leaf, keep them loose enough so the chain doesn’t curl too tightly.
- If your crown feels uneven, check that each round has the correct stitch count.
Troubleshooting
- Crown looks tilted: Likely due to uneven stitch placement or missed stitches—count each round carefully.
- Crown collapsing inward: Try tighter tension or a smaller hook size.
- Leaf curling too much: Loosen your slip stitches slightly or use a larger hook for the leaf.
Customization Ideas
- Add multiple leaves for a fuller top.
- Use textured yarn for the crown to mimic a rough stem.
- Experiment with longer or shorter chains to change the leaf size and shape.