Crochet Mini Sheep Free Keychain Pattern For Gifts
The Mini Sheep Keychain crochet pattern is a charming small project designed to create an adorable sheep with textured wool details and soft facial features. This pattern is perfect for keychains, bag charms, gifts, or craft fair items.
Crochet Mini Sheep Keychain
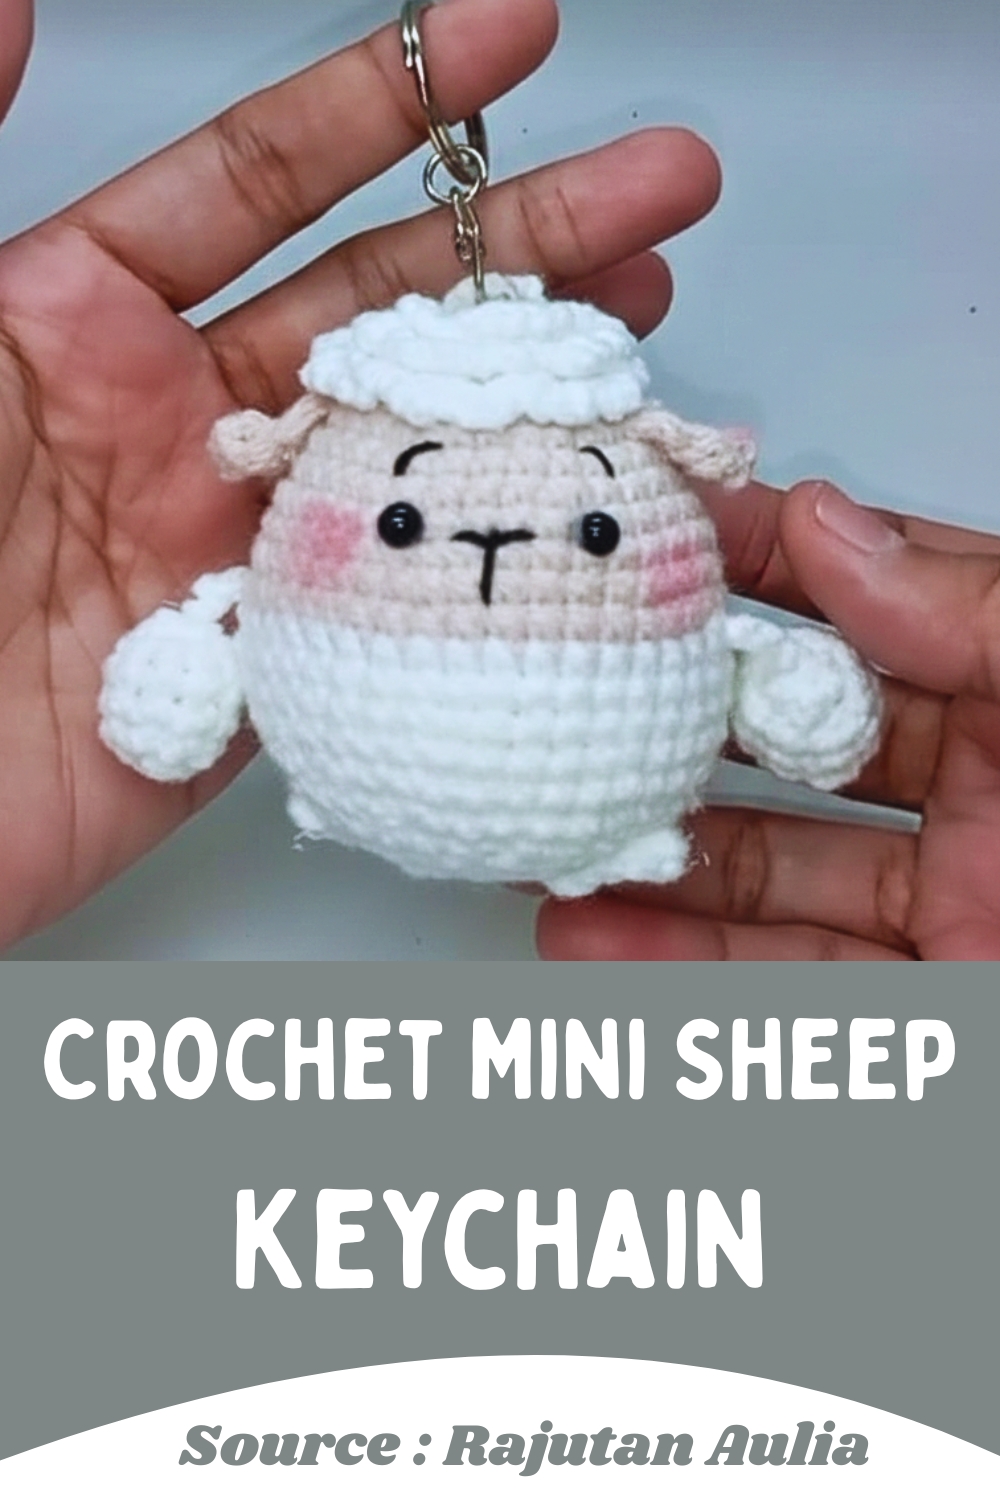


Elevate your crafting game by stitching a whimsical Crochet Mini Sheep keychain, the ultimate blend of cuteness and practicality for your everyday carry. This pint-sized barnyard friend stands out with its uniquely bumpy, popcorn-stitched wool and endearing safety-eye expression, ensuring your keys are always easy to spot inside a crowded bag. For makers, the creative allure lies in experimenting with various yarn textures, making this swift project a satisfying way to clear your stash while producing unforgettable, handmade tokens.
Skill Level
-
Advanced Beginner
Finished Size
-
Approximately 3 to 3.5 inches tall, excluding the keychain ring, depending on your tension.
Materials
-
Milk Cotton 5 Ply yarn in white for body and beige or tan for face and limbs
-
3.0 mm crochet hook
-
5 mm safety eyes or glue-on eyes
-
Fiberfill stuffing
-
Tapestry needle
-
Scissors
-
Stitch marker
-
Keychain ring
Abbreviations
-
ch: chain
-
sc: single crochet
-
dc: double crochet
-
inc: increase (two single crochet stitches in the same stitch)
-
dec: decrease (two single crochet stitches worked together)
-
BLO: back loops only
-
FLO: front loops only
Helpful Notes Before Starting
-
Use your stitch marker in the first stitch of every round because amigurumi is worked in a continuous spiral.
-
Pay close attention to the loop instructions in the first few rounds, as leaving the front loops unworked is essential for the hair step later.
-
Keep your tension consistent so the stuffing does not peek through the stitches, especially when transitioning to the face color.
Construction Overview
-
The main body and head are crocheted as one continuous piece starting from the top of the head down to the base.
-
The textured wooly hair is worked directly into the surface of the head using the reserved front loops.
-
Ears, arms, and legs are crocheted separately as flat or small tubular pieces and then sewn onto the main body.
-
The project concludes with facial feature placement, embroidery, and the attachment of the keychain hardware.
Stitch and Shaping Clarity
-
Rounds 2 through 4 require working in the back loops only, which naturally leaves a ridge of front loops on the outside of the work.
-
The staggered increase patterns in rounds 4, 7, and 18 prevent visible lines from forming, resulting in a perfectly smooth, round shape.
-
Decreases should be worked as invisible decreases by using the front loops of the two stitches being combined to keep the texture clean.
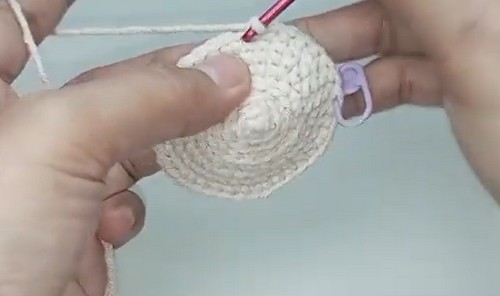
Main Body and Head
-
Round 1: Magic ring with 6 single crochet
-
Round 2: Back loops only, 6 increases for 12 single crochet
-
Round 3: Back loops only, 1 single crochet and 1 increase repeated 6 times for 18 stitches
-
Round 4: Back loops only, 1 single crochet, 1 increase, 1 single crochet repeated 6 times for 24 stitches
-
Round 5: Work in both loops, 3 single crochet and 1 increase repeated 6 times for 30 stitches
-
Round 6: 30 single crochet around
-
Round 7: 2 single crochet, 1 increase, 2 single crochet repeated 6 times for 36 stitches
-
Round 8: 36 single crochet around
-
Round 9: 36 single crochet around
-
Round 10: 5 single crochet and 1 increase repeated 6 times for 42 stitches
-
Round 11: 42 single crochet around
-
Round 12: Change to face color, 42 single crochet
-
Round 13: 42 single crochet
-
Round 14: 42 single crochet
-
Round 15: 42 single crochet
-
Round 16: 42 single crochet
-
Round 17: 5 single crochet and 1 decrease repeated 6 times for 36 stitches
-
Round 18: 2 single crochet, 1 decrease, 2 single crochet repeated 6 times for 30 stitches
-
Round 19: 3 single crochet and 1 decrease repeated 6 times for 24 stitches
-
Round 20: 1 single crochet, 1 decrease, 1 single crochet repeated 6 times for 18 stitches
-
Round 21: 1 single crochet and 1 decrease repeated 6 times for 12 stitches, stuff the body
-
Round 22: 6 decreases, fasten off and close the opening
Wooly Hair Details
-
Attach white yarn to the front loops left from rounds 2 to 4
-
Chain 3 and single crochet into the next front loop
-
Repeat around to create curly wool texture
Ears
-
Chain 4
-
Work 1 double crochet in the second chain from hook
-
Work 1 double crochet in the next chain
-
Work 1 single crochet in the last chain
-
Fasten off and leave a long tail
-
Make two ears
Legs
-
Use the same instructions as the ears
-
Make two legs
Arms
-
Round 1: Magic ring with 6 single crochet
-
Round 2: 2 single crochet and 1 increase repeated twice for 8 stitches
-
Round 3: 8 single crochet around
-
Round 4: 8 single crochet around, add a small amount of stuffing
-
Round 5: 2 single crochet and 1 decrease repeated twice for 6 stitches
-
Fasten off and leave a tail
-
Make two arms
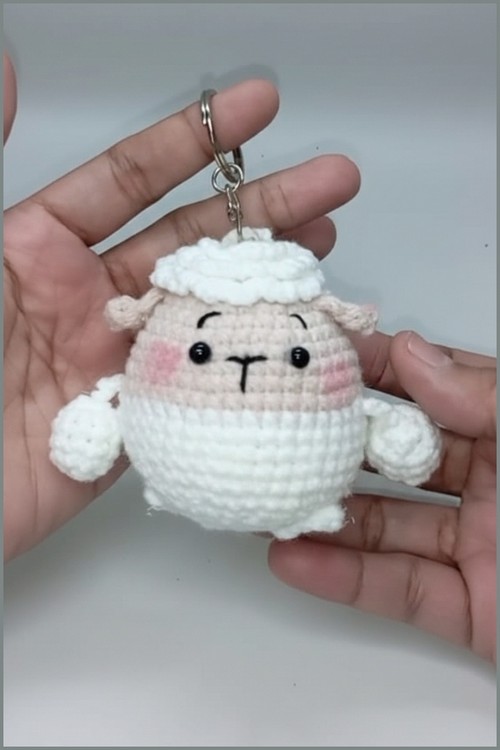
Assembly
-
Sew ears onto round 5 just below the wool texture
-
Attach arms to the sides of the body
-
Sew legs to the bottom of the body
-
Place eyes at round 9
-
Embroider a small Y shape for the nose and mouth and add small eyebrows
-
Attach the keychain ring to the top of the head
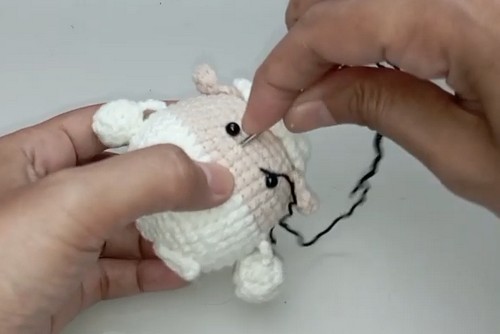
Eye and Facial Feature Placement
-
Insert the safety eyes at round 9, ensuring they are centered relative to where you want the front of the face to be.
-
Leave about 6 to 7 stitches of space between the eyes to maintain a cute, wide-eyed proportion.
-
Position the embroidered Y-shaped nose directly between and slightly below the eyes, centered on rounds 10 and 11.
-
Place the small eyebrows two rounds above the eyes, slanting slightly downward outward for a soft expression.
Stuffing Tips
-
Add fiberfill gradually after round 20 to ensure the head and body are firmly shaped without stretching the stitches.
-
Roll the stuffed piece between your hands to distribute the fiberfill evenly and eliminate any lumps.
-
Keep the stuffing slightly away from your hook during the final round of decreases to prevent catching white fibers in your stitches.
Assembly Guidance
-
Pin all the parts in place using sewing pins before sewing to check symmetry and alignment from all angles.
-
Sew the ears horizontally so they flop downward slightly, matching the natural look of a sheep.
-
Attach the legs close together at the base of the body on round 21 so the sheep can sit or dangle upright.
-
Secure the arms on the sides of the body, roughly two rounds below the color change line.
Finishing Notes
-
Weave the final yarn tail through the front loops of the last 6 stitches and pull tightly to close the bottom gap neatly.
-
Hide all remaining yarn tails by pulling them through the body with a tapestry needle and clipping them close to the surface.
-
Secure the keychain ring firmly to the magic ring at the top of the head, looping through multiple strands of yarn for durability.
Beginner Notes
-
If you find working into the front loops difficult, use your fingernail or a smaller hook to lift the loop before inserting your main hook.
-
Do not worry if the hair details look sparse at first, as the texture builds up quickly as you work your way around the spirals.
-
Count your stitches at the end of every round during the shaping phases to make sure the increases and decreases line up perfectly.
Troubleshooting
-
If the face color section looks elongated, check that you did not accidentally add extra rounds between rounds 12 and 16.
-
If gaps appear in your stitches when you decrease, switch to the invisible decrease method to tighten the fabric.
-
If the keychain feels loose, re-anchor it by weaving a separate strand of white yarn through the top interior stitches to create a stronger base.
Customization Ideas
-
Change the face yarn color to dark brown or black to create a classic black-faced sheep variety.
-
Increase the chain length on the hair details from a chain 3 to a chain 5 if you prefer a fluffier, more exaggerated wool texture.
-
Add a touch of pink blush or pink embroidery thread just beneath the eyes to give your sheep a rosy cheek appearance.