Crochet Mini Dog Free Pattern You Will Love Making
This mini dog crochet pattern is designed to help you create an adorable small amigurumi with simple shaping and clean details.
Crochet Mini Dog


Nothing beats the pure creative satisfaction of watching a Crochet Mini Dog figure come together stitch by simple stitch on your hook. These thumb-sized hounds feature floppy jowls, a cute curled tail, and an incredibly soft texture, making them ideal as decorative phone charms or comforting shelf sitters. Crafters adore this specific Crochet Mini Dog layout because it offers an artistic escape that yields endlessly customizable results.
Skill Level
-
This project is ideal for confident beginners who have practiced the basic stitches and are ready to learn how a single piece of crochet can form two major body parts.
Finished Size
-
The final size of your toy will depend entirely on your chosen yarn weight and hook size, but using a standard worsted weight yarn with a 3.5mm hook typically yields a palm-sized companion perfect for keychains or desk buddies.
Materials
-
Light brown and dark brown yarn
-
Crochet hook suitable for your yarn
-
Small safety eyes
-
Small safety nose or embroidery thread
-
Fiberfill stuffing
-
Stitch marker
-
Scissors
-
Tapestry needle
Abbreviations
-
mr: Magic ring
-
sc: Single crochet
-
inc: Increase
-
dec: Decrease
-
ch: Chain
-
st: Stitch
-
sl st: Slip stitch
Helpful Notes Before Starting
-
Always place a stitch marker in the very first stitch of each round because amigurumi is worked in a continuous spiral, and losing track of your starting point will disrupt the alignment of your shaping.
-
Keep your tension firm and consistent throughout the project to ensure that the fiberfill stuffing does not peek through the gaps between your stitches.
Construction Overview
-
This pattern utilizes a seamless construction technique where the head transitions directly into the body through a narrowed neck section, eliminating the need to sew the head to the body later.
-
The ears, legs, and tail are crocheted as separate, smaller components that are securely attached to the main body during the final assembly phase.
Stitch and Shaping Clarity
-
The increases expand the fabric by adding two stitches into a single space, which creates a flat dome for the top of the head and the base of the body.
-
The decreases pull the fabric inward by joining two stitches together, defining the chin area and tapering the bottom of the body so it can be cleanly closed.
Head and Body
-
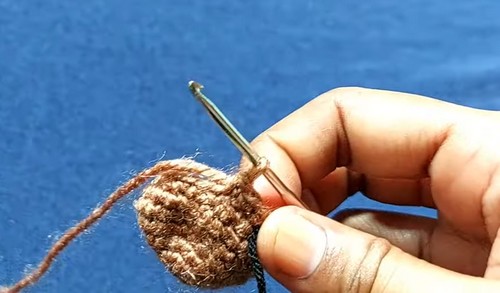
Round 1: Make a magic ring and work 6 single crochet
-
Round 2: Work 2 single crochet in each stitch around for 12 stitches
-
Round 3: Work 1 single crochet, 1 increase repeated around for 18 stitches
-
Round 4: Work 2 single crochet, 1 increase repeated around for 24 stitches
-
Rounds 5–8: Work 1 single crochet in each stitch around
-
Round 9: Work 2 single crochet, 1 decrease repeated around for 18 stitches
-
Round 10: Work 1 single crochet, 1 decrease repeated around for 12 stitches
-
Insert safety eyes and nose and begin stuffing
-
Round 11: Work 1 single crochet in each stitch around
-
Round 12: Work 1 single crochet, 1 increase repeated around for 18 stitches
-
Rounds 13–16: Work 1 single crochet in each stitch around
-
Round 17: Work 1 single crochet, 1 decrease repeated around for 12 stitches
-
Finish stuffing firmly
-
Round 18: Work 6 decreases, fasten off, and close the opening
Ears
-
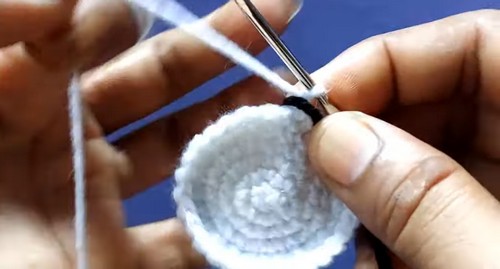
Round 1: Make a magic ring with dark brown yarn and work 5 single crochet
-
Round 2: Work 2 single crochet in each stitch around for 10 stitches
-
Rounds 3–5: Work 1 single crochet in each stitch around
-
Round 6: Fold ear flat and single crochet through both layers to close, fasten off leaving a long tail
Legs and Tail
-
Legs: Make a magic ring and work 6 single crochet, then work 2 rounds of single crochet, fasten off and leave a tail
-
Tail: Chain 5, slip stitch in the second chain from the hook and in each remaining chain
Eye and Facial Feature Placement
-
Place the small safety eyes between rounds 7 and 8 of the head, leaving about four to five stitches of space between them to create an open, friendly expression.
-
Position the safety nose centered horizontally between the eyes, sitting exactly one round below the eye line.
-
Secure the plastic backings firmly onto the safety posts from the inside of the head before you begin stuffing the piece with fiberfill.
Stuffing Tips
-
Add the fiberfill in small, torn-apart clumps rather than one large ball, pushing it firmly into the sides of the head to smooth out any ridges caused by the increases.
-
When stuffing the body during round 17, ensure the neck area remains firmly packed so the head does not droop or tilt loosely over time.
Assembly Guidance
-
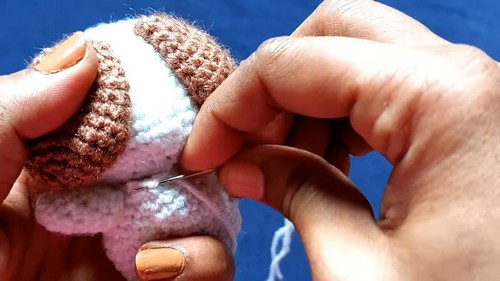
Sew the ears to the sides of the head
-
Attach two legs to the front and two to the back of the body
-
Sew the tail to the back of the body
-
Embroider a small mouth under the nose if desired
Finishing Notes
-
To close the final opening at the bottom of the body, thread your yarn tail onto a tapestry needle and weave it only through the front loops of the remaining six stitches, then pull tight like a drawstring.
-
Hide all remaining yarn tails by threading them deeply into the body, pulling them out through a random stitch, and snipping the yarn close to the fabric so the ends snap back inside.
Beginner Notes
-
If your decreases look too bulky, try using the invisible decrease method, which involves inserting your hook only into the front loops of the two stitches before completing your single crochet.
-
If your magic ring tends to loosen over time, make sure to knot the starting tail securely against the first round before you tuck it inside the head.
Troubleshooting
-
If your head looks oblong rather than round, double-check that you did not accidentally skip or add an extra round between rounds 5 and 8.
-
If the legs look uneven when your toy is standing, use straight pins to secure all four legs to the base of the body and test the balance on a flat surface before sewing them permanently.
Customization Ideas
-
You can easily change the look of this animal by swapping the dark brown yarn on the ears for a bright cream color to create a contrasting patch effect.
-
Try lengthening the tail by adding five extra chains to the initial chain sequence if you want to give your character a longer, more expressive feature.