Crochet Ice Cream Cone Plushie No Sew Free Pattern For Beginners
This no sew crochet ice cream cone plush pattern is perfect for anyone who loves making quick, cute, and beginner friendly amigurumi projects. Designed to be worked seamlessly from the cone to the scoop, this pattern eliminates sewing while still creating a soft, polished plush with charming details.
Crochet Ice Cream Cone Plush
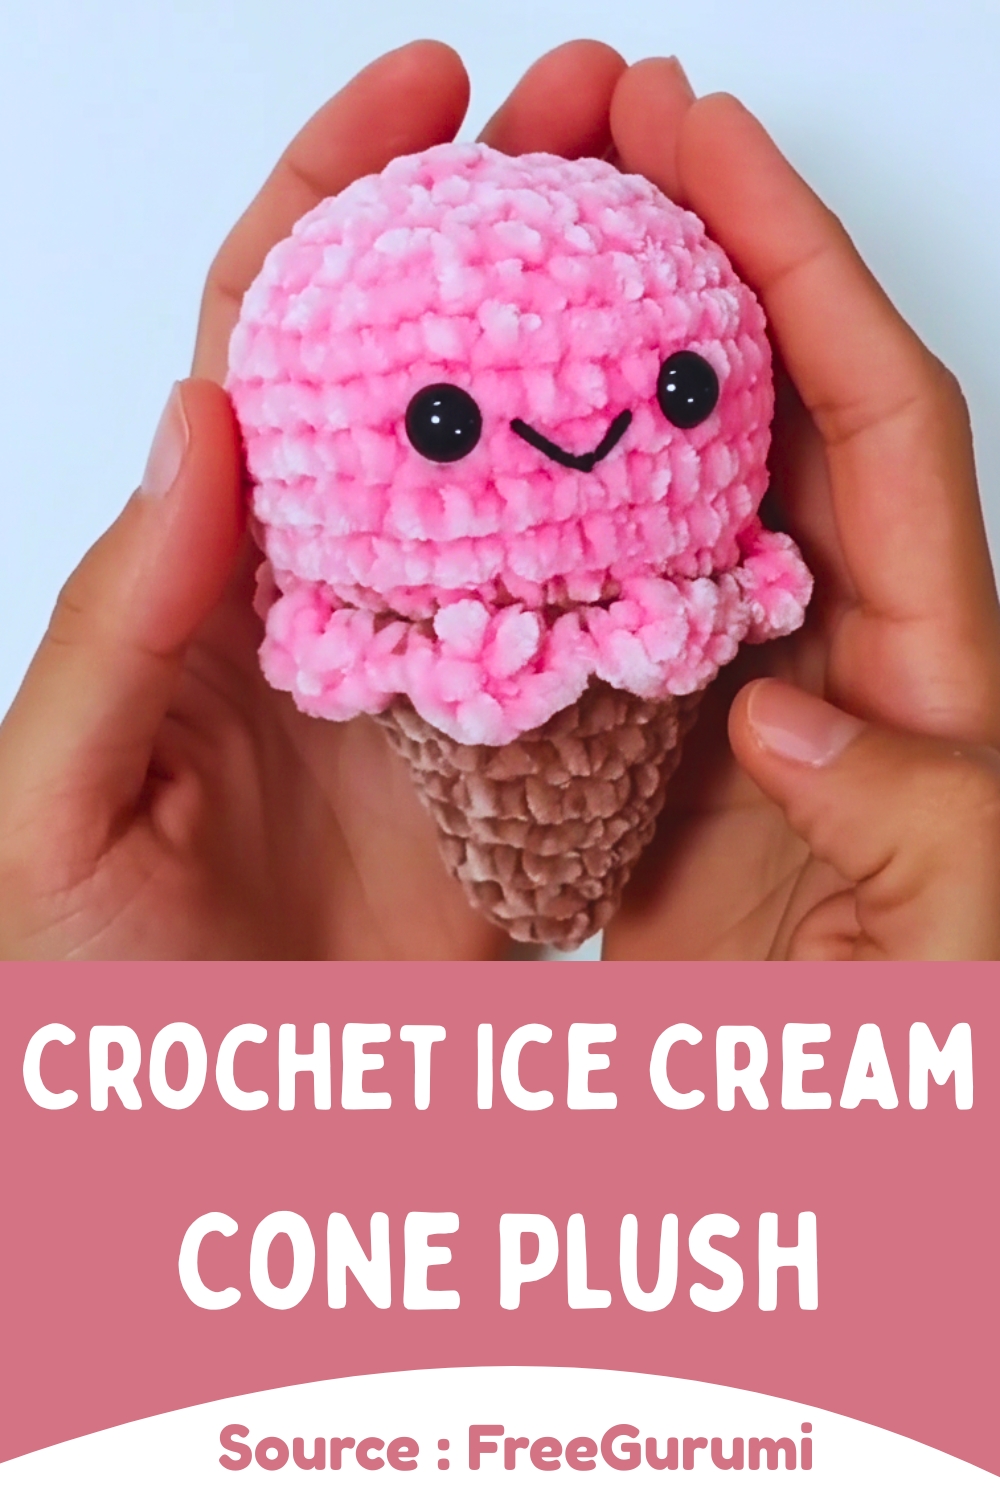


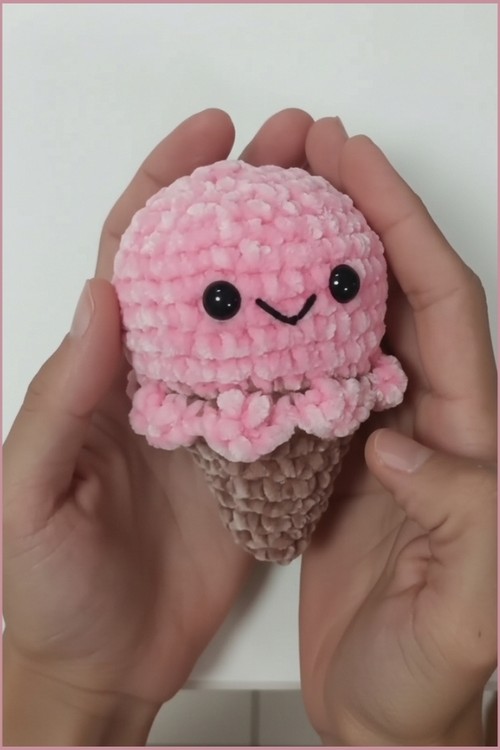
Every yarn enthusiast will adore making a Crochet Ice Cream Cone Plush by utilizing this intuitive and fun design. Boasting realistic "sugar cone" textures and plump, velvety scoops, these softies function perfectly as trendy nursery accents or delightful photo props. The sheer variety of stitch techniques and color combinations offers immense creative freedom, resulting in a unique, squishy masterpiece every time.
Skill Level
- Beginner to easy intermediate
- Suitable for crocheters familiar with single crochet, increases, decreases, and working in continuous rounds
- Helpful project for practicing shaping and plush yarn tension control
Finished Size
- Size will vary depending on yarn thickness, hook size, and tension
- Plush yarn and a 4.0 mm hook typically create a small palm sized amigurumi
Materials
- Plush or chenille yarn in pink and light brown
- 4.0 mm crochet hook
- 10 mm safety eyes
- Fiberfill stuffing
- Stitch marker
- Needle and scissors
- Black thread for smile embroidery
Abbreviations
- sc = single crochet
- inc = increase
- dec = decrease
- mc = magic circle
- sl st = slip stitch
- ch = chain
- FLO = front loops only
- BLO = back loops only
Helpful Notes Before Starting
- Use a stitch marker to track the beginning of each round since the pattern is worked continuously
- Plush yarn can hide stitches easily, so count carefully after every row
- Keep tension consistent to avoid gaps around the stuffing
- Invisible decreases help create smoother shaping, especially with chenille yarn
- The ruffle section is worked into the front loops while the following round continues in the back loops from the earlier row
- Stuff gradually instead of waiting until the very end because the opening becomes much smaller during the decrease rounds
Construction Overview
- The cone section begins with gradual increases to create a tapered base
- The pink scoop section expands wider than the cone to create the rounded ice cream shape
- A decorative ruffle is added using the front loops to separate the scoop visually from the cone
- The head and cone are crocheted as one continuous piece, so no extra sewing is required
- Facial features are added before the final closing rounds to make placement easier
Stitch And Shaping Clarity
- Each increase round expands the cone evenly while keeping the shape symmetrical
- The repeated increase placement creates a smooth widening effect instead of sharp corners
- The front loop ruffle creates dimension without adding extra separate pieces
- Working the next row into the back loops preserves the decorative edge while maintaining structure
- The decrease rounds slowly pull the scoop inward to create a rounded dome shape
- Firm stuffing helps the plush maintain a balanced ice cream scoop appearance instead of collapsing inward
Step By Step Pattern Instructions
Cone Section Using Light Brown Yarn
- Row 1: Make a magic circle and crochet 6 single crochet
- Row 2: Work 2 single crochet then 1 increase, repeat twice for 8 stitches
- Row 3: Work 3 single crochet then 1 increase, repeat twice for 10 stitches
- Row 4: Work 4 single crochet then 1 increase, repeat twice for 12 stitches
- Row 5: Work 5 single crochet then 1 increase, repeat twice for 14 stitches
- Row 6: Work 6 single crochet then 1 increase, repeat twice for 16 stitches
- Row 7: Work 7 single crochet then 1 increase, repeat twice for 18 stitches
- Row 8: Work 8 single crochet then 1 increase, repeat twice for 20 stitches
- Row 9: Work 9 single crochet then 1 increase, repeat twice for 22 stitches
- On the final stitch of Row 9, change to pink yarn
Cone Shaping Notes
- The cone widens slowly to maintain the classic ice cream cone silhouette
- Changing yarn on the last stitch creates a cleaner color transition between the cone and scoop
- Keep the cone lightly stuffed only if you prefer a firmer base later
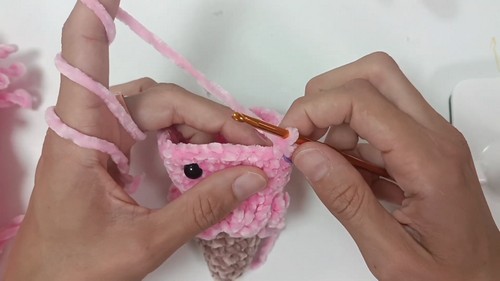
Ice Cream Scoop Using Pink Yarn
- Row 10: Crochet 24 single crochet around
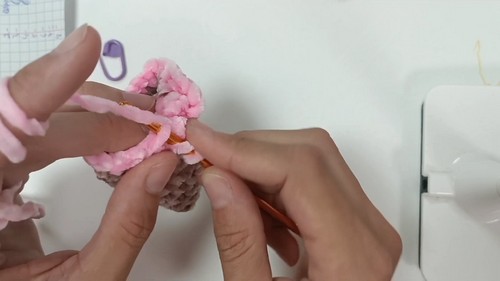
- Row 11: Work in front loops only to create the ruffle edge by chaining 4, forming a cluster across the next front loops, then slip stitching into the next loop, repeating for 8 ruffles
- Row 12: Work 24 single crochet in the back loops only from Row 10
- Row 13: Work 3 single crochet then 1 increase, repeat 6 times for 30 stitches
- Row 14: Work 4 single crochet then 1 increase, repeat 6 times for 36 stitches
- Rows 15 to 17: Crochet 36 single crochet around each row
- Insert safety eyes between the 5th and 6th pink rows, spacing them about 5 stitches apart
Ruffle And Scoop Notes
- The ruffle edge gives the scoop a melting ice cream appearance
- Working into the front loops only separates the decorative edge from the main body
- Returning to the back loops keeps the scoop stable and prevents distortion
- The increase rounds after the ruffle help the top section become fuller and rounder
- Even stitch placement keeps the scoop symmetrical
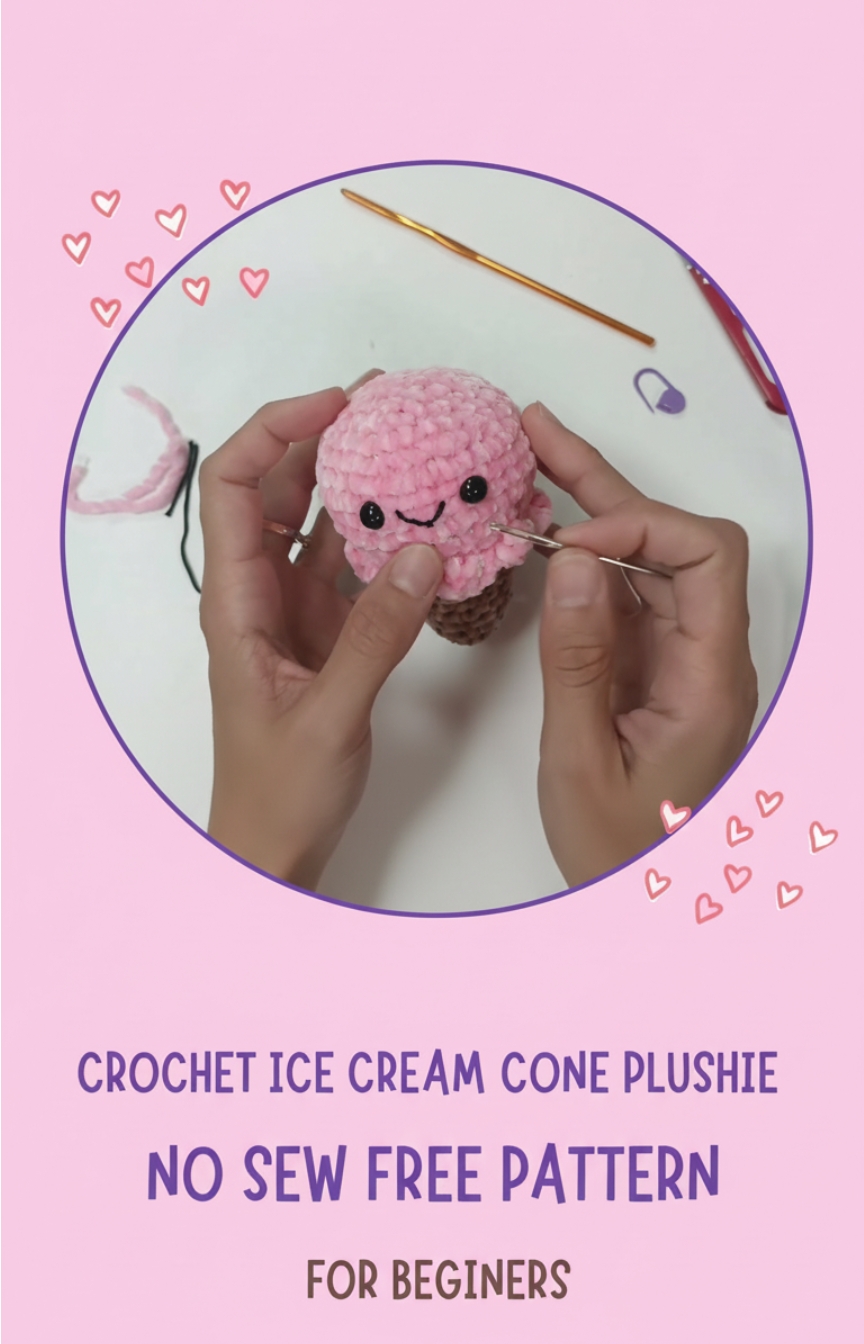
Eye And Facial Feature Placement
- Place the safety eyes evenly before stuffing becomes too firm
- Measure equal spacing from the center to avoid uneven facial positioning
- Slightly lower eye placement creates a softer and cuter expression
- Embroider the smile after closing so the face can be adjusted more accurately
Closing And Finishing
- Row 18: Work 4 single crochet then 1 decrease, repeat 6 times for 30 stitches
- Row 19: Work 3 single crochet then 1 decrease, repeat 6 times for 24 stitches
- Begin stuffing the plush firmly with fiberfill
- Row 20: Work 2 single crochet then 1 decrease, repeat 6 times for 18 stitches
- Row 21: Work 1 single crochet then 1 decrease, repeat 6 times for 12 stitches
- Row 22: Work 6 decreases to close
- Cut yarn, weave through remaining stitches to seal, and embroider a small smile using black thread
Stuffing Tips
- Add stuffing in small portions to avoid lumps
- Push stuffing gently into the cone tip using the back of the hook or a stuffing tool
- Keep the scoop firmly stuffed so it holds its rounded shape
- Avoid overstuffing near the closing rounds because stitches may stretch and expose filling
Assembly Guidance
- Since the plush is crocheted in one piece, there is no sewing required between sections
- Shape the scoop with your hands after stuffing to smooth uneven areas
- Check that the cone remains centered beneath the scoop before fully closing
Beginner Notes
- Plush yarn can make stitch counting harder, so count slowly after each round
- Use stitch markers frequently if rows become difficult to identify
- Invisible decreases create a cleaner finish than standard decreases
- If the ruffle feels confusing, complete one repeat slowly before continuing around the row
Troubleshooting
- If the cone twists, check stitch counts after each row
- If gaps appear near decreases, reduce tension slightly during decrease stitches
- If the scoop looks uneven, redistribute stuffing before closing
- If the eyes appear crooked, reposition them before attaching the backs securely
- If the ruffle curls too tightly, loosen chain tension slightly
Customization Ideas
- Add embroidered sprinkles using colorful yarn scraps
- Use pastel yarn shades for different ice cream flavors
- Attach a keychain loop for a small bag charm version
- Add blush embroidery beneath the eyes for extra expression
- Create multiple scoops in different colors for a themed collection