
Crochet Heart Amigurumi Free Pattern - Stuffed Heart
Nightstands and desk corners suit a stuffed crochet heart amigurumi, since the solid red plush fits in one palm and adds one spot of bright colour to a plain room. Tuck the soft heart plush into a lunchbox, coat pocket or get-well basket as a squeezable note for someone you miss.
Valentine tables and February markets move fast, and the crochet heart amigurumi covers both without any seasonal fuss. Anniversary gifts take it too. Makers stock up in January because a crochet heart amigurumi fills a bowl, tops a gift, or hangs on a wreath through the whole month.
Crochet Heart Amigurumi
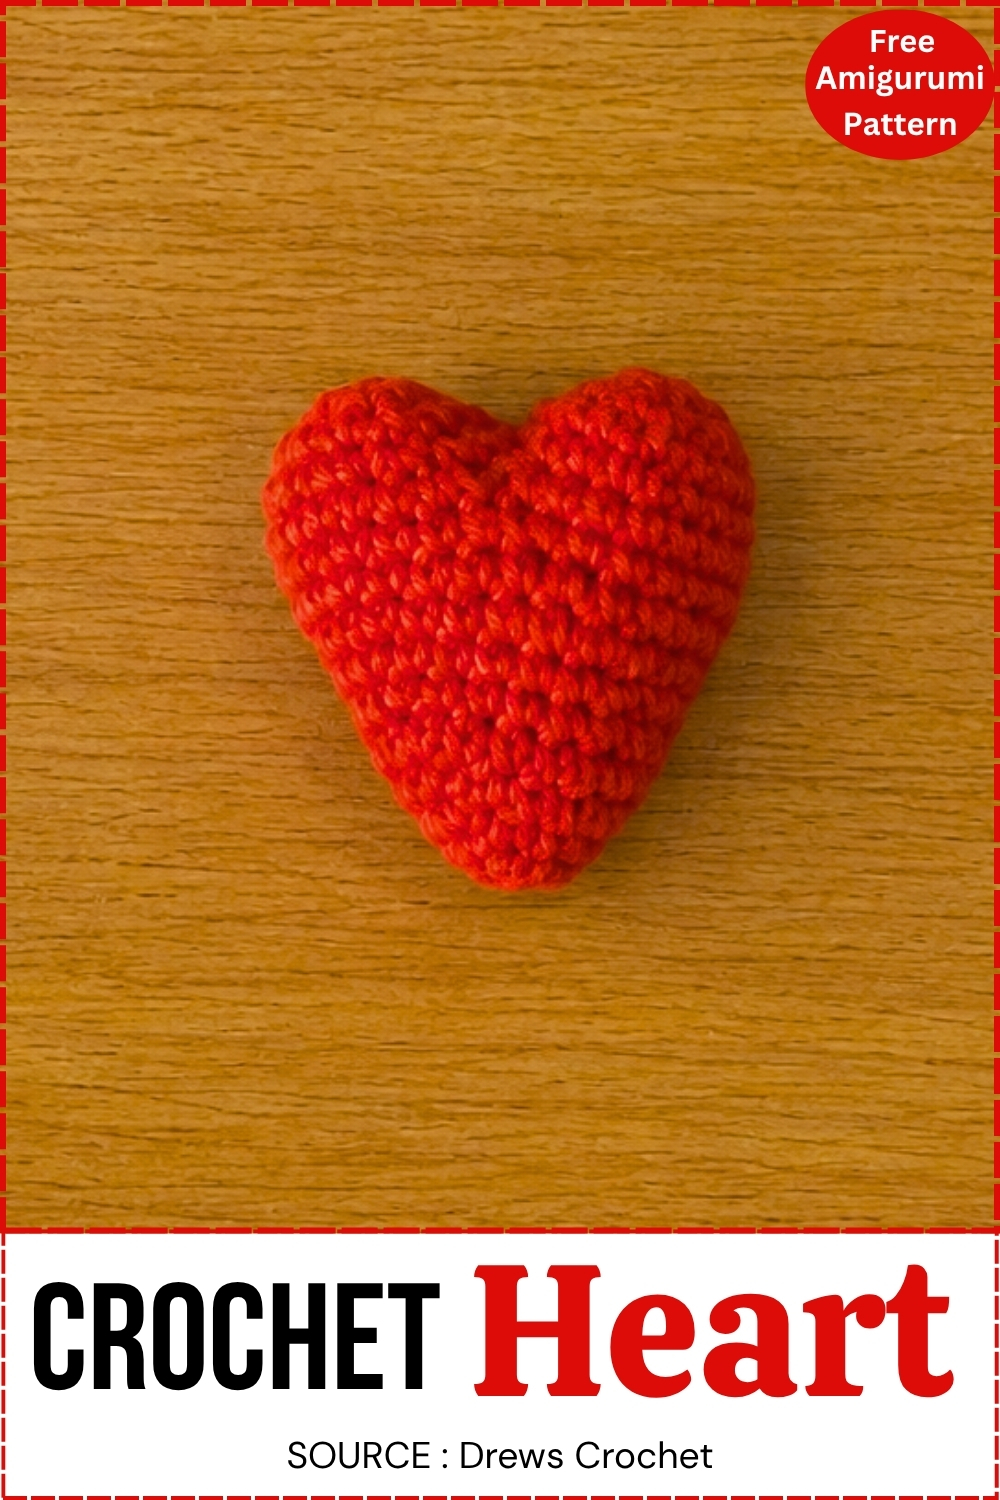
Two rounded lobes at the top taper down to a point, giving the shape its full depth rather than a flat outline. Red covers the whole piece with no second colour anywhere. Stuffing pushes the middle out so it sits proud of the surface instead of lying flat. Stitches stay tight and even across every round, which is what keeps the edges clean. Parts come down to just one, worked as a single piece and closed at the point. Nothing gets sewn on afterwards. The shaping asks for careful increases and decreases at the lobes, but everyone else runs plain, so beginners can finish one without much guidance.
Materials and Tools
- DK yarn in any colour
- 4 mm crochet hook
- Fiberfill stuffing
- Stitch marker
- Yarn needle
- Scissors
This is a single-piece make with no additional hardware. At DK weight on a 4 mm hook, the finished heart should come out roughly 8 to 11 cm wide as a rough estimate. Expect about 1 to 2 hours of work.
Abbreviations
- MR: magic ring
- sc: single crochet
- inc: increase (2 sc in one stitch)
- dec: invisible decrease
Pieces List
- Heart (one continuous piece, two bumps worked from the same base): 1
Before You Start
This heart is worked in continuous rounds without joining. Keep your stitch marker at the first stitch of each round and move it every time you pass it. The split into two bumps is where most makers lose track — read through that section once before you reach round 10 so the chain bridge does not catch you by surprise. Stuffing timing is also important: the base gets stuffed through the second bump's opening, so do not rush to close it.
The Pattern
Heart Base
Work in continuous rounds.
- Round 1: MR, 6 sc (6). Checkpoint: a tight closed circle — pull the ring fully shut before you continue.
- Round 2: (1 sc, 1 inc) repeat around (9)
- Round 3: (2 sc, 1 inc) repeat around (12)
- Round 4: (3 sc, 1 inc) repeat around (15)
- Round 5: (4 sc, 1 inc) repeat around (18)
- Round 6: (5 sc, 1 inc) repeat around (21). Checkpoint: a flat disc with even increases — no cupping, no ruffling. Should lie completely flat on the table.
- Round 7: Sc in each stitch around (21)
- Round 8: (6 sc, 1 inc) repeat around (24)
- Round 9: Sc in each stitch around (24)
- Round 10: (3 sc, 1 inc) repeat 6 times (30). Checkpoint: the disc should now be starting to curve upward at the edges into a very shallow bowl — if it is still completely flat, your increases may be slightly loose. This is the widest round of the base.

Creating the First Heart Bump
- Sc in the next 15 stitches.
- Chain 3.
- Sl st into the first stitch of this section to create a circular section. Checkpoint: you should have a small loop of 15 stitches plus the 3-chain bridge — a little oval opening sitting on top of the domed base.
- Bump 1, Round 1: Sc around the 15 stitches plus the 3 chains (18)
- Bump 1, Round 2: (4 sc, 1 dec) repeat 3 times (15)
- Bump 1, Round 3: (3 sc, 1 dec) repeat 3 times (12)
- Bump 1, Round 4: Dec repeat 6 times (6). Checkpoint: a small closed dome sitting on the base — rounded, not pointed. If it is pointy, the decreases were too tight. A light tug on the bump will soften the tip slightly once stuffed.
- Cut yarn and thread through the front loops of the remaining stitches.
- Pull tight to close the bump.
- Hide the yarn tail inside the heart.
Working in continuous rounds for the first time? No problem at all, the video tutorial below makes it easy to keep track!
Creating the Second Heart Bump
- Attach yarn to the remaining 15 stitches on the opposite side of the base.
- Bump 2, Round 1: Sc around the 15 stitches and the 3-chain bridge (18)
- Stuff the base of the heart firmly before continuing. This is your only opportunity to fill the base — the opening will close quickly from here.

- Bump 2, Round 2: (4 sc, 1 dec) repeat around (15)
- Bump 2, Round 3: (3 sc, 1 dec) repeat around (12). Add additional stuffing into this bump now if needed.
- Bump 2, Round 4: Dec repeat 6 times (6). Checkpoint: the second bump should match the first — same roundness, same firmness. Hold both bumps between your palms and compare before closing.
- Cut yarn, leaving a small tail.
- Weave through the front loops with a yarn needle.
- Pull tight to close the opening.
- Hide the yarn tail inside the heart.
Shaping and Finishing
There is no separate assembly — the heart is one piece. After closing the second bump, gently press the centre top area between the two bumps with a fingertip to create the natural dip of a heart shape. Use your hands to round both bumps evenly, reshaping the stuffing through the fabric if needed. Adjust until both sides feel even. Weave in any remaining ends.

Stuffing Guide
The base needs firm, even stuffing — this is what holds the heart shape and keeps the bottom point from collapsing. Add fiberfill in small, loose pinches through the second bump's opening and push each piece down before adding the next. Dense clumps get stuck and create lumps that show through DK yarn. The bumps themselves get moderate stuffing — firm enough to hold their dome shape, not so packed that they resist the finger press at the centre dip. Uneven stuffing between the two bumps is the most common finishing problem: check firmness on both sides before closing the second one.
Troubleshooting
- The base flares outward instead of curving into a dome. The increases are too loose or slightly too many. Block the base flat under a damp cloth and reshape while damp. For future makes, go down half a hook size.
- The chain bridge is visible between the two bumps at the top. This is a cosmetic issue, not a structural one. Thread a yarn needle with matching yarn and take one or two small tack stitches to pull the chain inward and hide it under the bump edge.
- One bump is noticeably smaller than the other. The stitch counts are the same, so the difference is tension. If the first bump was worked tighter than the second, block the smaller one with a damp cloth and a round object (a large button works well) pressed inside while it dries.
- The centre dip between bumps is not forming. Use a fingertip to press firmly downward between the bumps, working the stuffing to either side of the indent. Hold the shape for a minute before releasing. If the stuffing is too dense it will resist — remove a little from each bump and try again.
- The bottom point of the heart is collapsed or flat. This means the base was understuffed. Insert the tip of a pencil or pen into the point through the fabric and push a tiny amount of extra fiberfill in with it. Alternatively, add a small tight roll of fiberfill before closing the second bump and position it at the very base of the heart.

Yarn Substitution and Size Scaling
Any yarn weight works with a proportional hook. Going up to Aran or bulky yarn gives a large decorative heart in half the rounds — the construction is identical, just scaled. Fingering weight on a 2.5 mm hook produces a small heart suitable for a keychain or pendant with a jump ring added to the top. Cotton yarn gives a firmer, more structured shape than acrylic. Wool gives a slightly springier feel and blocks beautifully into a sharp silhouette.

FAQ
- Why does the pattern use a chain bridge instead of just dividing the stitches? The chain adds 3 extra stitches to each bump's working round, which is what gives each bump a full 18-stitch circle to work from instead of just 15. Without it, the bumps would come out smaller and flatter relative to the base. The chain itself gets worked into the first round of each bump and disappears into the fabric.
- Can I change the colour between the base and the bumps? Yes. Join the new colour at the point where you begin the split — at the first of the 15 stitches before the chain. The chain bridge and both bumps will be in the new colour, with the base in the original. A contrasting bump colour reads well against a solid base.
- The heart does not look like a heart yet after closing the bumps — is that normal? Completely. The shape only becomes recognisable after the centre dip is pressed in and both bumps are rounded by hand. The closing rounds produce two adjacent domes on a base, and the finger shaping at the end is what turns it into a heart. Do not skip that step.
- How do I stop the first bump's tail from coming loose inside? Weave the tail back through several stitches in different directions before hiding it, rather than just threading it once. A single pass in one direction can work loose over time. Two or three passes through different surrounding stitches holds permanently.
- My dec stitches are leaving small holes at the closing rounds. This is why the pattern specifies invisible decreases. Insert the hook through only the front loops of the next two stitches, yarn over, pull through both, then complete as normal. This is different from the standard decrease and produces a much flatter result with no visible hole.