Crochet Coraline Doll Amigurumi Free Tutorial For Beginners
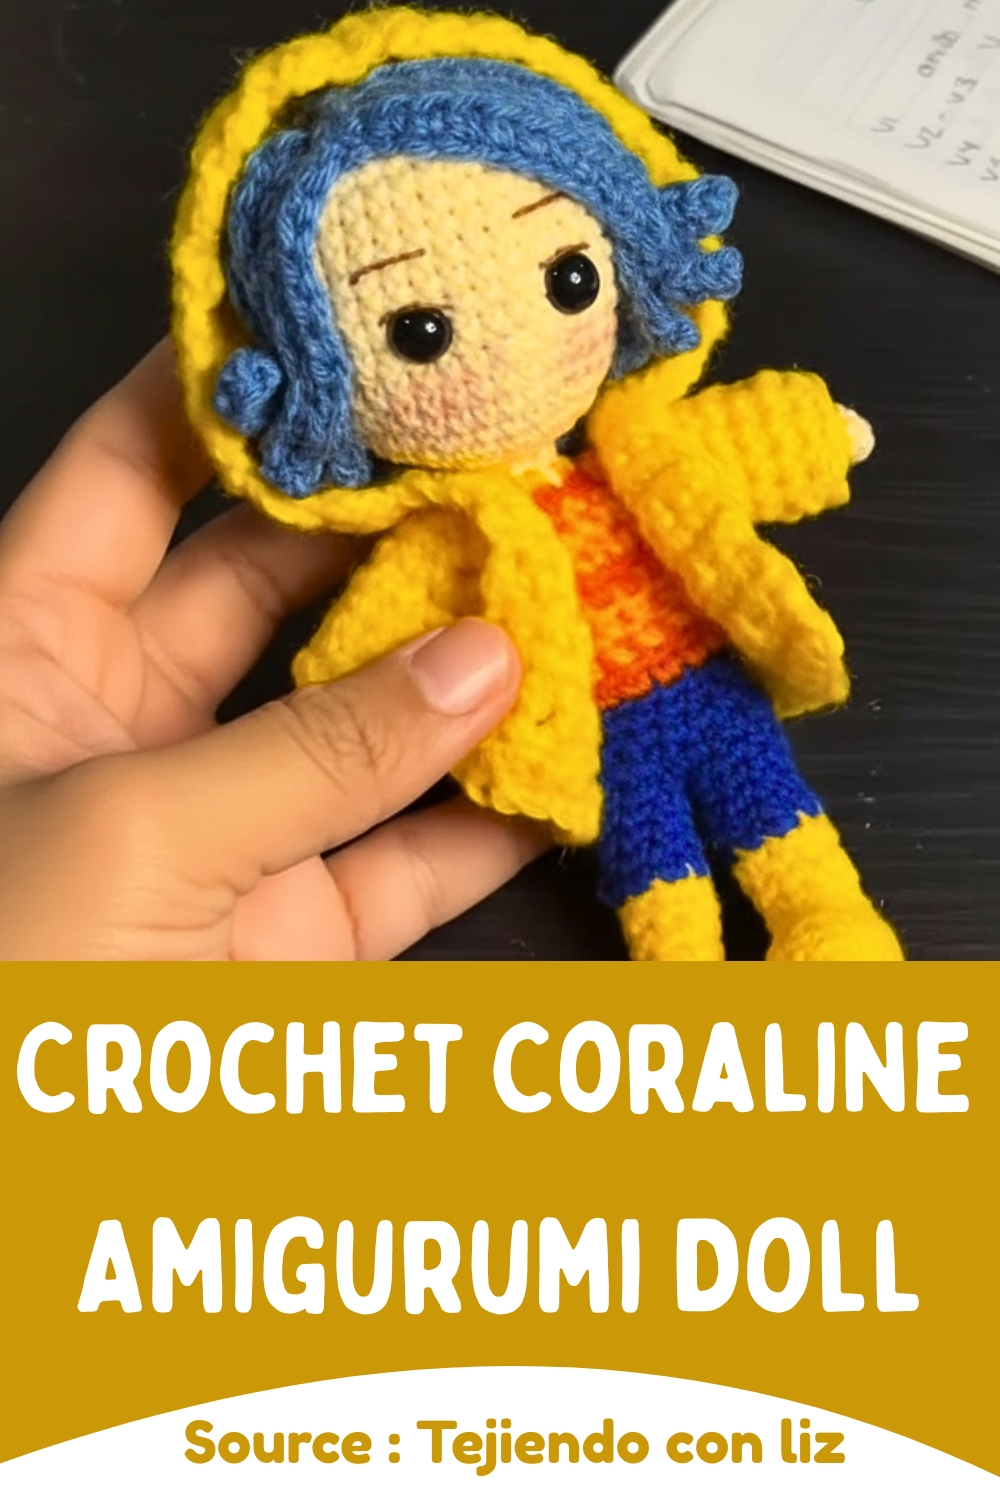
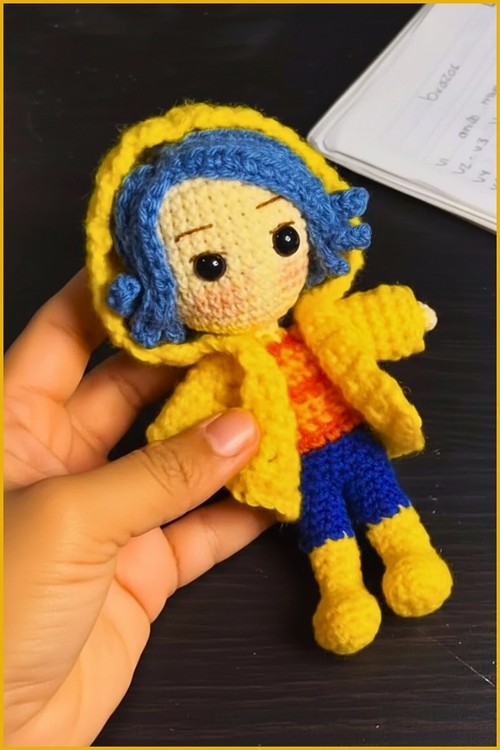
This Coraline amigurumi doll crochet pattern is a detailed step-by-step guide designed to help you create a charming handmade character inspired by the iconic look of Coraline. The pattern walks you through each part of the doll, including the boots, body, head, facial details, hair, arms, and her signature yellow raincoat.
Crochet Coraline Amigurumi Doll


Few textile projects bring quite as much joy to the crafting table as a charming Crochet Capybara Plush creation. This stellar instruction guide helps you stitch a wonderfully stocky silhouette complete with a signature flat snout and peaceful eyes. Serving perfectly as a cozy pocket companion or a quirky desk accent, this imaginative project lets makers express their artistic flair through tactile, heartwarming fiber art.
Skill Level
-
Intermediate
Finished Size
-
Approximately 6 to 8 inches tall, depending on yarn weight and tension
Materials
-
Medium weight yarn in yellow, blue, dark orange, light orange, skin color, and black
-
Crochet hook size appropriate for yarn weight to achieve tight stitches
-
Safety eyes or buttons
-
Thin black embroidery thread
-
Polyester fiberfill stuffing
-
Yarn needle
-
Scissors
-
Stitch markers
Abbreviations
-
ch: chain
-
sc: single crochet
-
inc: increase
-
dec: decrease
-
st: stitch
-
sl st: slip stitch
Helpful Notes Before Starting
-
Working in continuous rounds is highly recommended unless specified otherwise, so place a stitch marker in the first stitch of each round to keep your place.
-
Keep your tension firm and consistent throughout the doll to prevent the polyester fiberfill from peeking through the gaps in the fabric.
-
When changing yarn colors, pull the new color through the last two loops of the previous stitch to create a clean, sharp color line.
-
Preparing your yarn needle with long tails left from the pieces will make sewing the arms and hair much easier during final assembly.
Construction Overview
-
The project begins with the footwear, where flat chains are transformed into dimensional boots before transitioning directly into the legs.
-
Joining the legs creates the foundation for the body, which shifts from the pants into a striped shirt and then into the neck and head as one continuous piece.
-
Arms are crocheted separately from the hands up, then attached directly to the upper torso once the main body is complete.
-
The raincoat and hair are worked as separate external components, allowing you to style and dress the doll securely at the very end.
Stitch and Shaping Clarity
-
Working on both sides of a foundation chain requires you to crochet down one side, rotate the piece, and crochet back along the opposite loops to create an oval base for the boots.
-
Front-focused decreases are critical for the boots, as bunching the single crochet decreases together on one side creates the toe dip while leaving the heel flat.
-
Raglan shaping on the raincoat utilizes intentional chain spaces at specific corners, expanding the yoke evenly until it is wide enough to split for the armholes.
-
Hair strands are formed by making a long chain and traveling back down with single crochets, which naturally causes the strands to twist into realistic locks.
Step by Step Pattern Instructions
-
LEGS AND BOOTS
-
Start boots in yellow by chaining 5
-
Work 4 single crochets, increasing at both ends to reach 10 points
-
Increase in the next round to reach 14 points
-
Work two rounds straight with 14 points
-
Shape the boot by making 3 decreases at the front to reach 11 points
-
Decrease 3 more stitches in the next round to reach 8 points
-
Change to blue yarn for the legs
-
Work several rounds straight with 8 points for leg height
-
Repeat for the second leg
-
Join both legs with a slip stitch to form 16 points for the body
-
BODY AND SHIRT
-
Work several rounds straight in blue for the waist with 16 points
-
Change to orange yarn for the shirt
-
Alternate between dark and light orange every two rounds
-
Shape the torso by working two single crochets followed by one decrease across the round to reach 12 points
-
Change to skin color for the neck
-
Decrease evenly to reach 6 points
-
Work one round straight to finish the neck
-
HEAD AND FACE
-
Increase evenly from 6 points to 12 points
-
Increase again to 18 points
-
Increase again to 24 points
-
Continue increasing until reaching 36 points
-
Work several rounds straight to form the head height
-
Insert safety eyes or buttons between the appropriate rounds, spacing them evenly
-
Begin decreasing evenly until returning to 6 points
-
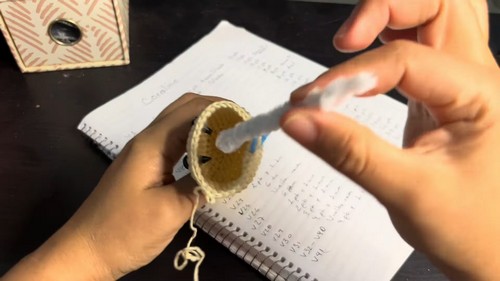
Stuff the head firmly
-
Close the head securely
-
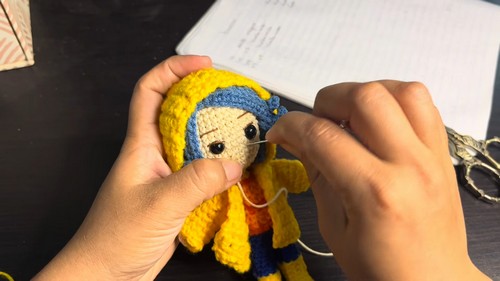
Embroider eyebrows and eyelashes using thin black thread
-
ARMS
-
Start hands in skin color with a magic ring of 6 single crochets
-
Work a few rounds straight
-
Change to orange yarn for sleeves
-
Continue working straight rounds to form the arms
-
YELLOW RAINCOAT
-
Begin at the neckline with a foundation chain of 12
-
Work increases and chain spaces to form a square raglan shape
-
Shape armholes by skipping stitches
-
Work straight rounds for the body length of the raincoat
-
Crochet sleeves directly into the armholes with even rounds
-
Pick up stitches at the neckline for the hood
-
Work straight rounds for the hood height
-
Fold and sew the top of the hood closed to finish
-
HAIR
-
Create a base by chaining 11
-
Make small hair strands by chaining 13 and working 12 single crochets back along the chain
-
Make larger hair strands by chaining 16 and working 15 single crochets back
-
Arrange strands to form a side part hairstyle
-
Sew or glue the hair securely onto the head
Assembly Guidance
-
Check that the boots are pointing directly forward before joining the legs, as a twisted slip stitch join will cause the entire body and shirt to sit crookedly.
-
Pin the arms to the sides of the torso first to verify they hang symmetrically before using your yarn needle to permanently attach them.
-
Align the hair base with the top center of the head, allowing the side part to dictate how the individual strands drape over the forehead and sides.
-
Slip the completed raincoat onto the doll before finishing the hood assembly to ensure the coat sits naturally over the striped shirt and arms.
Eye and Facial Feature Placement
-
Position the safety eyes or buttons roughly halfway down the straight rounds of the head, ensuring they are centered relative to the forward-facing boots.
-
Leave a gap of four to five unworked stitches between the eyes to maintain a balanced, pleasant facial expression.
-
Use thin black embroidery thread to stitch simple, slightly slanted lines just above the eyes to create a soft eyebrow expression.
-
Frame the outer corners of the eyes with delicate, short stitches for the eyelashes, keeping your thread tension light so the stitches do not sink too deep into the yarn.
Stuffing Tips
-
Add polyester fiberfill to the boots and lower legs in small increments using the back of a crochet hook to avoid stretching the stitches open.
-
Fill the torso firmly up to the neck line, making sure the transition between the blue waist and the orange shirt remains solid and unsupported by external wires.
-
Pack the head thoroughly before closing the final six stitches, focusing extra stuffing around the safety eye washers to keep the face smooth and rounded.
-
Keep the arms lightly stuffed near the hands and completely empty near the top shoulders so they lay flat against the raincoat once attached.
Finishing Notes
-
Thread your yarn tail through the front loops of the final six stitches of the head, pulling tightly like a drawstring to close the gap without creating a bump.
-
Weave all remaining yarn ends deeply into the inside of the body, cutting the yarn close to the fabric so the tails disappear completely into the stuffing.
-
Give the doll a gentle roll between your hands after stuffing to distribute the fiberfill evenly and smooth out any temporary lumps in the head or torso.
-
Ensure the top seam of the hood is stitched securely from back to front, blending the yellow yarn into the top edge cleanly for a crisp garment finish.
Beginner Notes
-
If you struggle to see where the front of the boot is for the decreases, fold the foot in half lengthwise to mark the exact middle three stitches with a pin.
-
Counting your points at the end of every round during the head increases is vital, as a single missed stitch will alter the round shape of the face.
-
Take your time when alternating the dark and light orange yarn for the shirt, carrying the unused color loosely along the inside of the work to avoid tight pulling.
-
Practicing your embroidery stitches on a scrap piece of crochet fabric first will help you master the exact tension needed for the eyebrows and eyelashes.
Troubleshooting
-
If the boots are curling inward or look misshapen after the first few rounds, check that you increased at both exact ends of your initial chain-5 loop.
-
When the body pieces seem uneven in length, count your straight rounds on both legs to verify they match identically before executing the slip stitch join.
-
If gaps appear in your fabric when working the torso decreases, switch to an invisible decrease method by using only the front loops of the stitches.
-
Should the raincoat fit too tightly over the completed body, recreate the coat using a slightly larger hook size while keeping the stitch count identical.
Customization Ideas
-
Change the color of the boots and raincoat from traditional yellow to a bright red or pink for a completely customized rainy day aesthetic.
-
Modify the hair length or style by adding more chain units to the individual strands, creating longer curls or a full set of straight bangs.
-
Use safety eyes with colored irises instead of plain black buttons to give your finished amigurumi doll more depth and personality.
-
Add small decorative elements to the shirt by introducing a third embroidery color to simulate tiny buttons down the center of the orange stripes.