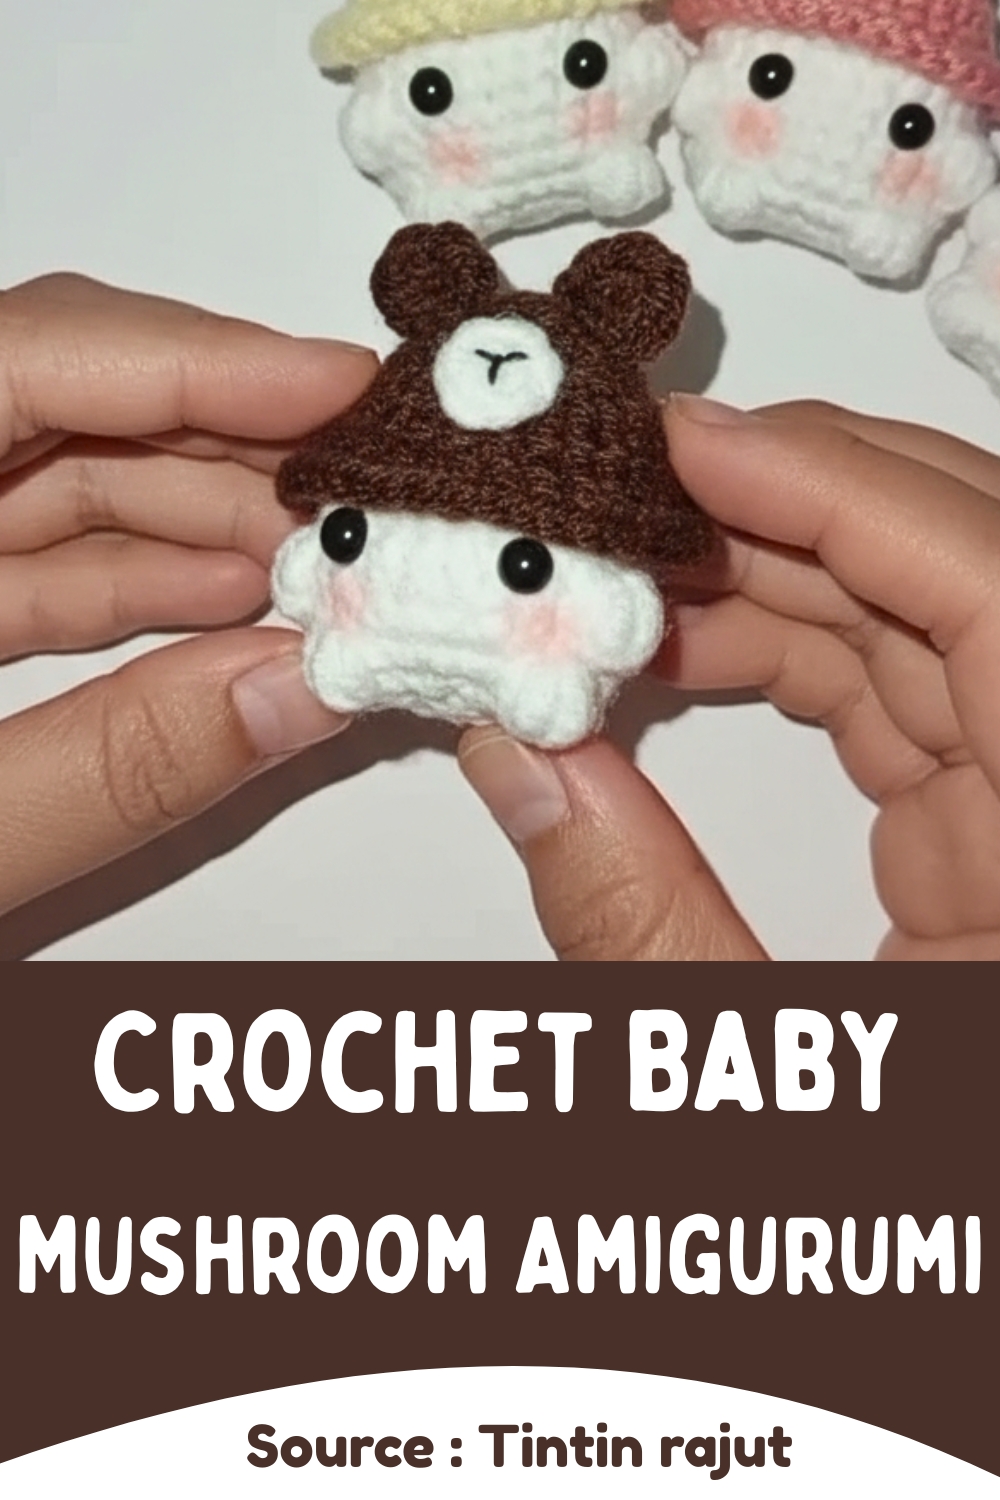
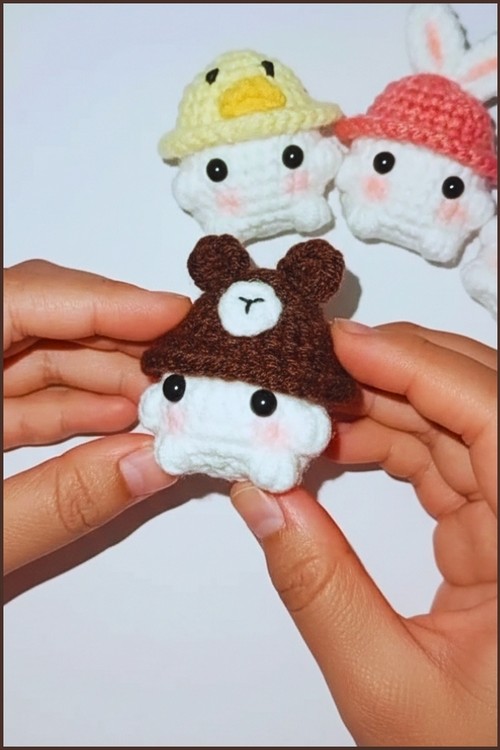
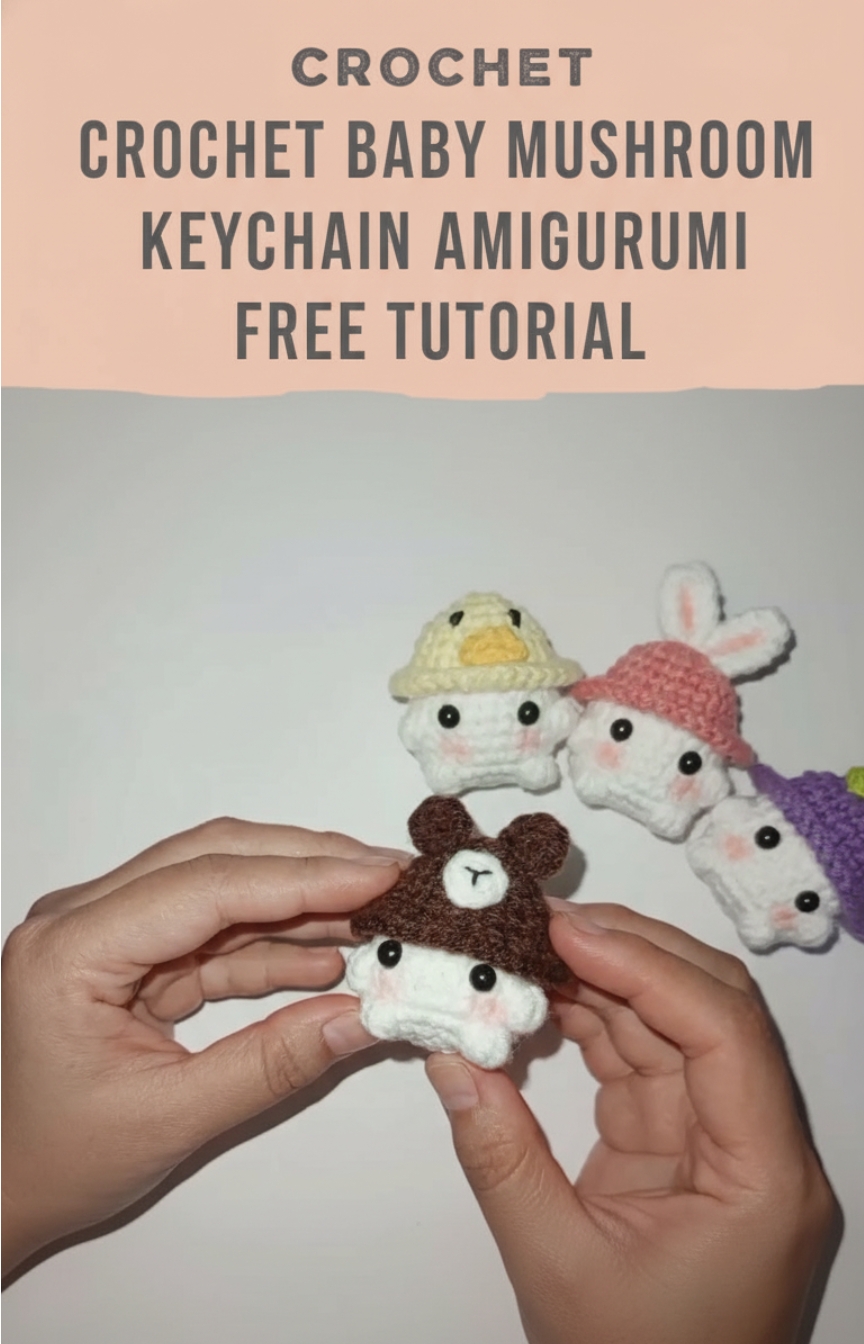
Crochet Baby Mushroom Keychain Amigurumi Free Tutorial
This crochet baby mushroom amigurumi pattern is a sweet and beginner friendly project that creates a soft, playful mushroom with a cute face. The pattern is worked in simple rounds using basic stitches, making it ideal for practicing shaping and assembly.
Crochet Baby Mushroom Amigurumi
Skill Level
-
Intermediate beginner
-
Requires knowledge of working in the round and basic embroidery
Finished Size
-
Approximately 3 to 4 inches tall depending on yarn tension and hook size
Materials
-
Yarn light or milk cotton in red and white
-
Crochet hook 2.5 mm or 3.0 mm
-
Fiberfill stuffing
-
Safety eyes
-
Black embroidery thread
-
Tapestry needle
Abbreviations
-
MR magic ring
-
sc single crochet
-
inc increase
-
dec decrease
-
BLO back loop only
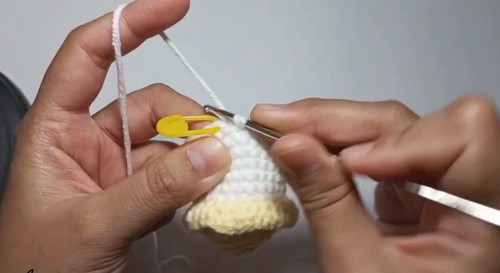
Helpful Notes Before Starting
-
Use a stitch marker to keep track of the beginning of each round since this is worked in a continuous spiral
-
Keep your tension tight to ensure the stuffing does not peek through the stitches
-
When working with milk cotton, try not to split the yarn plies during the decrease rounds
-
The "right side" of the fabric should always face outward for a clean, professional finish
Construction Overview
-
This mushroom is composed of two main parts: a wide, rounded cap and a sturdy cylindrical stem
-
The cap is shaped using consistent increases to create a dome, then slightly tapered at the bottom to hold stuffing
-
The stem features a flat base created by working in the back loops, which helps the mushroom stand upright
Stitch and Shaping Clarity
-
The increases in the cap are stacked to create a smooth, circular expansion
-
Round 4 of the stem uses the BLO technique to create a sharp 90 degree ridge, transforming a flat circle into a vertical wall
-
Decreases at the top of the stem narrow the neck, providing a perfect platform for the cap to sit upon
Mushroom Cap
-
Round 1 Make 6 sc in a MR (6)
-
Round 2 Inc in each stitch around (12)
-
Round 3 1 sc, inc repeat around (18)
-
Round 4 2 sc, inc repeat around (24)
-
Round 5 3 sc, inc repeat around (30)
-
Round 6 Sc in each stitch around (30)
-
Round 7 Sc in each stitch around (30)
-
Round 8 Sc in each stitch around (30)
-
Round 9 Sc in each stitch around (30)
-
Round 10 3 sc, dec repeat around (24)
-
Round 11 2 sc, dec repeat around (18)
-
Fasten off and leave a long tail for sewing
Mushroom Stem
-
Round 1 Make 6 sc in a MR (6)
-
Round 2 Inc in each stitch around (12)
-
Round 3 1 sc, inc repeat around (18)
-
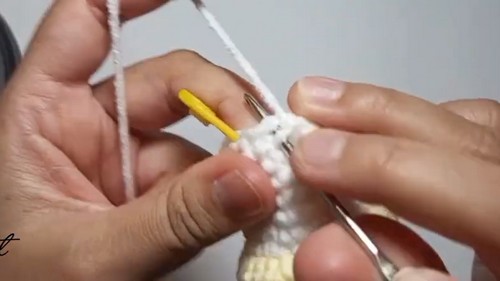
Round 4 Sc in BLO around (18)
-
Round 5 Sc in each stitch around (18)
-
Round 6 Sc in each stitch around (18)
-
Round 7 Sc in each stitch around (18)
-
Round 8 Sc in each stitch around (18)
-
Round 9 1 sc, dec repeat around (12)
-
Stuff firmly with fiberfill
Assembly and Details
-
Insert safety eyes between rounds 7 and 8 of the stem, spacing them about three stitches apart
-
Embroider a small V shaped mouth between the eyes using black thread
-
Add mushroom spots on the cap using white yarn with small knots or X stitches
-
Lightly stuff the cap and sew it securely to the top of the stem using the long yarn tail
Eye and Facial Feature Placement
-
Ensure the safety eyes are level before snapping the backings into place
-
The mouth should be centered directly between the eyes to maintain a balanced, "kawaii" expression
-
Place the eyes on the front-facing side of the stem, opposite the seam where your rounds begin and end
Stuffing Tips
-
Stuff the stem very firmly, especially at the bottom, to prevent the mushroom from leaning
-
The cap should be stuffed lightly to maintain its rounded shape without becoming too heavy for the stem
-
Use small pinches of fiberfill at a time to avoid lumps in the fabric
Assembly Guidance
-
Pin the cap to the stem before sewing to ensure it is perfectly centered
-
Use a whip stitch or mattress stitch through the final round of the cap and the top of the stem
-
Check the symmetry from the top down and from the side as you sew to ensure the cap is level
Finishing Notes
-
Weave in all remaining yarn tails inside the body of the mushroom to hide them
-
Massage the piece after sewing to distribute the stuffing evenly and settle the stitches
-
If the spots look too sparse, add a few more near the bottom edge of the red cap for visual variety
Beginner Notes
-
The magic ring is essential for a tight top; if you struggle with it, you can chain 2 and work 6 sc into the first chain
-
Counting stitches at the end of every round will prevent the shaping from becoming lopsided
-
The BLO round is the most important step for the base; do not skip it if you want the mushroom to stand
Troubleshooting
-
If your mushroom cap is wavy, your tension might be too loose or you may have accidentally added extra increases
-
If the stem is wobbly, add more stuffing to the very bottom to create a flatter, heavier base
-
If the eyes look uneven, count the stitches from the magic ring down to ensure they are on the exact same round
Customization Ideas
-
Change the cap color to yellow, green, or pink for a fantasy forest look
-
Use felt circles for the spots instead of embroidery for a different texture
-
Add a small blush detail under the eyes using a pink marker or actual makeup blush
-
Attach a keychain ring to the top of the cap to make a portable charm