
Chibi Crochet Santa Claus Amigurumi Free Pattern For Christmas Decor
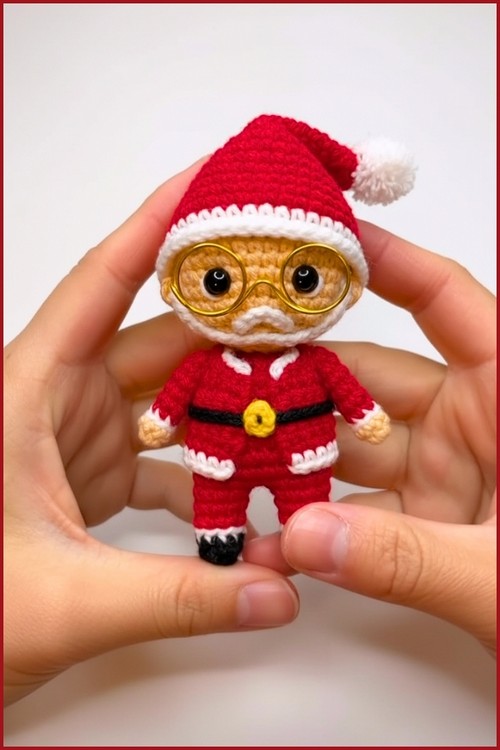
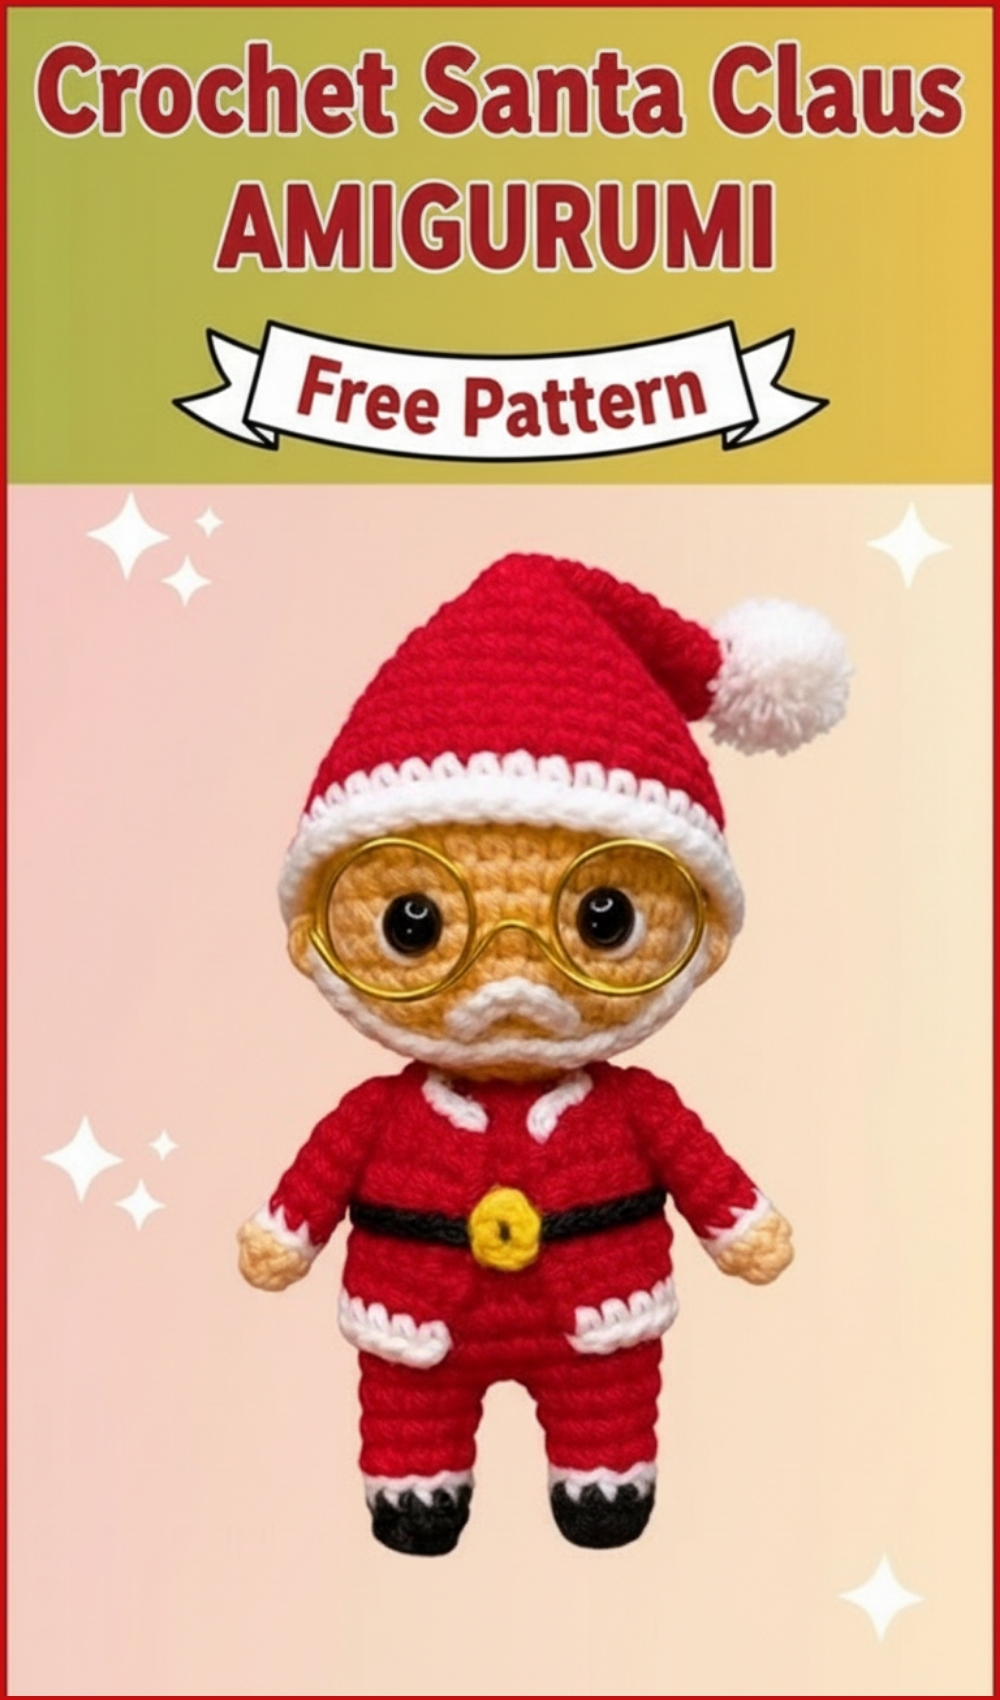
Festive charm comes to life through a Crochet Santa Amigurumi pattern that captures the classic look of Santa with his round body, textured beard, and bright red outfit. This type of design is perfect for creating decorative pieces, thoughtful handmade gifts, or even playful holiday keychains and shelf accents.
Crochet Santa Claus Amigurumi
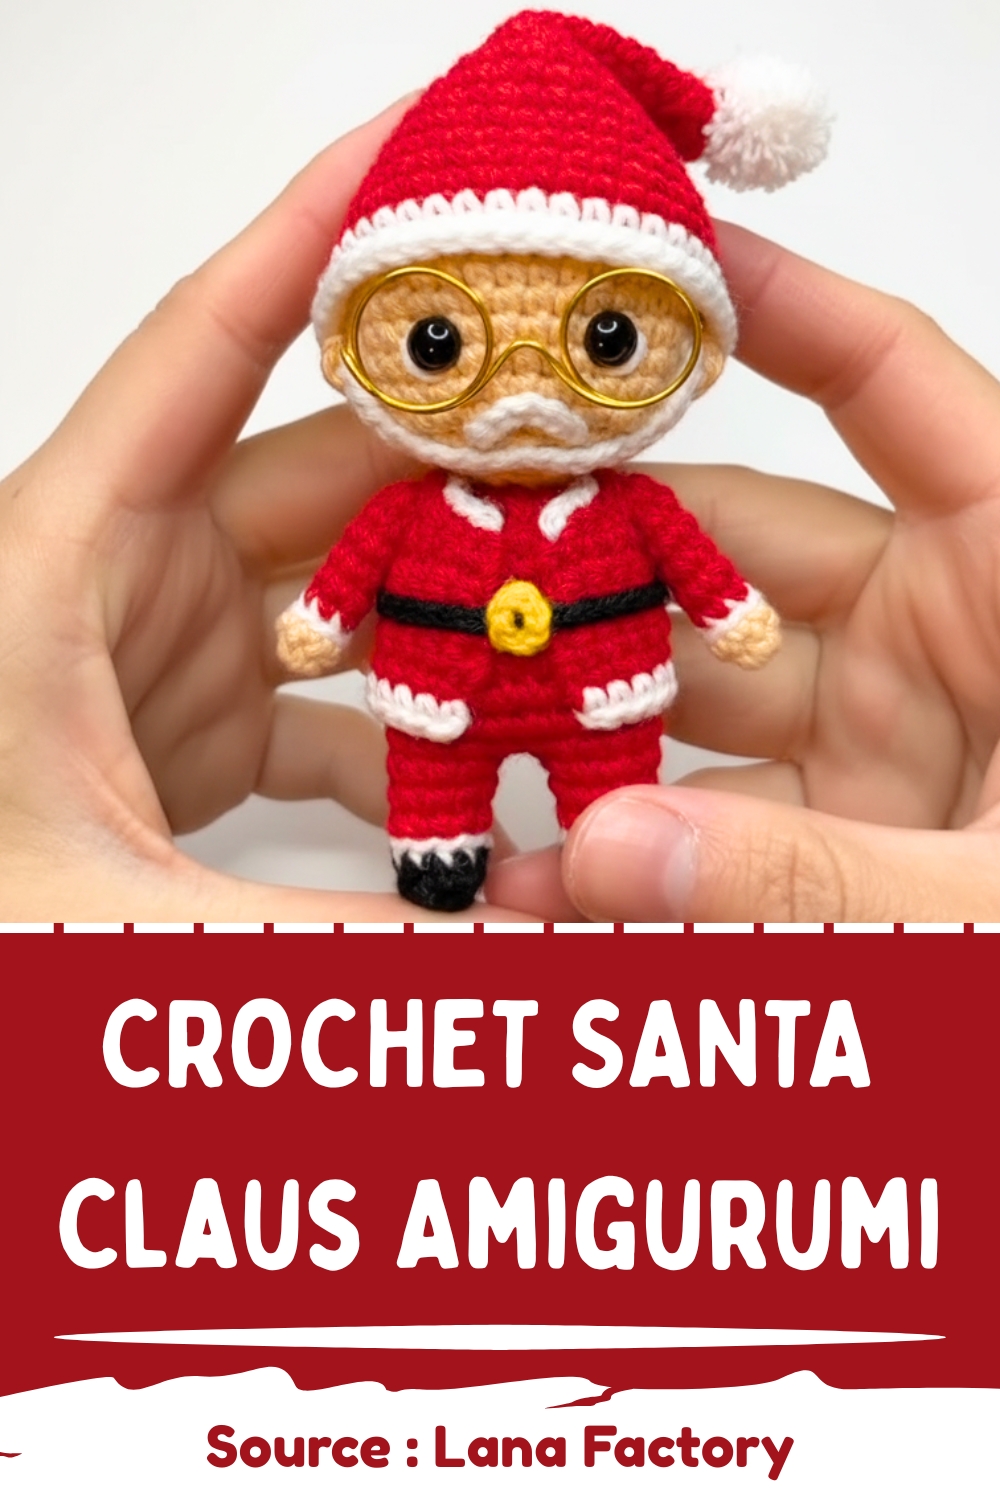
The combination of shaping, color changes, and layered accessories gives the finished piece a detailed and cozy appearance, making it both fun to crochet and satisfying to display during the winter season.
Skill Level
Intermediate
This project is very approachable if you’re comfortable with:
- Working in continuous rounds
- Basic increases and decreases
- Color changes
- Sewing and assembling multiple pieces
Finished Size
Depends on yarn and hook size, but typically:
- Around 15 to 20 cm tall when using DK yarn
Materials
- Beige, red, white, and black yarn
- Crochet hook suitable for your yarn
- Stuffing
- Yarn needle
- Scissors
- Optional: wire for glasses, yellow yarn for buckle embroidery
Abbreviations
- sc – single crochet
- inc – increase (2 stitches in the same stitch)
- dec – decrease
- BLO – back loop only
Helpful Notes Before Starting
- This pattern is worked in continuous rounds unless stated otherwise.
- Use a stitch marker to track your rounds.
- Keep your tension consistent, especially when changing colors.
- Stuff gradually as you go to maintain even shaping.
Construction Overview
Santa is built in sections that come together at the end:
- Head and body are crocheted as one piece, forming the main structure
- Legs are attached directly to the body
- Arms are made separately and sewn on
- Coat, beard, mustache, hat, and accessories are added last
This layered approach helps create dimension, especially around the face and clothing.
Stitch and Shaping Clarity
- Increases in the body rounds help widen the torso and shape the belly area
- Back loop only stitches (BLO) are used to create texture and subtle edges, especially in the legs and arms
- Alternating yarn colors in small sections gives the appearance of clothing details without needing separate pieces
- Mirroring arm shaping is important to keep both sides symmetrical
Pattern Instructions
HEAD AND BODY
- Crochet the base head and body using beige yarn for 18 continuous rounds
- Round 19 work two single crochets then one increase repeated around
- Round 20 work one single crochet then one increase around

- Round 21 crochet single crochet in each stitch
- Round 22 work eight single crochets then one increase repeated
- Rounds 23 and 24 crochet single crochet in each stitch
- Round 25 work one single crochet then one increase once then four single crochets and one increase three times and finish with three single crochets
- Rounds 26 to 28 crochet single crochet in each stitch
Guidance:
These rounds build the transition from head to body. The increases in rounds 19–22 begin widening the shape, while later rounds stabilize the form. Round 25 creates uneven shaping, which helps form a more natural body instead of a perfect cylinder.
LEGS MAKE TWO
- Round 29 attach yarn to the body and crochet ten single crochets for the first leg
- Round 30 crochet ten single crochets
- Round 31 crochet ten single crochets alternating red and white yarn
- Round 32 with black yarn crochet nine single crochets in back loops only skipping the first stitch
- Round 33 crochet one single crochet one decrease two single crochets one decrease and two single crochets
Guidance:
- Legs are worked directly onto the body, so placement matters for balance
- The color changes create the look of clothing and boots
- BLO stitches in round 32 help define the edge between pant and boot
- Decreases in round 33 taper the leg slightly
ARMS MAKE TWO
- Round 1 create a magic ring and crochet six single crochets using beige yarn
- Round 2 crochet six single crochets alternating beige and white yarn
- Round 3 change to red yarn and crochet six single crochets in back loops only
- Rounds 4 to 6 crochet six single crochets
- Round 7 for the first arm crochet one single crochet one increase and four single crochets
- Round 8 for the first arm crochet one single crochet one decrease and four single crochets
- For the second arm mirror the increase and decrease placement to keep symmetry
Guidance:
- The early color changes suggest cuffs and sleeves
- BLO in round 3 creates a subtle ridge for visual separation
- Mirroring shaping ensures both arms sit evenly when attached
SANTA COAT AND ACCESSORIES
- Crochet the coat in red by chaining twenty five stitches and crocheting twenty five single crochets across each row
- Continue crocheting rows until the coat length is achieved
- Create arm openings by chaining six stitches and skipping four stitches on each side while crocheting the row
- Make the beard by chaining approximately twenty five stitches using white yarn
- Make the mustache by chaining six stitches using white yarn
- Create ears by crocheting four single crochets into a magic ring
Guidance:
- The coat is worked flat and wrapped around the body
- Arm openings are created directly in the fabric, so count carefully
- Beard and mustache are simple chains but rely on placement for expression
HAT
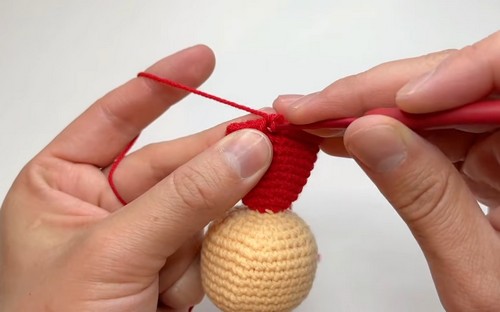
- Round 1 create a magic ring with three single crochets
- Round 2 work three increases
- Continue increasing evenly until reaching twenty four single crochets
- Crochet several rounds evenly without increases
- Work one round with half the stitches in front loops only
- Continue increasing until reaching forty two single crochets
- Crochet evenly for several rounds
- Finish the final rounds using white yarn to form the trim
Guidance:
- The hat grows gradually from the top
- Front loop only stitches create a fold line for the brim
- Final white rounds form the classic Santa trim
Assembly Guidance
Face Setup
- Position the beard a few rounds below where the eyes will sit
- Align it with the ears so the face stays centered
- The mustache should sit just above the beard, slightly overlapping
Attaching Arms
- Place arms evenly on both sides of the body
- Check alignment from the front before sewing to avoid uneven positioning
Coat Placement
- Wrap the coat around the body and adjust before securing
- Ensure arm openings line up naturally with arm placement
Eye and Facial Feature Placement
- Eyes should sit above the beard line with equal spacing
- Mustache should be centered and slightly curved if possible
- Beard placement defines most of the face, so take time to position it correctly
Stuffing Tips
- Stuff the head firmly to keep shape
- Use lighter stuffing in the body for a softer feel
- Avoid overstuffing near the leg joins to keep the base stable
Finishing Notes
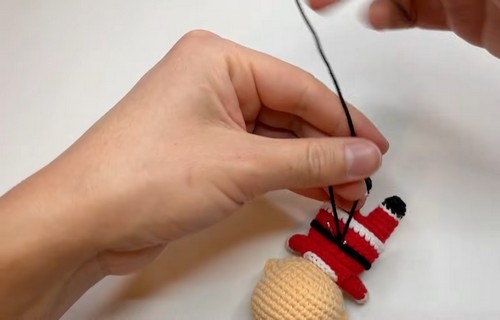
- Add a black chain belt around the waist
- Embroider a yellow square for the buckle
- Attach a pom pom to the tip of the hat
- Optional wire glasses add personality and detail
Beginner Notes
- Take your time with color changes to keep transitions clean
- Count stitches carefully when working legs and arms
- Always check symmetry before final sewing
Troubleshooting
- Uneven arms: Recheck mirrored shaping and placement before attaching
- Hat too loose: Use a smaller hook or tighten tension
- Beard looks off-center: Pin it in place first before sewing permanently
Customization Ideas
- Change coat length for different styles
- Add a sack or gift accessory
- Use fluffy yarn for beard and trim for extra texture
- Adjust colors for a themed Santa variation