
Easy No Sew Quick Crochet Ghost Amigurumi Free Pattern
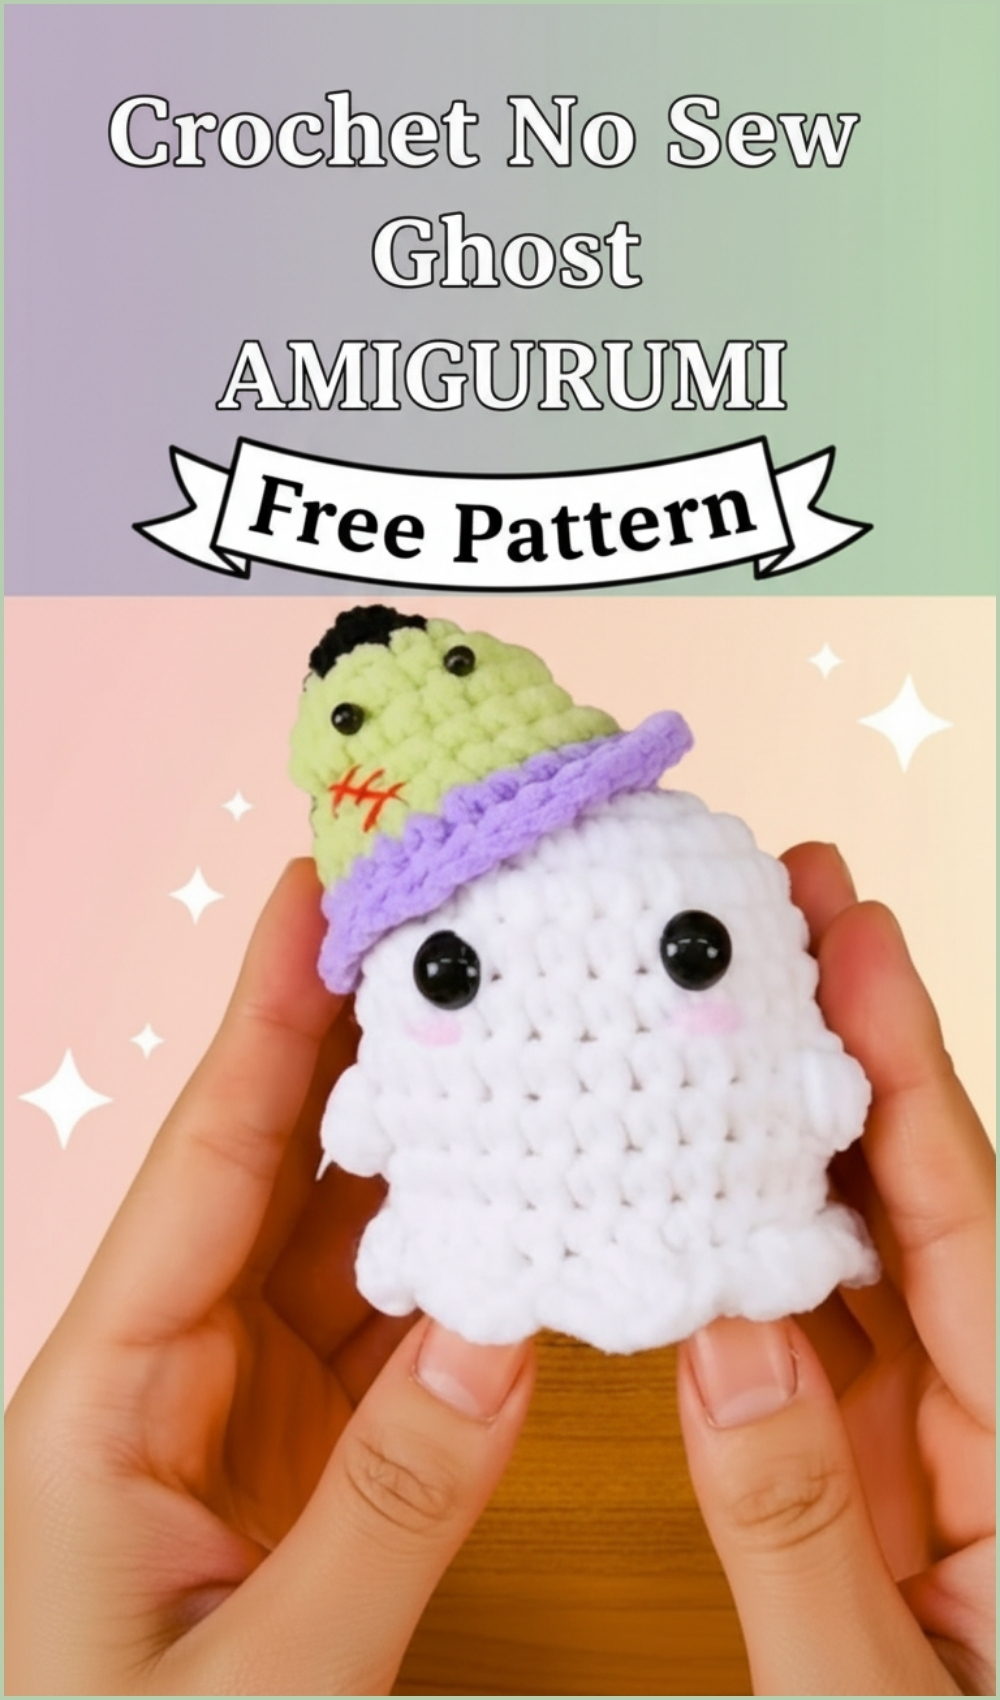
Light shaping and gentle curves define the appeal of a Crochet Ghost Amigurumi pattern, giving it a soft floating look that feels both simple and expressive. This kind of piece works well as seasonal decoration, a thoughtful handmade gift, or a playful addition to keychains and accessories. The rounded head blends smoothly into the body, while subtle arm details and a rippled edge create movement and character.
Crochet No Sew Ghost Amigurumi
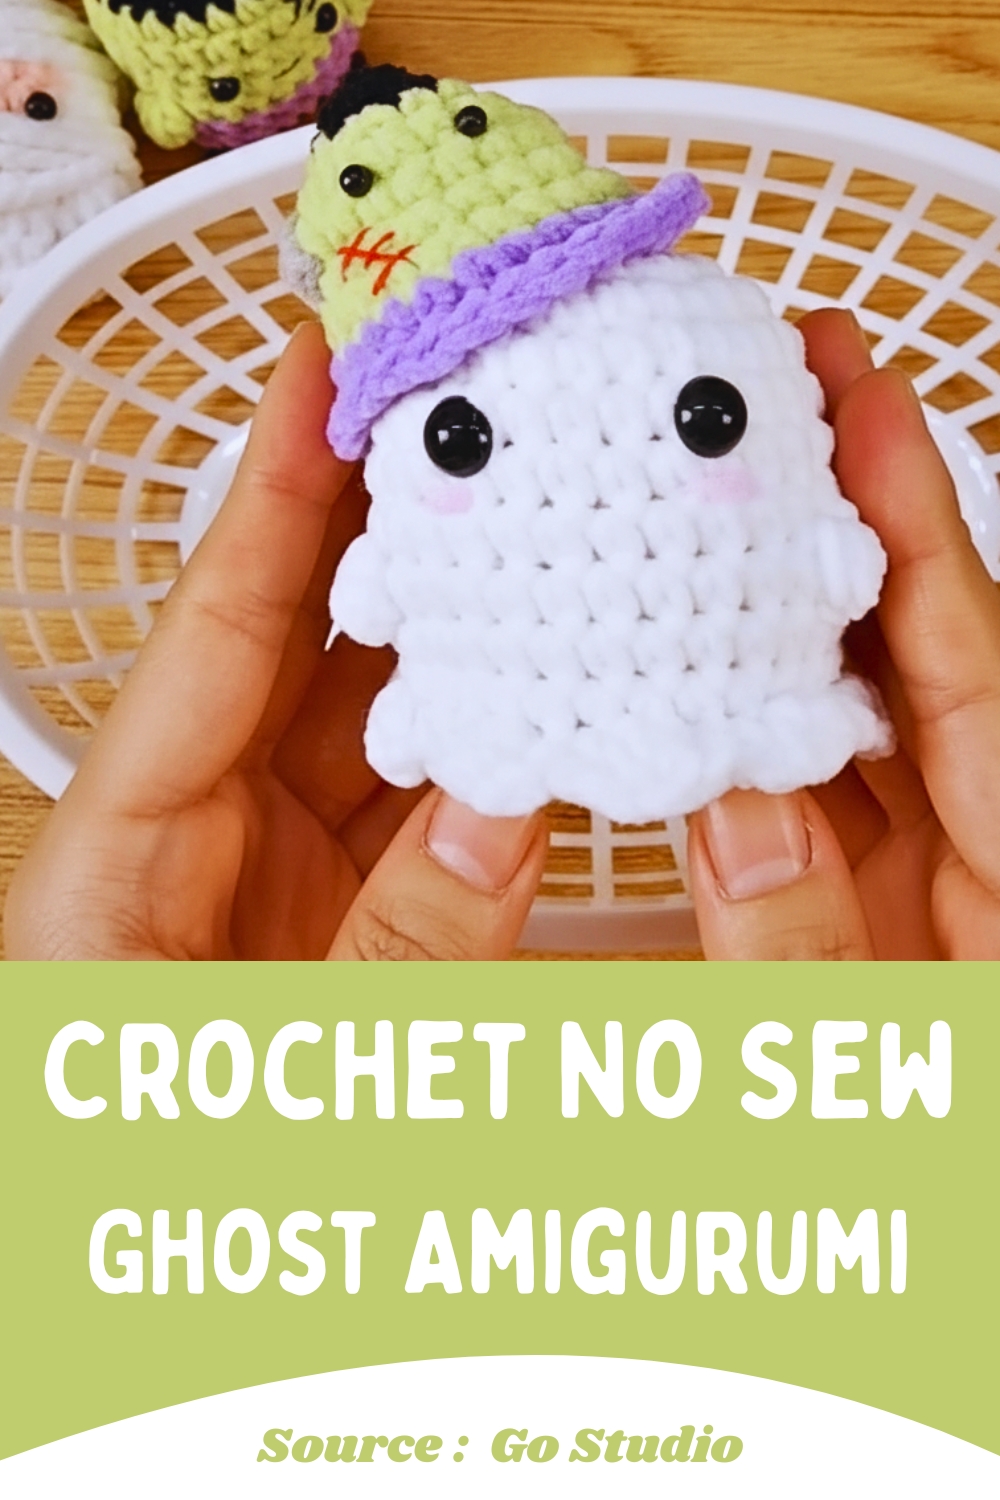
With minimal assembly and clear structure, the finished ghost carries a clean, polished appearance that can easily be personalized through different facial expressions and finishing touches.
Skill Level
Beginner to intermediate
Finished Size
Varies depending on yarn and hook size used
Materials
- Green, brown, white, and black yarn (DK or plush)
- Crochet hook (2.5–3.5 mm)
- Safety eyes or embroidery thread
- Keychain ring
- Stuffing
- Yarn needle and scissors
Abbreviations
- MR Magic Ring
- Sc Single Crochet
- Inc Increase
- Dec Decrease
- Ch Chain
- Sl st Slip Stitch
- Hdc Half Double Crochet
- Dc Double Crochet
Helpful Notes Before Starting
- Work in continuous rounds unless stated otherwise.
- Use a stitch marker to keep track of the beginning of each round.
- The arms are formed directly into the body, so no separate pieces are needed.
- Keep your tension consistent, especially when working the ruffled edge, to avoid curling or stiffness.

Construction Overview
This ghost is made in one continuous piece from top to bottom.
- The head is formed first using gradual increases.
- The body continues straight down from the head.
- Arms are shaped directly into one round using grouped stitches.
- The base is closed, then finished with a ruffled edge worked into remaining loops.
- Facial features are added last for expression and personality.
Stitch and Shaping Clarity
- Increases (Inc): Used in the early rounds to expand the head evenly into a smooth dome shape.
- Decreases (Dec): Used toward the bottom to taper the body and prepare for closing. This creates a slightly rounded underside instead of a flat base.
- Arm Formation (4 dc together): This creates a puff-like shape that stands out from the body. Keeping these stitches tight helps the arms hold their form.
- Ruffled Edge: Worked into front loops only, this technique creates a soft wave that gives the ghost its floating appearance.

Pattern Instructions
HEAD AND BODY
- Round 1 Start with a magic ring and work 6 sc into the ring 6 stitches
- Round 2 Inc in every stitch around 12 stitches
- Round 3 1 sc, 1 inc repeat around 18 stitches
- Round 4 2 sc, 1 inc repeat around 24 stitches
- Rounds 5 to 8 Sc in each stitch around 24 stitches
- Place safety eyes between rounds 6 and 7 about 4 to 5 stitches apart
ARMS
- Round 9 Sc 8, work an arm by crocheting 4 dc together in the next stitch, sc 6, work an arm by crocheting 4 dc together in the next stitch, sc 7 for a total of 24 stitches
BODY SHAPING
- Rounds 10 to 12 Sc in each stitch around 24 stitches
- Round 13 2 sc, 1 dec repeat around 18 stitches
- Begin stuffing the ghost firmly with fiberfill
- Round 14 1 sc, 1 dec repeat around 12 stitches
- Round 15 Dec in every stitch around 6 stitches
- Close the bottom hole by weaving the yarn tail through the front loops and pulling tight
RUFFLED BOTTOM EDGE
- Attach yarn to the remaining front loops at the base
- Work sl st, ch 2, 2 hdc in the same stitch, sl st in the next stitch and repeat around
Assembly Guidance
There is no separate assembly required for limbs, since the arms are built directly into the body. Focus instead on shaping:
- Adjust stuffing so the top remains rounded and the lower section slightly tapers.
- Avoid overstuffing near the base so the ruffle can sit naturally.
Eye and Facial Feature Placement
- Eyes are placed between rounds 6 and 7.
- Keep 4 to 5 stitches between them for a balanced look.
- The mouth should sit centered just below the eyes.
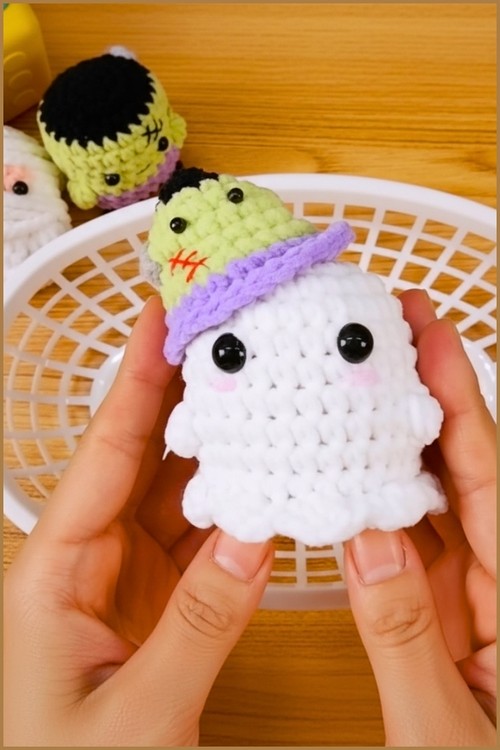
For expression:
- A V shape gives a shy or gentle look.
- An O shape creates a surprised or classic ghost expression.
Stuffing Tips
- Start stuffing after Round 13 while there is still enough space to shape the piece easily.
- Use small amounts at a time to avoid lumps.
- Keep the head firmer than the body so it holds its shape.
Finishing Notes
- When closing the bottom, pull tightly and secure well to avoid gaps.
- Weave in all ends securely inside the body.
- Smooth out the ruffled edge with your fingers to help it sit evenly.
Beginner Notes
- Take your time with the arm stitches, as they can feel different from regular single crochet.
- If the ruffle feels too tight, try loosening your tension slightly when working hdc stitches.
- Count stitches carefully in shaping rounds to maintain symmetry.
Troubleshooting
- Ghost looks uneven: Check stitch counts and ensure increases and decreases are evenly spaced.
- Arms look flat: Try tightening your dc group stitches or using slightly less tension when pulling loops through.
- Ruffle not forming properly: Make sure you are working into the front loops only and not both loops.
Customization Ideas
- Use glow in the dark yarn for a fun effect.
- Add a keychain loop at the top to turn it into an accessory.
- Experiment with different facial expressions for personality.
- Add blush, embroidery, or tiny accessories like a bow or hat.