Amigurumi Creeper Minecraft Crochet Pattern Free For Minecraft Fans
Fans of sandbox gaming will love how easily a Crochet Creeper Amigurumi captures the blocky essence of everyone's favorite silent stalker. Replicating the distinct cubic head and four-pronged base of the notorious mob, this plush creation features a striking lime-green exterior paired with that classic, brooding facial expression. While the digital version is known for its explosive ability to ruin builds, this yarn-based counterpart is far more helpful, serving as a charismatic mascot for a gaming setup or a durable companion for younger fans.
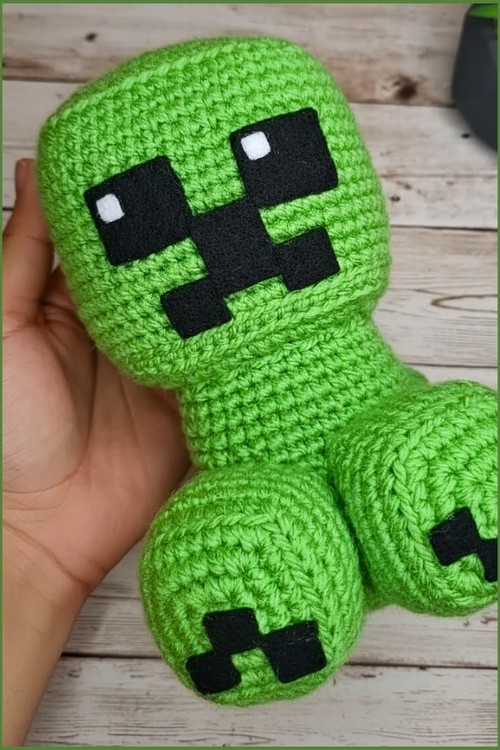
Crochet Creeper Amigurumi
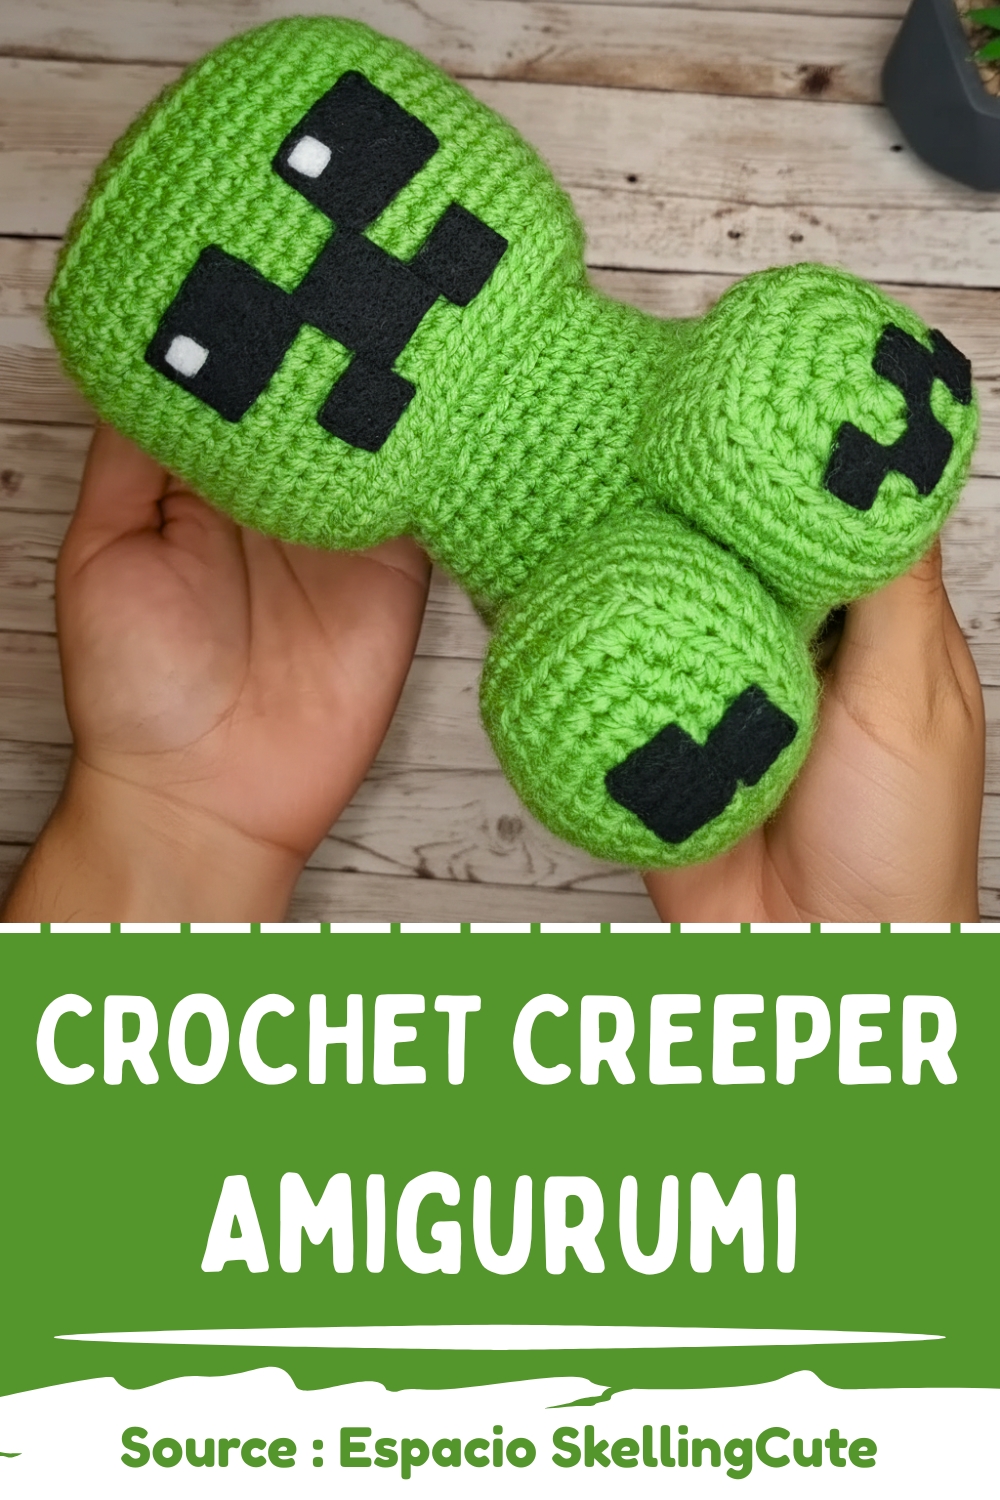
Its tall, structured shape ensures it stands firmly on any shelf, providing a tactile and vibrant tribute to the pixelated world without the risk of any sudden "hissing" sounds.
Skill level
-
Intermediate beginner due to the focus on corner increases and assembly alignment.
Finished size
-
Approximately 4 to 5 inches tall depending on individual tension and yarn weight.
Materials
-
Green yarn
-
3.5 mm crochet hook
-
Stitch marker
-
Stuffing material
-
Tapestry needle
Abbreviations
-
SC: Single Crochet
-
ST: Stitch
-
BLO: Back Loop Only
-
Magic Ring: Adjustable loop to start rounds
Helpful notes before starting
-
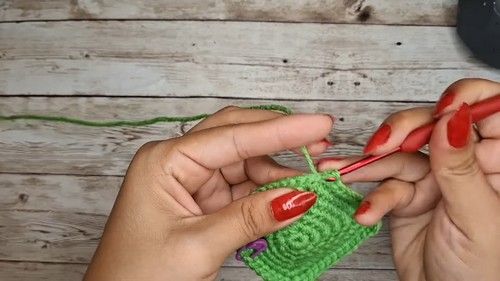
Use a stitch marker in the first stitch of every round to keep track of your progress in continuous spirals.
-
Pull your magic ring tight after the first two rounds to ensure no stuffing leaks out of the center.
-
Keep your tension consistent throughout both the head and body to ensure the pieces fit together proportionally.
-
When working the 3 SC in one stitch, ensure the middle stitch of that group is where you place your next corner increase in the following round.
Construction overview
-
The head is constructed as a deep cube by making a wide base, working up the walls, and sewing a flat square lid on top.
-
The body follows a similar logic but uses a smaller base and fewer rounds for the walls to create a shorter, sturdier foundation.
-
The BLO round acts as a structural hinge, allowing the crochet to turn upward without rounding the edges.
Stitch and shaping clarity
-
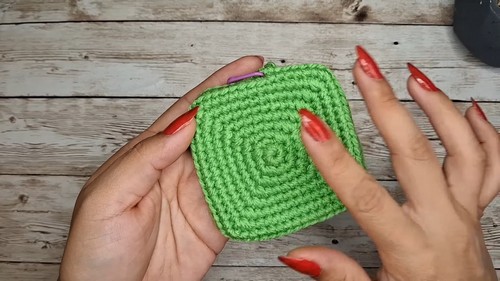
The transformation from a circle to a square happens in Round 2, where you establish four distinct corner points.
-
Each "3 SC in next st" serves as a corner increase that adds width and length simultaneously.
-
Working in BLO (Back Loop Only) creates a decorative ridge on the outside and a sharp physical bend in the fabric.
-
If your corners look rounded, ensure you are placing all three stitches into the exact same center stitch of the previous corner.
Head instructions
-
Round 1: 8 SC in magic ring.
-
Round 2: 1 SC, (3 SC in next st) repeat 4 times – 16 SC.
-
Round 3: 2 SC, (3 SC in next st), 3 SC, (3 SC in next st), repeat pattern twice, 1 SC – 24 SC.
-
Round 4: 3 SC, (3 SC in next st), 5 SC, (3 SC in next st), repeat pattern twice, 2 SC – 32 SC.
-
Round 5: 4 SC, (3 SC in next st), 7 SC, (3 SC in next st), repeat pattern twice, 3 SC – 40 SC.
-
Round 6: 5 SC, (3 SC in next st), 9 SC, (3 SC in next st), repeat pattern twice, 4 SC – 48 SC.
-
Round 7: 6 SC, (3 SC in next st), 11 SC, (3 SC in next st), repeat pattern twice, 5 SC – 56 SC.
-
Round 8: 7 SC, (3 SC in next st), 13 SC, (3 SC in next st), repeat pattern twice, 6 SC – 64 SC.
-
Round 9: 64 SC in BLO.
-
Rounds 10–22: Work 13 rounds of 64 SC each.
-
Fasten off after Round 22, leaving a long tail for sewing.
-
Make a second piece identical to Rounds 1–8 for the lid.
Body instructions
-
Round 1: Magic ring, 8 SC.
-
Round 2: 1 SC, (3 SC in next st) repeat 4 times – 16 SC.
-
Round 3: 2 SC, (3 SC in next st), 3 SC, (3 SC in next st), repeat twice, 1 SC – 24 SC.
-
Round 4: 3 SC, (3 SC in next st), 5 SC, (3 SC in next st), repeat twice, 2 SC – 32 SC.
-
Round 5: 4 SC, (3 SC in next st), 7 SC, (3 SC in next st), repeat twice, 3 SC – 40 SC.
-
Round 6: 5 SC, (3 SC in next st), 9 SC, (3 SC in next st), repeat twice, 4 SC – 48 SC.
-
Round 7: 6 SC, (3 SC in next st), 11 SC, (3 SC in next st), repeat twice, 5 SC – 56 SC.
-
Round 8: 56 SC in BLO.
-
Rounds 9–14: Work 6 rounds of 56 SC each.
-
Fasten off and leave a tail for joining.
Assembly guidance
-
Sew the second square to the cube top, ensuring the corners align.
-
Match the corner increases of the lid to the corner turns of the head walls for a seamless look.
-
Use a whip stitch or a mattress stitch through the loops to join the lid to the head.
-
Center the head over the body before sewing them together to ensure the character stands upright without tipping.
Eye and facial feature placement
-
If using safety eyes, install them between Rounds 15 and 16 of the head before you sew the lid on.
-
Space the eyes about 8 to 10 stitches apart to maintain a friendly, wide-set expression.
-
Embroider any mouth or detail centered between the eyes for facial symmetry.
Stuffing tips
-
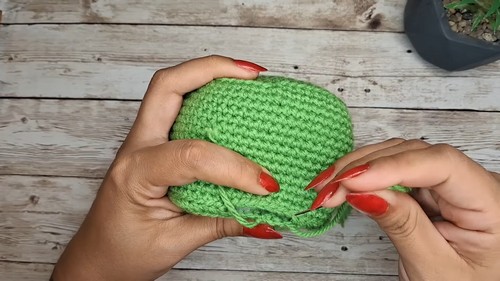
Stuff the head firmly before closing to maintain the cube shape.
-
Pay extra attention to the corners; use the back of your crochet hook to push stuffing into the points so they don't collapse.
-
Avoid overstuffing to the point where the stitches stretch and show the material inside.
Finishing notes
-
Weave in all ends deeply into the stuffing to prevent them from popping out over time.
-
Once closed, gently squeeze the sides of the cubes to "set" the flat faces and sharpen the edges.
Beginner notes
-
If the stitch counts feel overwhelming, remember that the "3 SC" increases always happen in the middle stitch of the corner below.
-
This pattern is forgiving of small tension changes, but try to keep your stitches tight to prevent the "cube" from becoming a "ball."
Troubleshooting
-
If your square is curling into a bowl before Round 9, your tension might be too tight; try relaxing your grip.
-
If the lid is larger than the head opening, recount your stitches on Round 8 to ensure you didn't accidentally add an extra increase.
Customization ideas
-
Experiment with different shades of green to create a variegated or mossy effect.
-
Add felt shapes or embroidered pixels to the flat faces of the cube to create a gaming inspired character.