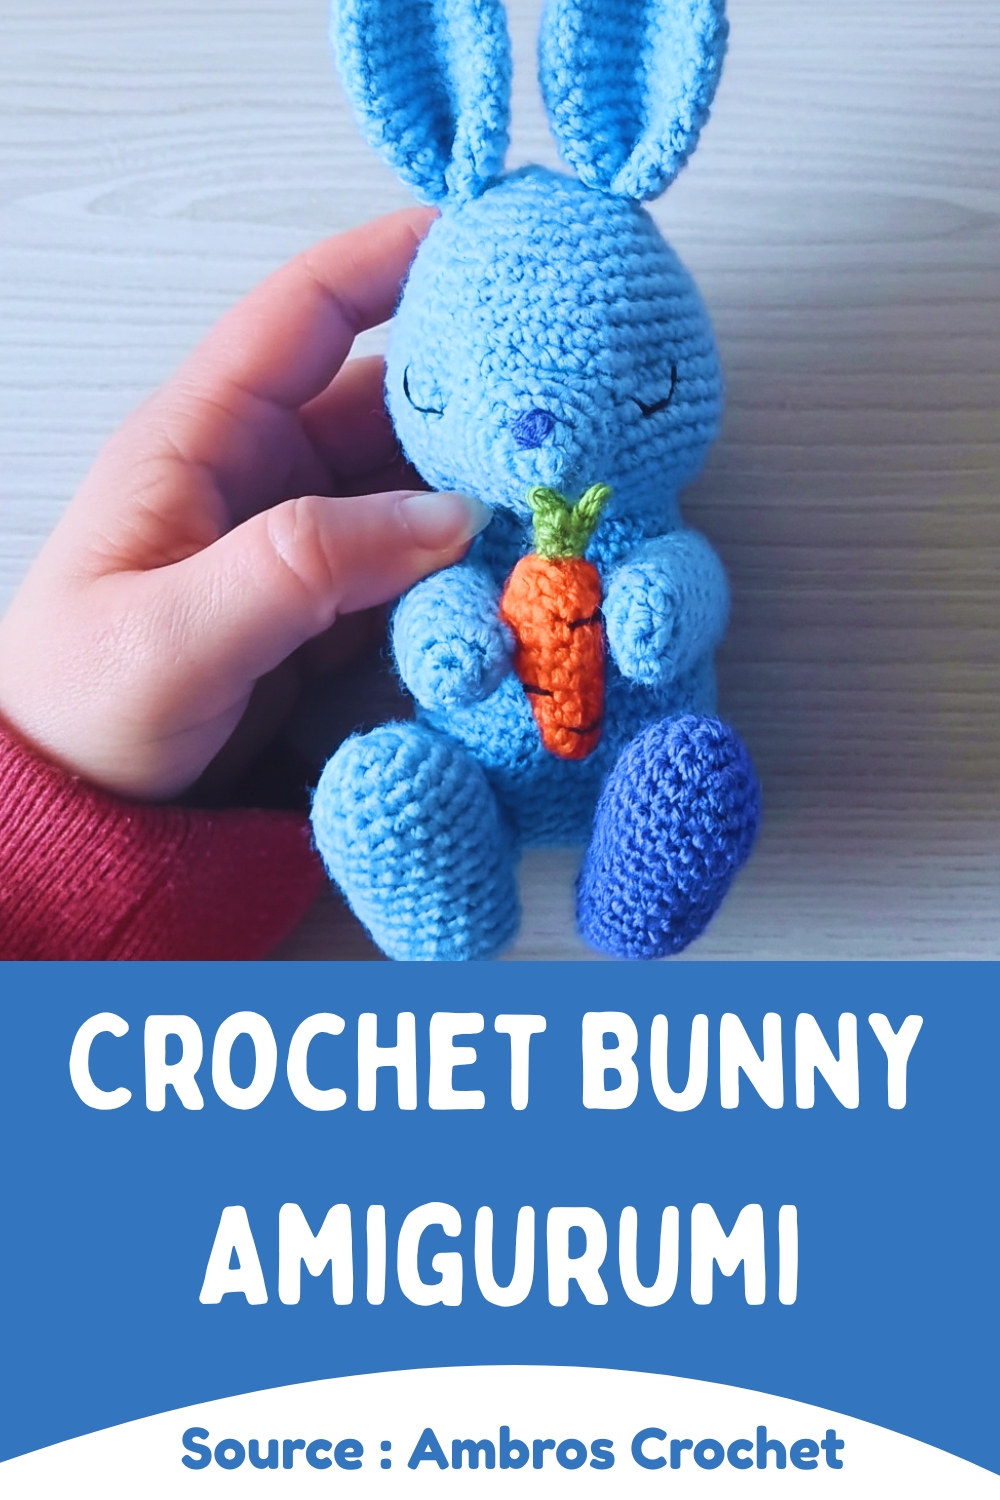
Adorable Crochet Bunny Amigurumi Free Pattern With Carrot
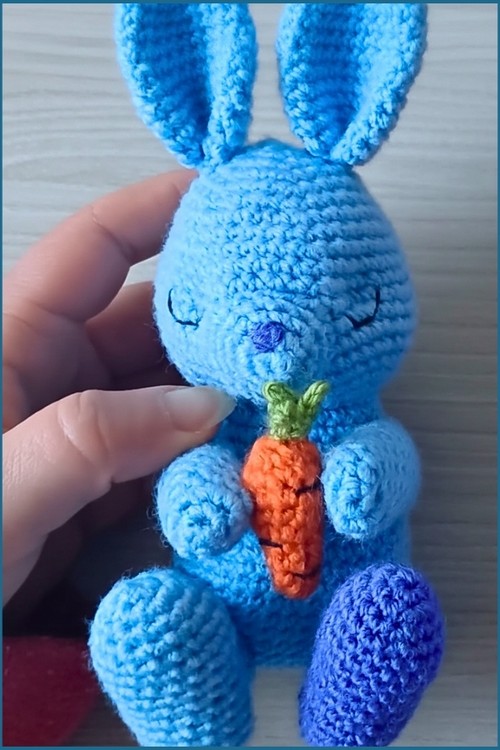
Every needlework enthusiast finds joy in creating a Crochet Bunny Amigurumi, an enchanting project that results in a sturdy yet incredibly soft plush friend. These handmade rabbits typically boast twitchy stitched noses and round, squishy bellies, making them visually irresistible to collectors and children alike. Beyond their decorative appeal on a bookshelf, they function perfectly as soothing toys or thoughtful newborn gifts due to their resilient construction.
Crochet Bunny Amigurumi
Because the design accommodates various yarn textures, you can produce a sleek, velvet-like finish or a fuzzy, rustic look that highlights the distinct personality of every finished piece.
Skill level
-
This project is perfect for an intermediate beginner who is comfortable with the magic ring and working in a continuous spiral.
Finished size
-
Depending on your tension and yarn choice, this bunny typically stands as a medium-sized plush, ideal for hugging or shelf display.
Materials
-
Yarn in two colors for bunny, orange and green for carrot
-
Crochet hook (3 mm recommended)
-
Scissors, pins, tapestry needle
-
Toy stuffing, needle/thread or safety eyes
Abbreviations
-
MR: Magic Ring
-
SC: Single Crochet
-
INC: Increase (two single crochets in one stitch)
-
DEC: Decrease (joining two stitches into one)
-
CH: Chain
-
SL ST: Slip Stitch
Helpful notes before starting
-
Use a stitch marker to keep track of the first stitch of every round, as amigurumi is worked in a continuous spiral without joining.
-
Keep your tension firm to ensure the stuffing does not peek through the stitches once the toy is finished.
-
When working decreases, the invisible decrease method is recommended to maintain a smooth surface on the head and body.

Construction overview
-
The bunny is constructed using multiple pieces including a separate head, body, ears, muzzle, and limbs.
-
Most parts begin with a magic ring to ensure there is no hole at the start of your work.
-
The carrot is a small separate accessory that adds a decorative touch to the final assembly.
Stitch and shaping clarity
-
The head uses gradual increases up to 48 stitches to create a rounded, slightly oval shape that sits well on the neck.
-
The ears are designed to be long and tapered, achieved by alternating increase rounds with rounds of straight stitching.
-
The legs begin with a foundation chain rather than a magic ring to create an oblong, foot-like base.
Crochet Bunny Head
-
Round 1: 6 SC into MR (6)
-
Round 2: 6 INC (12)
-
Round 3: (1 SC, 1 INC) x6 (18)
-
Round 4: (2 SC, 1 INC) x6 (24)
-
Round 5: (3 SC, 1 INC) x6 (30)
-
Round 6: 1 SC in each stitch (30)
-
Round 7: (4 SC, 1 INC) x6 (36)
-
Round 8: 1 SC in each stitch (36)
-
Round 9: (5 SC, 1 INC) x6 (42)
-
Round 10-11: 1 SC in each stitch (42)
-
Round 12: (6 SC, 1 INC) x6 (48)
-
Round 13-15: 1 SC in each stitch (48)
-
Round 16: (6 SC, 1 DEC) x6 (42)
-
Round 17: (5 SC, 1 DEC) x6 (36)
-
Round 18: (4 SC, 1 DEC) x6 (30)
-
Round 19: (3 SC, 1 DEC) x6 (24)
-
Round 20: (2 SC, 1 DEC) x6 (18), start stuffing
-
Round 21: (1 SC, 1 DEC) x6 (12)
-
Round 22: 6 DEC (6), finish stuffing and close
Ears (Make 2)
-
Round 1: 6 SC into MR (6)
-
Round 2: (1 SC, 1 INC) x3 (9)
-
Round 3: 1 SC in each stitch (9)
-
Round 4: (2 SC, 1 INC) x3 (12)
-
Round 5: 1 SC in each stitch (12)
-
Round 6: (3 SC, 1 INC) x3 (15)
-
Round 7: 1 SC in each stitch (15)
-
Round 8: (4 SC, 1 INC) x3 (18)
-
Round 9-10: 1 SC in each stitch (18)
-
Round 11: (5 SC, 1 INC) x3 (21)
-
Round 12-14: 1 SC in each stitch (21)
-
Round 15: (5 SC, 1 DEC) x3 (18)
-
Round 16: (1 SC, 1 DEC) x6 (12), fasten off with long tail
Muzzle
-
Round 1: 6 SC into MR (6)
-
Round 2: 6 INC (12)
-
Round 3: (3 SC, 1 INC) x3 (15)
-
Round 4: (4 SC, 1 INC) x3 (18), fasten off with tail
Body
-
Round 1: 6 SC into MR (6)
-
Round 2: 6 INC (12)
-
Round 3: (1 SC, 1 INC) x6 (18)
-
Round 4: (2 SC, 1 INC) x6 (24)
-
Round 5: (3 SC, 1 INC) x30 (30)
-
Round 6: (4 SC, 1 INC) x6 (36)
-
Round 7: (11 SC, 1 INC) x3 (39)
-
Round 8: (12 SC, 1 INC) x3 (42)
-
Round 9-12: 1 SC in each stitch (42)
-
Round 13: (12 SC, 1 DEC) x3 (39)
-
Round 14: 1 SC in each stitch (39)
-
Round 15: (11 SC, 1 DEC) x3 (36)
-
Round 16: 1 SC in each stitch (36)
-
Round 17: (10 SC, 1 DEC) x3 (33)
-
Round 18: 1 SC in each stitch (33)
-
Round 19: (9 SC, 1 DEC) x3 (30)
-
Round 20: 1 SC in each stitch (30)
-
Round 21: (8 SC, 1 DEC) x3 (27)
-
Round 22: 1 SC in each stitch (27), fasten off
Arms (Make 2)
-
Round 1: 6 SC into MR (6)
-
Round 2: 6 INC (12)
-
Round 3-13: 1 SC in each stitch (12)
-
Finish, stuff lightly, and leave flat shape
Legs (Make 2)
-
CH 8, work 6 SC from 2nd CH, 3 SC in last CH, turn, 5 SC on opposite side, 1 INC in last CH (18)
-
Round 2: 1 INC, 5 SC, 1 INC, 1 SC, 1 INC, 5 SC, 1 INC, 1 SC (22)
-
Round 3: 1 SC in each stitch (22)
-
Round 4: 1 SC, 1 INC, 5 SC, 1 INC, 3 SC, 1 INC, 5 SC, 1 INC, 2 SC (26)
-
Round 5-7: 1 SC in each stitch (26)
-
Round 8: (2 SC, 1 DEC) x6 (18), finish with tail
Paw (Optional)
-
Round 1: 6 SC into MR (6)
-
Round 2: 6 INC (12)
-
Round 3: (3 SC, 1 INC) x3 (15)
-
Round 4: (4 SC, 1 INC) x3 (18)
-
Round 5-7: 1 SC in each stitch (18)
-
Round 8: (4 SC, 1 DEC) x3 (15)
-
Round 9-14: 1 SC in each stitch (15)
-
Round 15: (3 SC, 1 DEC) x3 (12)
-
Round 16: 6 DEC (6), lightly stuff and flatten
Carrot
-
Round 1: 6 SC into MR (6)
-
Round 2: 1 SC in each stitch (6)
-
Round 3: (2 SC, 1 INC) x2 (8)
-
Round 4: 1 SC in each stitch (8)
-
Round 5: (3 SC, 1 INC) x2 (10)
-
Round 6: 1 SC in each stitch (10)
-
Round 7: (4 SC, 1 INC) x2 (12)
-
Round 8: 1 SC in each stitch, begin stuffing (12)
-
Round 9: 6 DEC (6), close
Carrot Leaves
-
MR, 1 SC, CH 2, sl st in 2nd CH, sl st in SC, sl st in MR, repeat 3 times to form leaves, close ring
Assembly guidance
-
Use sewing pins to secure all parts before sewing to ensure the bunny is symmetrical and the posture looks natural.
-
When attaching the muzzle, center it on the lower half of the head and add a tiny bit of stuffing right before you close the seam to give it a 3D effect.
-
For the ears, pinch the bottom edge slightly before sewing them to the head to give them a curved, lifelike appearance.
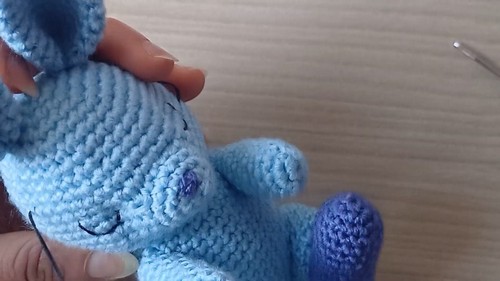
Eye and facial feature placement
-
If using safety eyes, insert them between rounds 12 and 13, spaced about 7 to 8 stitches apart.
-
If embroidering eyes, wait until the head is stuffed and closed to ensure the placement is perfect relative to the muzzle.
-
Use a pink or black thread to embroider a small 'Y' or 'V' shape on the muzzle for the nose and mouth.
Stuffing tips
-
Stuff the head very firmly to keep the face from collapsing when you sew on the ears and muzzle.
-
Stuff the body slightly less than the head to allow it to be a bit squishy, but ensure there are no lumps by pulling the stuffing apart before inserting it.
-
Only stuff the bottom half of the arms and paws so they can hang naturally against the body.
Finishing notes
-
Weave in all loose ends inside the body of the bunny using a tapestry needle.
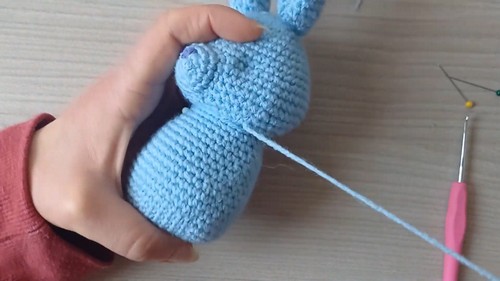
-
Ensure the head-to-body connection is tight by sewing through both the stitches of the neck and the head multiple times.
Beginner notes
-
If you find the leg foundation chain difficult, count your stitches carefully at the turns to make sure the oval base remains even.
-
Do not worry if your first ear looks a bit different than the second; slight variations often add to the handmade charm.
Troubleshooting
-
If the muzzle looks crooked, unpin it and check the alignment against the center of the magic ring on the head.
-
If the bunny cannot sit upright, try adjusting the placement of the legs slightly forward to create a tripod effect with the body.
Customization ideas
-
Try using a fuzzy yarn for the tail or the tips of the ears to create a different texture.
-
You can change the color of the bunny for different seasons, such as a chocolate brown for a spring bunny or a snowy white for winter.