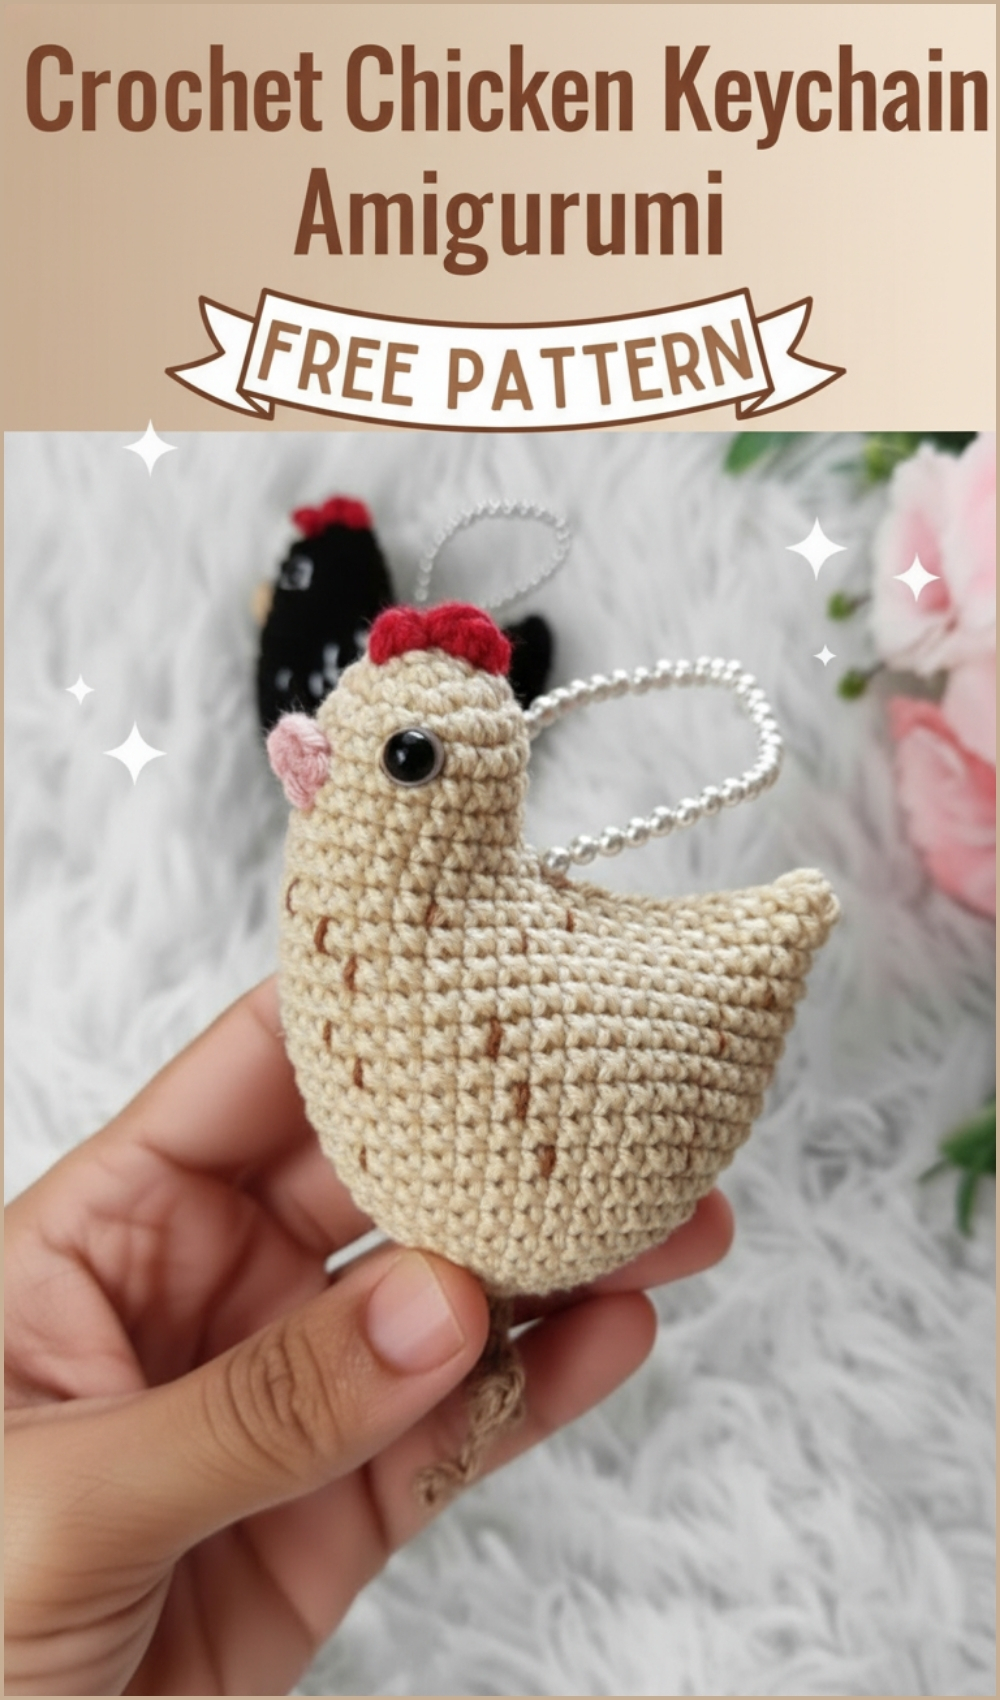
Chicken Crochet Keychain Free Pattern For Gift Giving
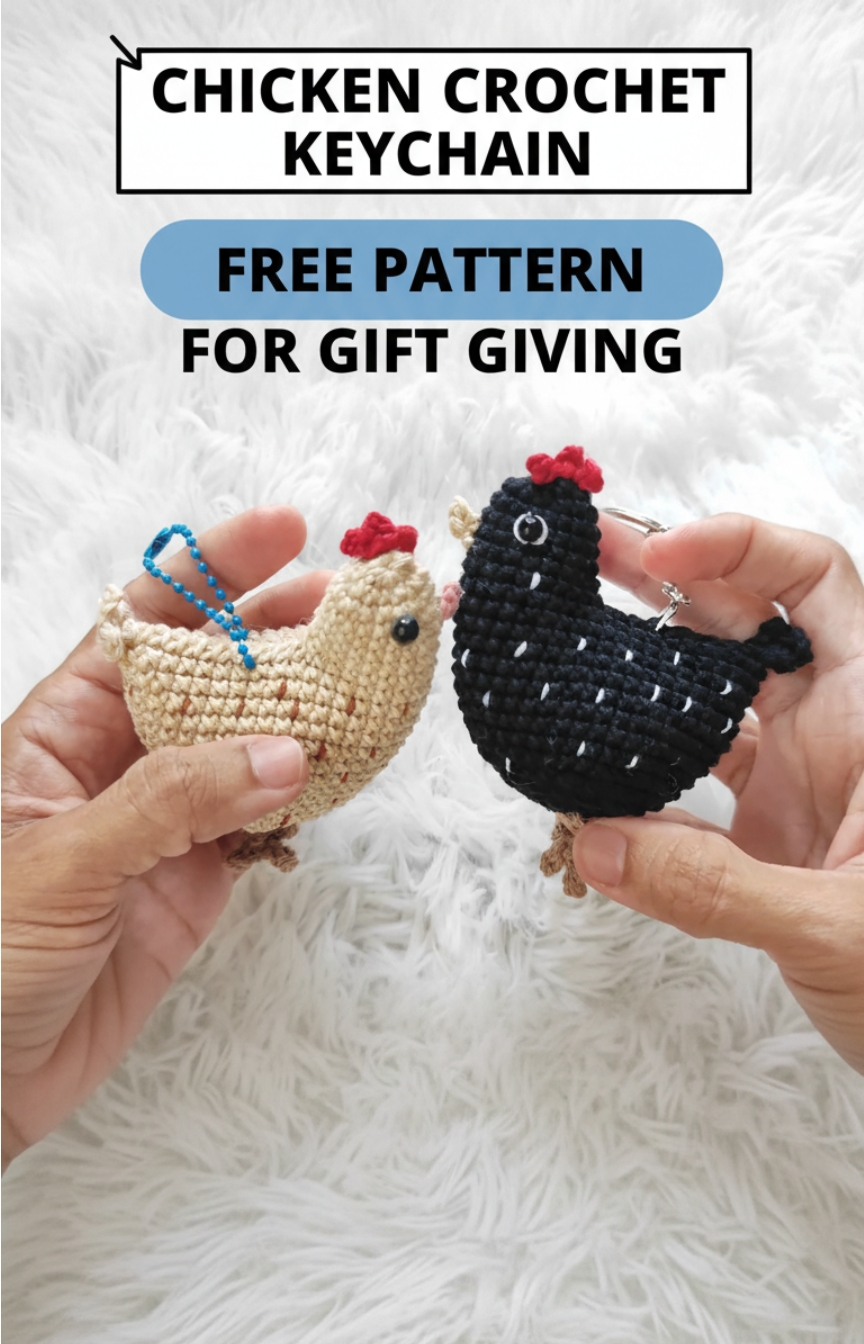
Bring a touch of handmade charm wherever you go with the Charlotte Crochet Chicken Keychain! This delightful amigurumi project captures the essence of farmhouse cuteness in a pocket-sized design.
Crochet Chicken Keychain
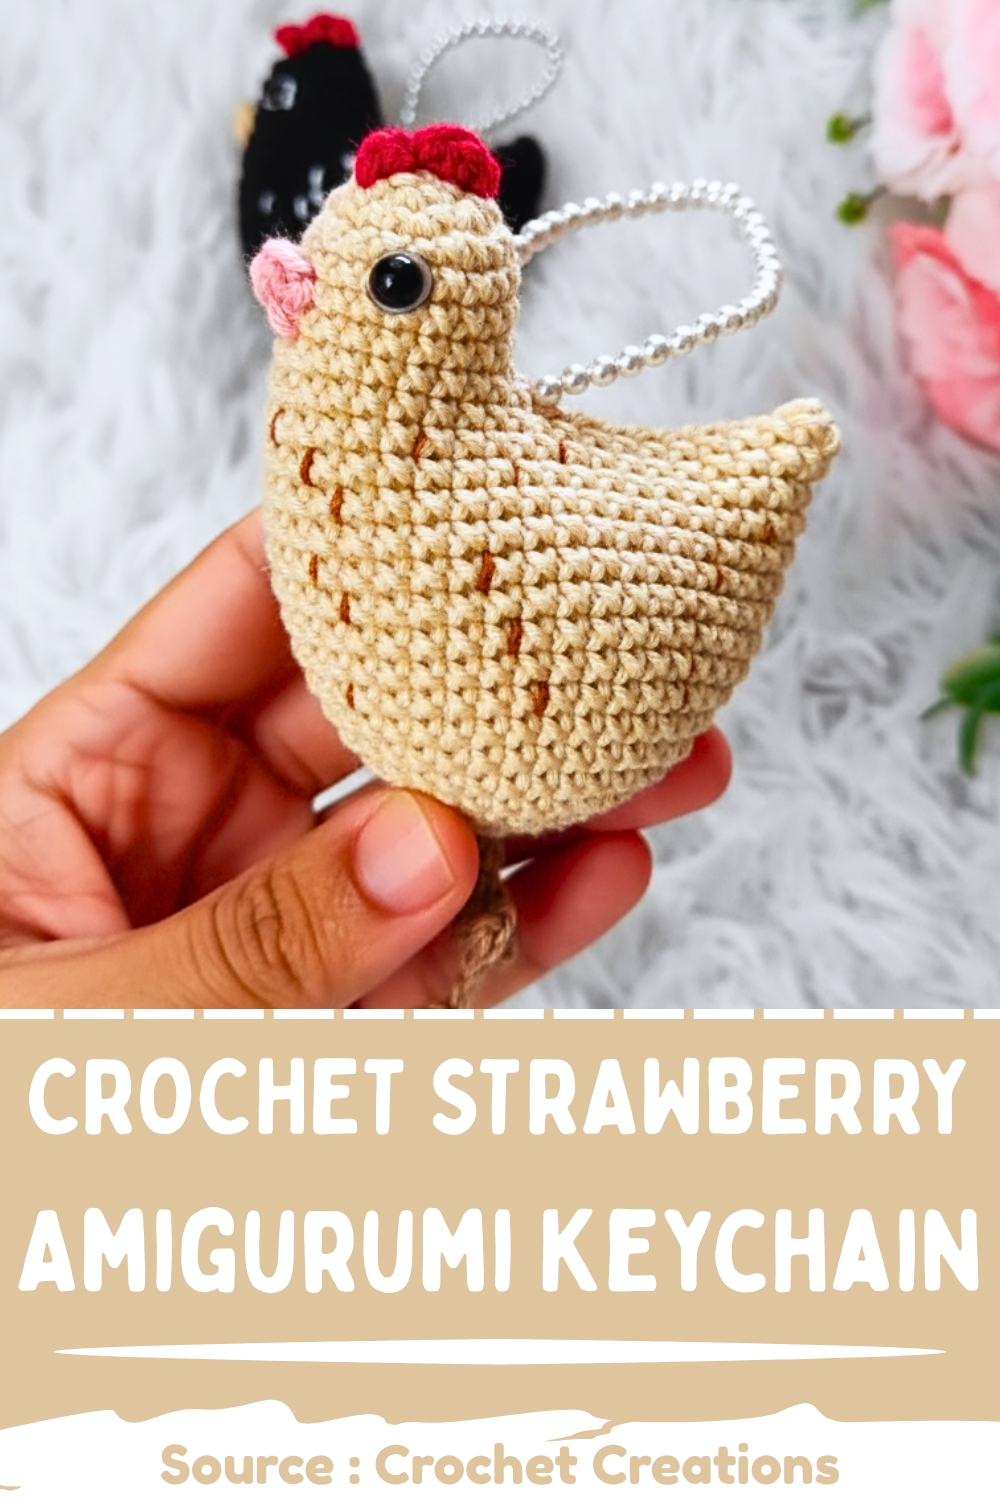
Ideal for beginners and seasoned crocheters alike, the pattern guides you through every step from creating the tiny legs and body to adding adorable details like the comb, beak, and tail feathers. Whether you’re crafting it as a gift, a market item, or a fun accessory for your keys or bags, this crochet chicken is sure to stand out with its cheerful personality and quick, rewarding construction.
Materials
- Yarn in white (body), red (comb), yellow/orange (beak, legs)
- Crochet hook (matching yarn weight)
- Safety eyes or half-pearls
- Stuffing/fiberfill
- Yarn needle and scissors
- Keychain ring or clasp
Legs/Feet (Make 2)
- Leave a long yarn tail.
- Make a slip knot and chain 7.
- Skip the 1st chain. Work 3 slip stitches in the next 3 chains.
- Chain 3 for the first toe. Skip the 1st chain and work 3 slip stitches back into the chain, ending in the same stitch as the last slip stitch of the base.
- Chain 3 for the second toe. Skip the 1st chain and work 3 slip stitches.
- Continue working 3 slip stitches in the remaining base chains to form the leg.
- Chain 1, cut yarn, and leave a tail.
Body
- R1: Magic ring with 6 single crochet. (6)
- R2: 6 increases. (12)
- R3: (1 single crochet, 1 increase) repeat 6 times. (18)
- R4: (1 single crochet, 1 increase), then (2 single crochet, 1 increase) repeat 5 times, end with 1 single crochet. (24)
- R5: (3 single crochet, 1 increase) repeat 6 times. (30)
- R6: (2 single crochet, 1 increase), then (4 single crochet, 1 increase) repeat 5 times, end with 2 single crochet. (36)
- R7: 17 single crochet, 1 increase, 17 single crochet, 1 increase. (38)
- R8: 18 single crochet, 1 increase, 18 single crochet, 1 increase. (40)
- R9–R16: Single crochet in each stitch around. (40)
Leg Attachment and Neck Shaping
- R17: Work 10 single crochet. Skip the next 20 stitches, then work the remaining 10 single crochet, connecting at stitch 21 to close the gap. (20)
- Sew the legs onto the skipped stitches before closing.
- R18: 9 single crochet, 1 decrease, 9 single crochet. (19)
- R19: 17 single crochet, 1 decrease. (18)
- R20–R21: Single crochet in each stitch. (18)
- R22: (2 single crochet, 1 decrease), then (4 single crochet, 1 decrease) twice, end with 2 single crochet. (15)
- R23: (3 single crochet, 1 decrease) repeat 3 times. (12)
- Cut yarn, leaving a long tail. Stuff the body firmly and close using invisible decrease.
Comb/Crest
- Use red yarn.
- Join yarn to loops on the second-to-last round.
- Make 1 slip stitch, 3 chain, 1 slip stitch (first bump).
- Make 1 slip stitch, 4 chain, 1 slip stitch (center bump).
- Make 1 slip stitch, 3 chain, 1 slip stitch (third bump).
Beak
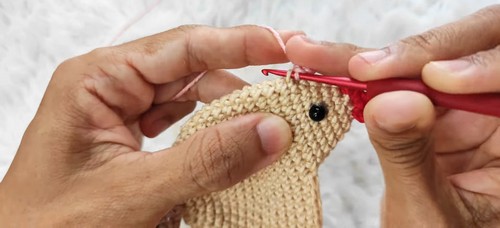
- Place the eyes 2 rounds down from the comb.
- Join yellow/orange yarn 1 round below the eyes.
- Chain 3, skip 1st chain, work 2 slip stitches back, and 1 slip stitch into the base loop.
- Chain 1, cut yarn, and weave in ends.
Tail
- Join yarn at the back of the closed body.
- Make 4 chain, 1 slip stitch (first feather).
- Make 5 chain, 1 slip stitch (center feather).
- Make 4 chain, 1 slip stitch (third feather).
- Chain 1, cut yarn, and weave in ends.
Final Assembly
- Glue or sew half-pearls for eyes two rounds below the comb.
- Add embroidered cheeks or dots if desired.
- Attach a keychain ring to the top of the body.