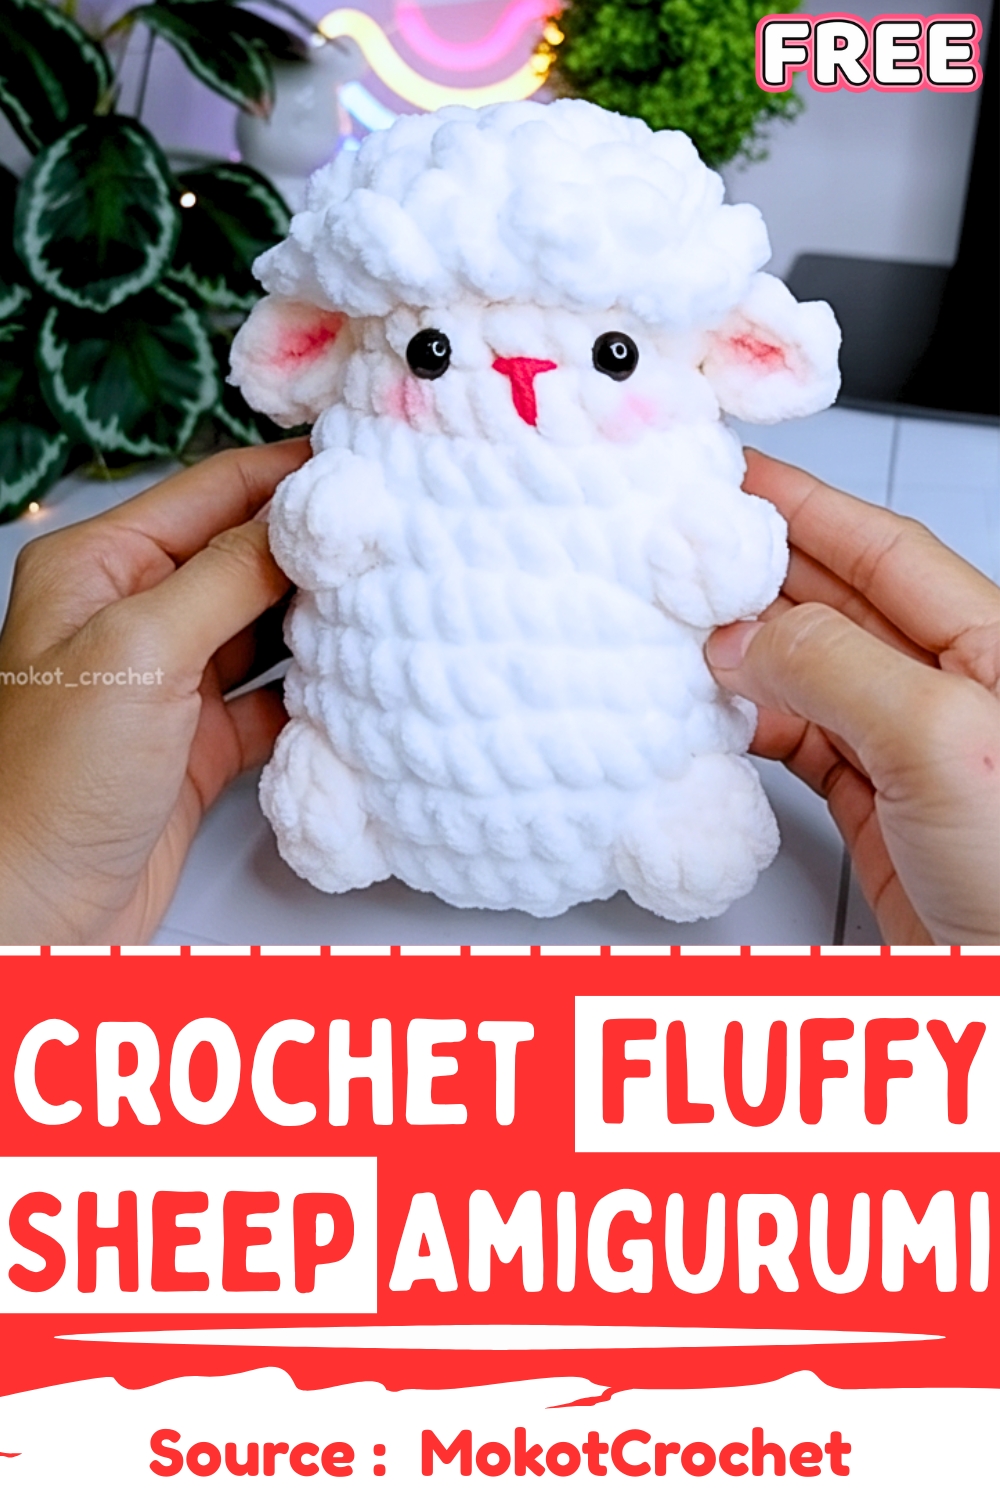
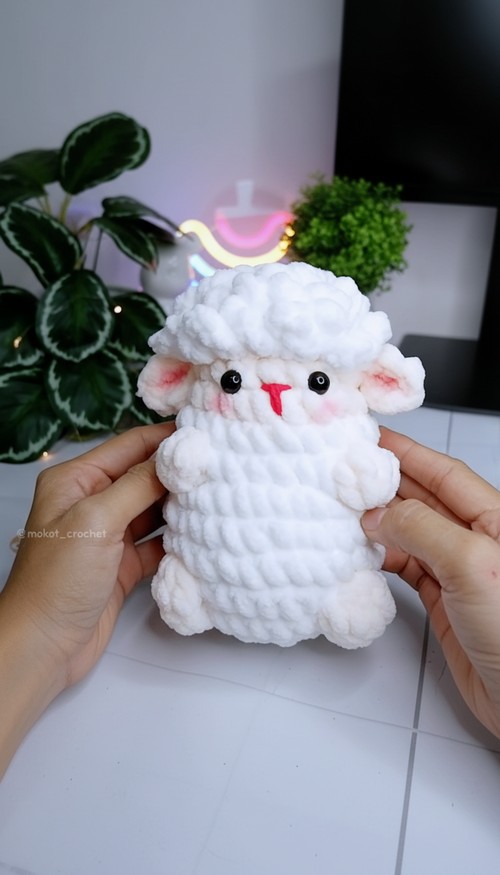
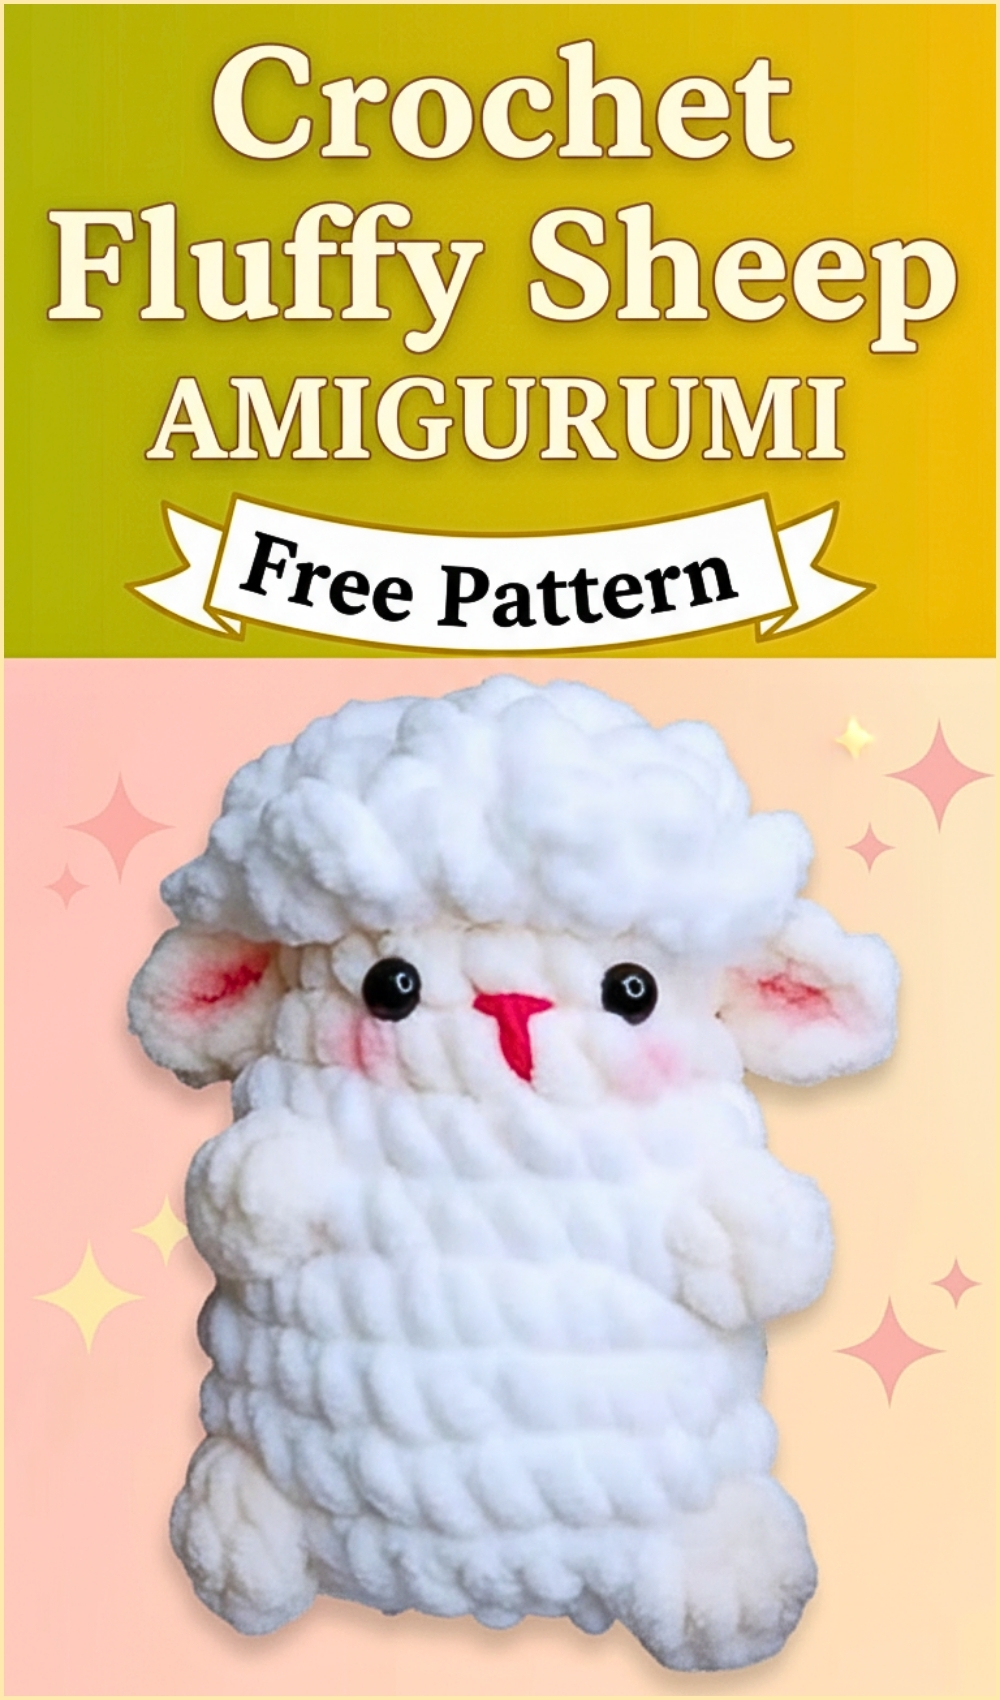
Fluffy Cute Crochet Sheep Amigurumi Pattern
Soft texture and gentle shaping come together in this design, where the body builds upward in rounded sections before being finished with layered details like fluffy hair, tiny ears, and expressive facial features. The alternating yarn colors and bobble stitches give the piece its personality, while the shaping rounds quietly define the form underneath.
Crochet Fluffy Sheep Amigurumi
Understanding how each section contributes to the final look will help you crochet with confidence and place every detail exactly where it belongs.
Skill Level
Beginner to intermediate
You should be comfortable with basic stitches like single crochet, increases, and decreases, and have some familiarity with working in the round. Bobble stitches and color changes are included but explained below.
Finished Size
Size will vary depending on yarn weight and hook size, but expect a small handheld amigurumi.
Materials
(Keep exactly as provided)
- Beige yarn
- White yarn
- Red yarn
- Fiberfill stuffing
- Safety eyes or glue-on eyes
- Blush (for cheeks)
Abbreviations
- sc – single crochet
- inc – increase (2 sc in one stitch)
- dec – decrease
- BLO – back loop only
Helpful Notes Before Starting
- This piece is worked from the bottom upward in continuous shaping rounds.
- Back loop only stitches are used early to create a subtle edge and help define the base.
- Color changes are frequent—always secure your yarn to avoid loose strands inside.
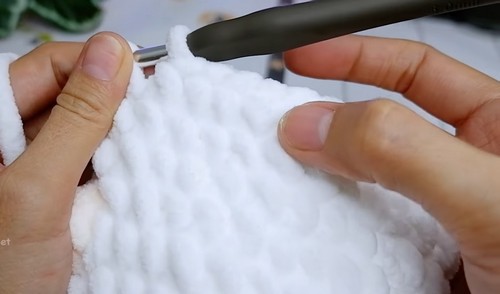
- Bobble stitches create texture and should sit on the outside of the piece.
Construction Overview
- The body is the main structure and is worked first. It gradually increases to form a rounded base, then builds height with alternating textures and colors.
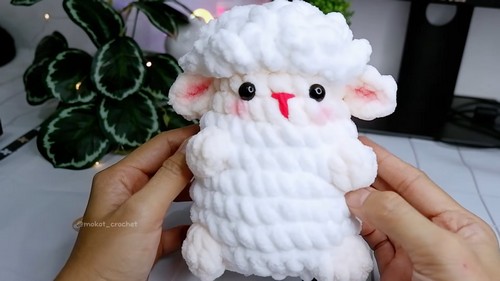
- After shaping is complete, the body is closed and stuffed. Smaller features—hair, ears, and facial details—are added afterward. These finishing steps are what bring the character to life, so placement matters more than speed here.
Stitch and Shaping Clarity
- Back Loop Only (BLO): This creates a ridge that helps define the base and adds structure.
- Increases: Used early to expand the circle into a rounded body.
- Decreases: Used at the top to close the shape smoothly.
- Bobble Stitch: Adds texture—make sure it pops outward, not inward.
MAIN BODY (USING BEIGE YARN)
- Round 1: Make a magic ring, chain 1, and work 6 single crochets (sc) into the ring. Pull the ring tight.
- Round 2: Chain 1, then repeat increasing in the back loop only (inc in BLO) six times.
- Round 3: Chain 1, then repeat the pattern of one single crochet followed by an increase, in the back loop only (inc in BLO), six times.
- Round 4: Chain 1, then repeat the pattern of one single crochet (sc) in the back loop only (BLO) around each stitch.
- Rounds 5–10: Alternate between beige and white yarn to create the fluffy texture.
- Round 5: Chain 1 and repeat the pattern of 1 sc, 1 increase, and 1 sc, six times.
- Round 6: Change to white yarn. Chain 1, then work 1 sc into each stitch around.
- Round 7: Change to beige yarn. Chain 1, then work 8 sc. Create a bobble stitch in the next stitch, then change to white yarn and chain 1 to close the bobble. Continue with 6 sc in white.
- Round 8: Change to white yarn. Chain 1, then work 8 sc around.
- Round 9: Change to beige yarn. Repeat the same pattern as Round 7.
- Round 10: Change to white yarn. Repeat the same pattern as Round 8.
- Rounds 11–13:
- Round 11: Chain 1, then repeat the pattern of 1 sc, 1 decrease, repeated 4 times.
- Round 12: Chain 1, then repeat the pattern of 1 sc into each stitch around.
- Round 13: Chain 1, then repeat the pattern of decreasing 12 times.
- Stuff the body firmly with fiberfill before closing the last round.
- Fasten off and weave in the ends.
HAIR (USING WHITE YARN)
- Attach white yarn to the top of the head and crochet in a spiral to create a fluffy look.
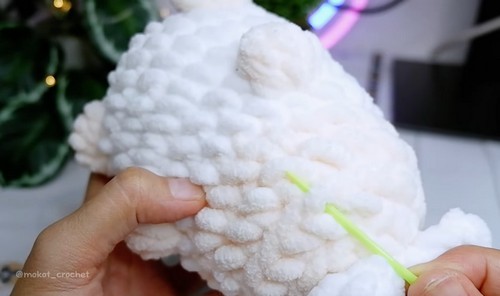
EARS (MAKE 2, USING BEIGE YARN)
- Make a magic ring, chain 1, and work 6 sc into the ring.
- Fasten off, leave a long tail, and sew the ears to the head.
Assembly Guidance
- Position the ears symmetrically on both sides of the head.
- Attach them slightly above the midpoint to keep the character balanced.
- The hair should sit centered on the top and spread naturally outward.
Take time here—small shifts in placement can completely change the expression.
Eye and Facial Feature Placement
- Place eyes evenly across the front, about halfway up the face.
- Keep equal spacing from the center line to avoid a crossed or uneven look.
- Use red yarn to embroider a small nose and mouth—keep stitches minimal for a clean expression.
Stuffing Tips
- Stuff gradually as you go, not all at once.
- Focus on keeping the shape round and even, especially near the top.
- Avoid overstuffing near the decreases to prevent stretching gaps.
Finishing Notes
- Weave in all ends securely, especially where colors change.
- Check symmetry from all angles before finalizing attachments.
- Lightly brush or adjust the hair to enhance the fluffy effect.
Beginner Notes
- If bobble stitches feel tricky, practice one separately before adding it to the body.
- Keep stitch counts consistent—this pattern relies on symmetry.
- Use stitch markers to track your rounds.
Troubleshooting
- Body looks uneven: Check your increase placement and stitch count each round.
- Bobble stitch sinking inward: Push it outward gently from inside before stuffing fully.
- Gaps between stitches: Use a slightly smaller hook or tighten tension.
- Ears look uneven: Reposition before sewing permanently—pin them first if needed.
Customization Ideas
- Change yarn colors to create different characters or animals
- Add accessories like a bow, scarf, or tiny hat
- Adjust facial expression with different embroidery styles