
Mini Crochet Strawberry Amigurumi Keychain Free Pattern
Few things capture the sweetness of summer quite like a Crochet Strawberry Amigurumi Keychain, a delightful accessory that adds a pop of vibrant color to any set of keys or backpack. These little berries are whipped up using textured stitches to mimic real seeds, topped with a tiny green leafy crown for a touch of realism. Beyond just looking adorable, they serve as sturdy, squishy charms that make finding your essentials in a crowded bag much easier.
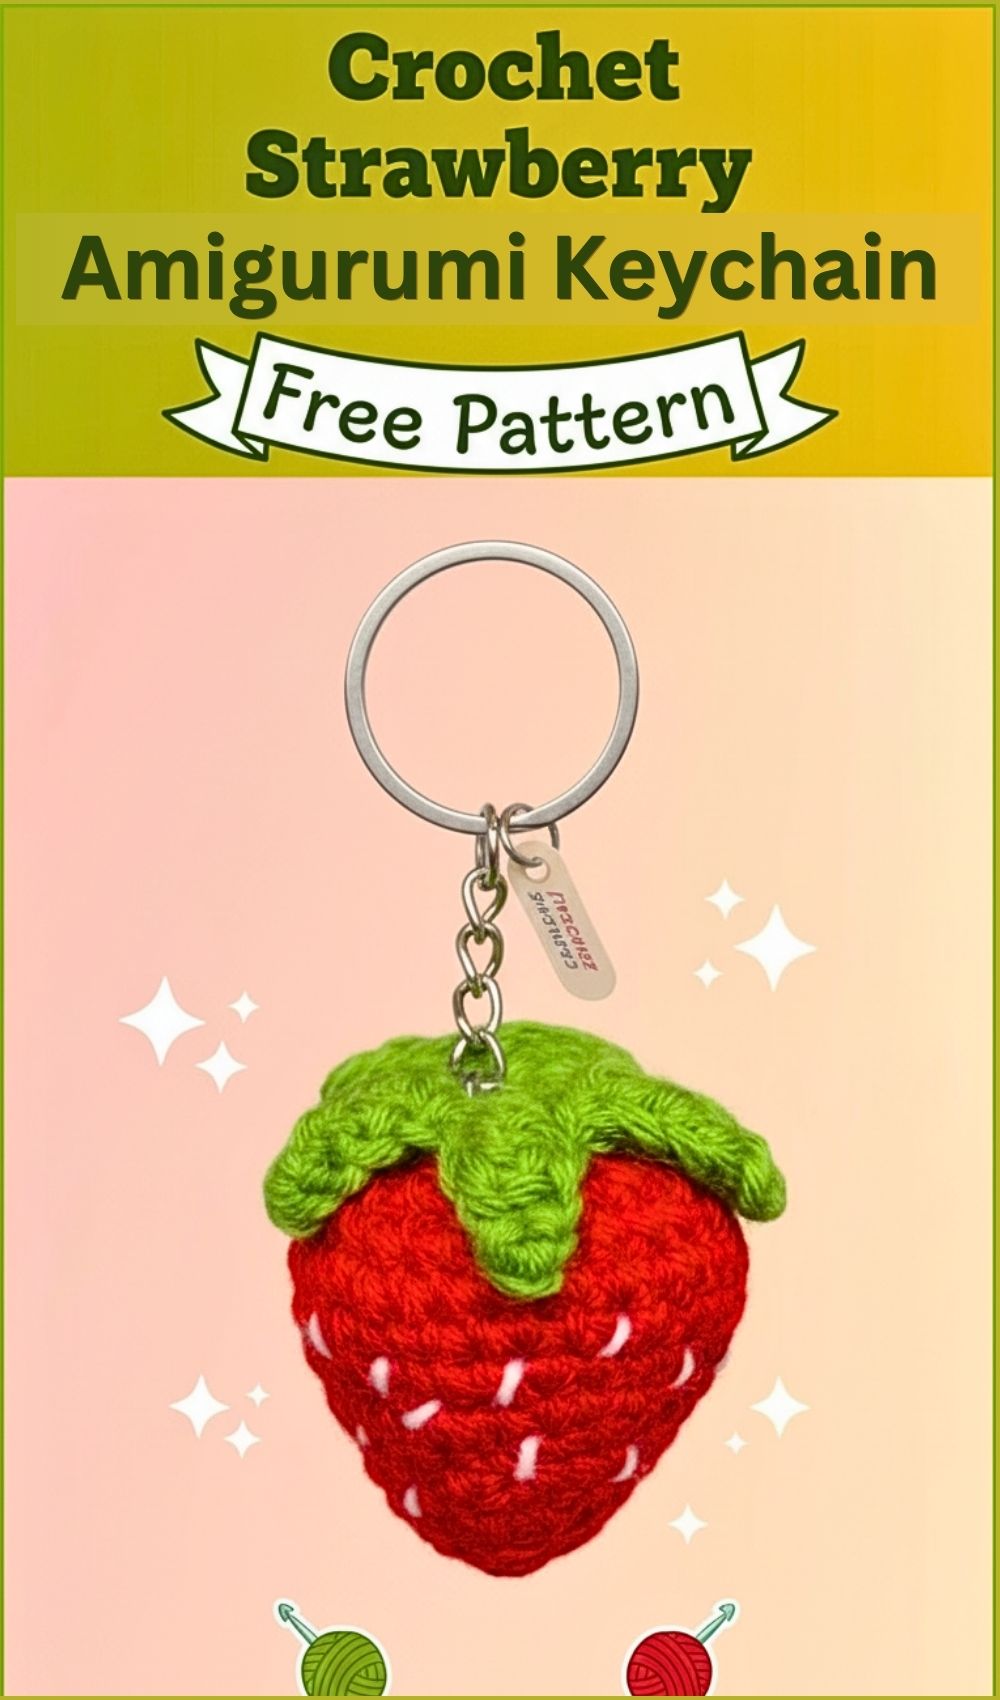
Crochet Strawberry Amigurumi Keychain
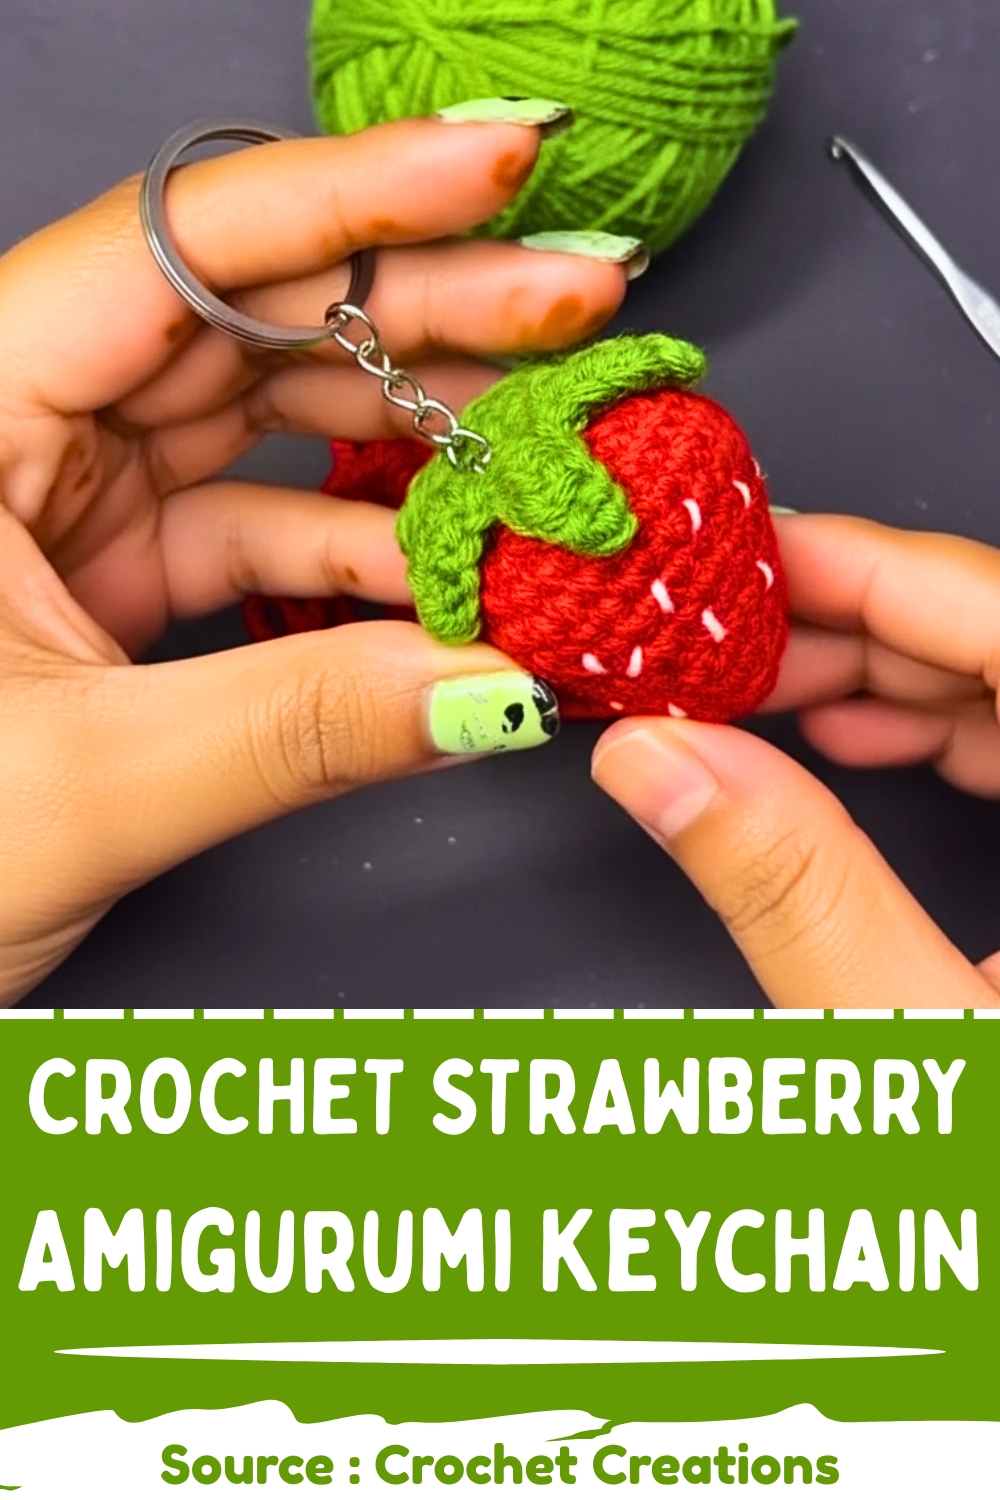
Whether you’re looking to create a quick handmade gift or want to build a whole basket of everlasting fruit, these bright red treats are the perfect blend of functionality and whimsical charm.
Skill Level
-
This project is perfect for an advanced beginner who is comfortable with the magic ring and basic increases.
Finished Size
-
Using a 3.0 mm hook and standard worsted weight yarn, your strawberry will be approximately 2 to 2.5 inches tall.
Materials
-
Red yarn
-
Green yarn
-
White yarn
-
3 mm hook
-
Scissors
-
Stitch marker
-
Stuffing
-
Needle
Abbreviations
-
MR Magic Ring
-
CH Chain
-
SC Single Crochet
-
Inc Increase
-
Dec Decrease
Construction Overview
-
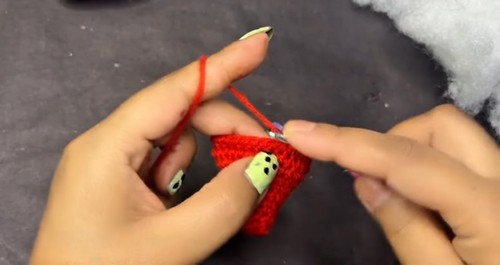
The body is worked in one piece from the bottom up, starting at the narrow tip and widening toward the top.
-
Unlike many spherical patterns that increase rapidly, this design uses spaced-out increase rounds and "SC around" rounds to elongate the shape.
-
The leaves are created separately and attached at the end to cover the closure point.
Stitch and Shaping Clarity
-
The magic ring provides a seamless start so that stuffing doesn't leak out of the bottom of the fruit.
-
The "SC around" rounds are vital because they provide height; skipping these would result in a flat, disk-like shape rather than a conical strawberry.
-
Decreases are placed at the very top to mimic the natural curve of the fruit where it meets the stem.
Strawberry Body
-
Make MR and CH 1
-
Work 6 SC into MR
-
Work (1 SC, 1 Inc) x 3
-
Work (2 SC, 1 Inc) x 3
-
Work SC around
-
Work (3 SC, 1 Inc) x 3
-
Work SC around
-
Work (4 SC, 1 Inc) x 3
-
Work SC around
-
Work (5 SC, 1 Inc) x 3
-
Work SC around
-
Work SC around
-
Work (5 SC, 1 Dec) x 3
-
Work (4 SC, 1 Dec) x 3
Stuffing and Decreases
-
Stuff body
-
Work (3 SC, 1 Dec) x 3
-
Work (2 SC, 1 Dec) x 3
-
Work (1 SC, 1 Dec) x 3
-
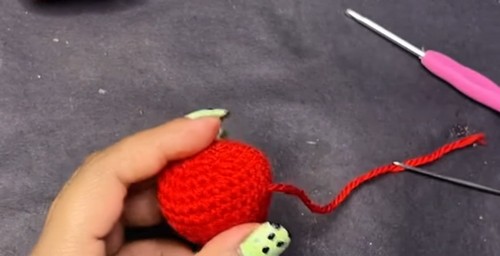
Slip stitch, fasten off, leave tail
-
Close hole with needle
Decoration and Assembly
-
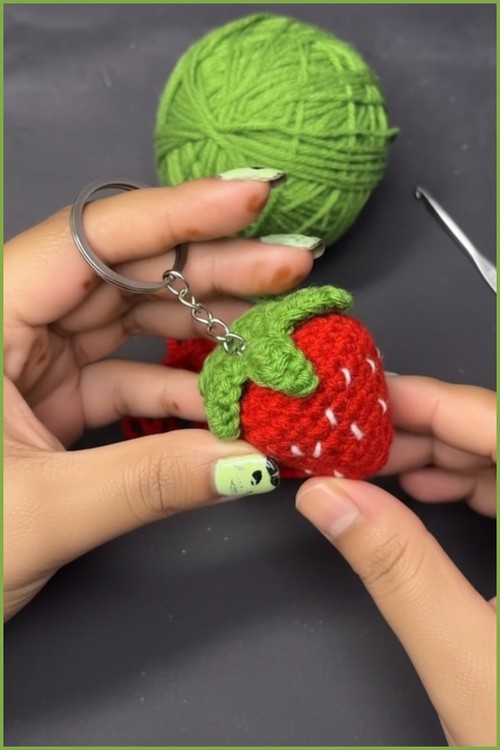
Add seeds with white yarn using small straight stitches
-
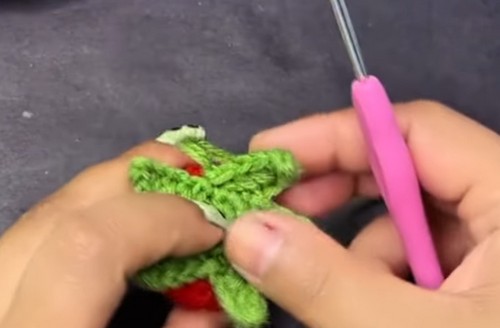
Make five small leaf petals with green yarn
-
Attach leaves to top of strawberry
-
Attach keychain hardware to top
Eye and Facial Feature Placement
-
If you choose to add a face, place safety eyes between the rounds of (5 SC, 1 Inc) for a centered, "kawaii" look.
-
Ensure the white seed stitches are scattered randomly rather than in perfect lines to give the fruit a more organic appearance.
Stuffing Tips
-
Fill the bottom tip firmly first using the back of your crochet hook to push the stuffing down.
-
As you reach the final decrease rounds, add enough stuffing so the sides feel plump but the stitches do not stretch open to reveal the white filling.
Assembly Guidance
-
Use the yarn tail from the red body to weave through the front loops of the final stitches and pull tight like a drawstring.
-
Position the five green leaves so they radiate from the center point of the top, slightly overlapping the edge of the red body.
Troubleshooting
-
If your strawberry looks too long, ensure you are not accidentally adding extra "SC around" rounds.
-
If the shape looks like a ball rather than a cone, check that you are alternating the increase rounds with the plain rounds as written.
Customization Ideas
-
Swap the red yarn for pink or light white to create different varieties of berries.
-
Use a shimmering or sparkly white yarn for the seeds to make the keychain stand out.