
Mickey Mouse Keychain Crochet Pattern Free You Will Love Making
Designed to turn everyday accessories into expressive handmade pieces, the Crochet Keychain Animal Amigurumi brings together playful character design and practical function in a compact form. It works beautifully as a bag charm or key holder, while the rounded head, bold color contrast, and embroidered facial details create a clear animal-inspired look that feels lively and personal.
Crochet Mickey Mouse Keychain
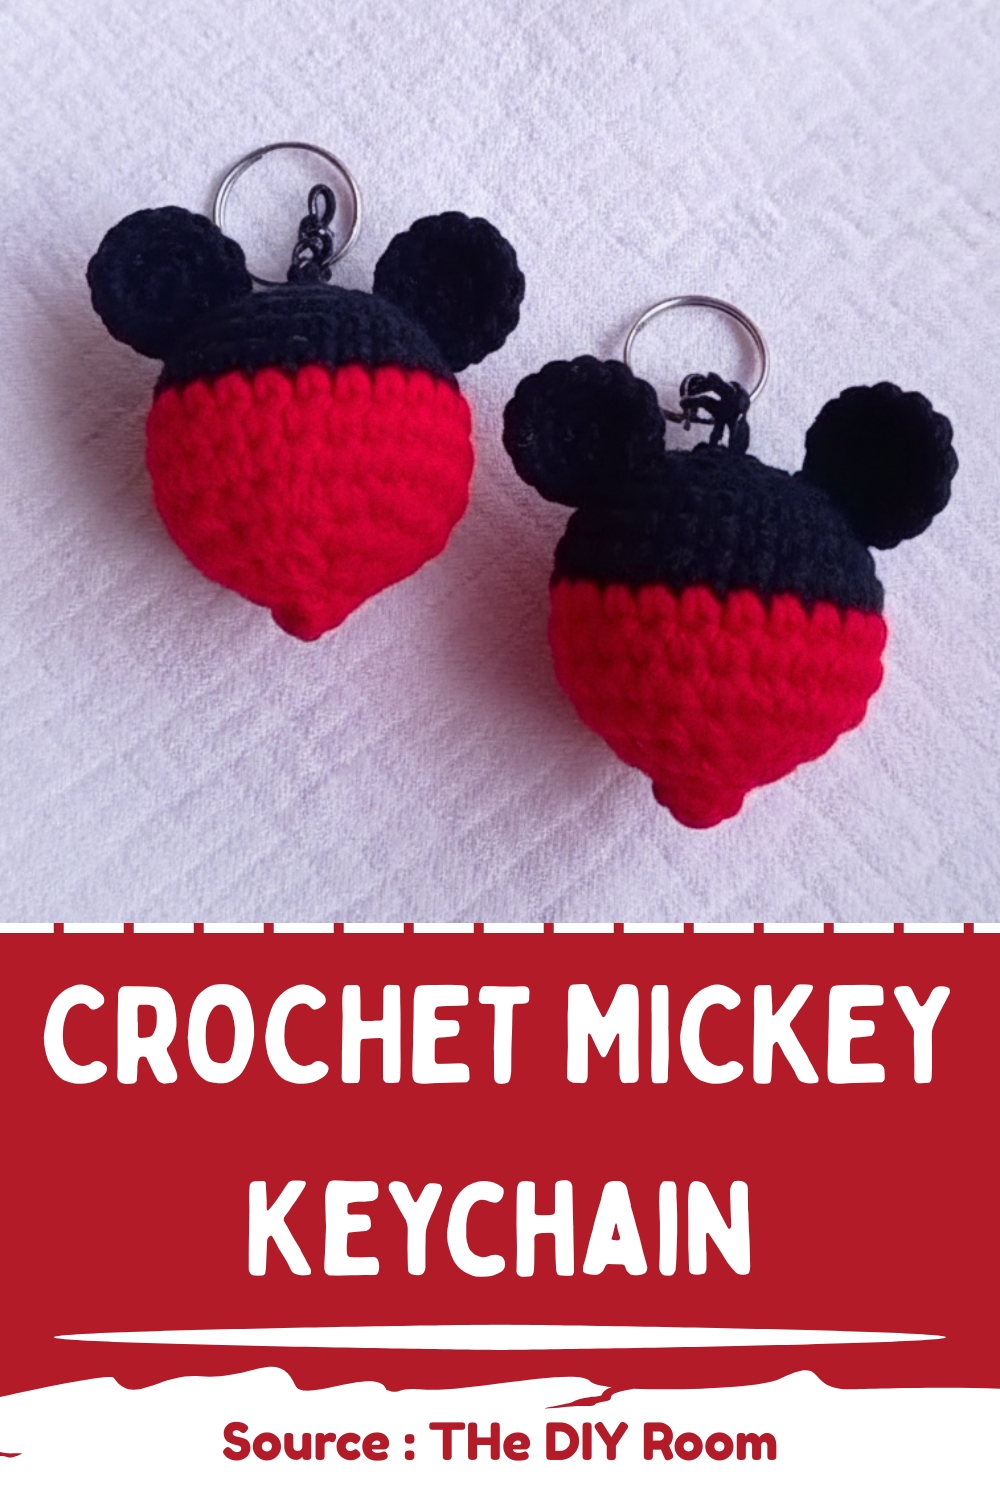
Each piece can be customized through color changes and facial expression adjustments, making it suitable for personal use or gifting.
Skill Level
Beginner to intermediate.
This project uses basic amigurumi techniques such as working in the round, increasing, decreasing, and simple assembly.
Finished Size
The final size will depend on your yarn and hook tension, but with 2.5 mm hook and milk cotton yarn, the head typically fits comfortably in the palm of your hand, making it ideal for a keychain or bag charm.
Materials
- Yarn in black, white, and red (milk cotton yarn)
- 2.5 mm crochet hook
- Stitch marker
- Scissors
- Yarn needle
- Fiberfill stuffing
- Keychain ring
Abbreviations
- sc = single crochet
- inc = increase (2 single crochet in one stitch)
- dec = decrease (invisible decrease recommended)
- mr = magic ring
Helpful Notes Before Starting
- This design is built around a structured spherical head with added shaping through gradual increases and decreases. The shaping is important because it creates a smooth, rounded form without sharp edges or flat sides.
- Use a stitch marker in every round. Since this piece is worked continuously in spirals, it is very easy to lose track of your starting point without one.
- Stuff gradually rather than waiting until the end. This helps maintain even shaping and avoids overstuffing or hollow spots.

Construction Overview
The project is constructed in three main stages:
- Head base (black yarn) – worked in rounds with controlled increases and decreases
- Ears and face details – separate small components attached after shaping
- Assembly – final facial embroidery and keychain attachment
The structure is simple but very effective: a smooth rounded head with expressive facial placement and clean finishing.
MAIN HEAD (BLACK YARN)
The head is the central structure of the amigurumi. The increase rounds build width, while the straight rounds create height and stability. The decrease rounds gently close the shape while maintaining symmetry.

- Round 1: Make a magic ring and work 6 single crochet
- Round 2: Work 2 single crochet in each stitch around for a total of 12 stitches
- Round 3: Work 1 single crochet, then 1 increase, repeat around for a total of 18 stitches
- Round 4: Work 2 single crochet, then 1 increase, repeat around for a total of 24 stitches
- Round 5: Work 3 single crochet, then 1 increase, repeat around for a total of 30 stitches
- Round 6: Work 4 single crochet, then 1 increase, repeat around for a total of 36 stitches
- Rounds 7 to 11: Work 1 single crochet in each stitch around
- At this stage, the head reaches its full width. These rounds form the “body” of the head shape and should be consistent to avoid dents or uneven tension.
- Round 12: Work 4 single crochet, then 1 decrease, repeat around for a total of 30 stitches
- Round 13: Work 3 single crochet, then 1 decrease, repeat around for a total of 24 stitches
- Stuff the head firmly with fiberfill
- Round 14: Work 2 single crochet, then 1 decrease, repeat around for a total of 18 stitches
- Round 15: Work 1 single crochet, then 1 decrease, repeat around for a total of 12 stitches
- Finish by fastening off and sewing the opening closed
- The closing rounds are what give the head its smooth, rounded finish. Make sure stuffing is evenly distributed before tightening the final opening so the shape stays symmetrical.

EARS (MAKE 2 – BLACK YARN)
- The ears are small but important for silhouette balance. They are designed with a soft curve created through gradual increases.
- Round 1: Make a magic ring and work 6 single crochet
- Round 2: Work 2 single crochet in each stitch around for a total of 12 stitches
- Round 3: Work 1 single crochet, then 1 increase, repeat around for a total of 18 stitches
- Round 4: Work 1 single crochet in each stitch around
- Finish by fastening off and leaving a long tail for sewing
- The final single crochet round helps stabilize the ear shape so it holds better when attached.
FACE DETAIL (WHITE YARN)
- These white pieces define the facial area and create contrast against the black yarn, helping the expression stand out clearly.
- Crochet two small circles by making a magic ring with 6 single crochet
- Increase evenly in the next round to form small ovals
- Sew the white pieces onto the front of the head to create the face area
- Placement is important here. Position both white ovals evenly so the face does not look tilted. They should sit slightly lower than the midpoint of the head for a more natural expression.
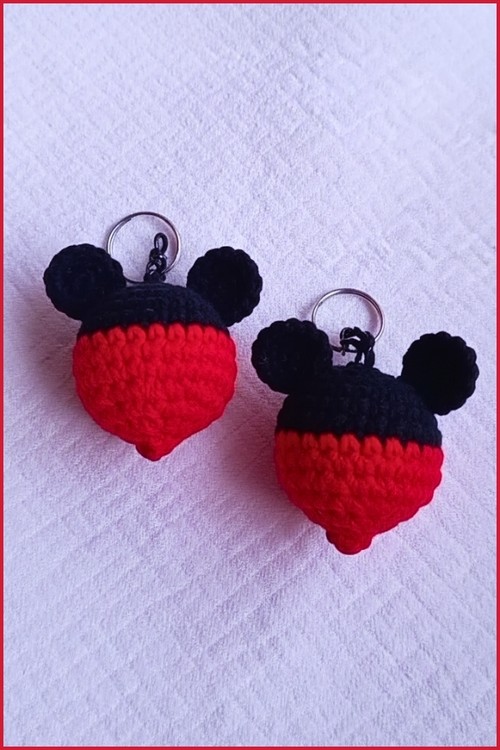
ASSEMBLY AND FINISHING
- This stage brings the character to life, and careful placement makes a big difference in the final look.
- Sew the ears onto the top of the head evenly
- Try to align both ears with equal spacing from the center. Uneven placement can make the toy look tilted even if the crochet itself is perfect.
- Embroider the eyes and nose using black yarn
- Keep the eyes symmetrical and slightly above the white face panels. The spacing between the eyes determines the expression—closer placement creates a cuter look, while wider spacing creates a calmer appearance.
- Attach the keychain ring securely to the top center of the head
- Make sure the attachment is reinforced with multiple stitches through the top stitches of the head. This prevents tearing when used as a keychain.
Stuffing Tips
- Use small amounts of fiberfill at a time and push it into the corners first. This helps avoid lumps and keeps the surface smooth. The head should feel firm but not overstuffed.
Beginner Notes
- If your increases or decreases feel uneven, don’t worry. Amigurumi naturally smooths out minor inconsistencies once stuffed. The most important part is maintaining consistent stitch tension.
Troubleshooting
- Head looks lopsided: Check if increases were evenly spaced. Uneven increases usually cause asymmetry.
- Stuffing shows through stitches: Your tension may be loose. Try a smaller hook or tighter stitches.
- Face looks off-center: Re-check placement of white panels before sewing permanently.
Customization Ideas
- Change yarn colors to create different animal styles
- Add embroidered eyebrows for expression variation
- Use safety eyes instead of embroidery for a more polished look
- Add small blush stitches for a softer aesthetic
- Attach a mini bow or hat for personality