
How To Make Crochet Rose Hair Tie Pattern - 3D Rolled Rose
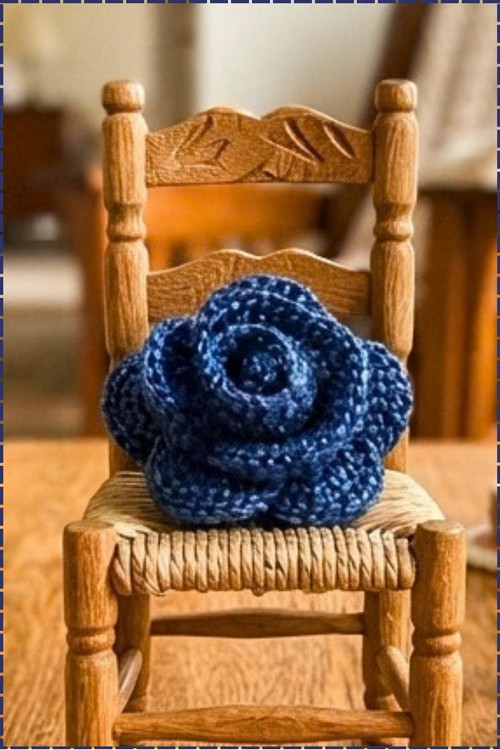
Pair the crochet rose hair tie with a denim jacket or a white tee, and its navy petals with a soft cotton sheen add colour without shouting. Florists rarely stock navy blue roses, which makes a 3D rolled crochet rose a lasting pick for a Mother's Day gift box.
Wrapped around a ponytail, the Crochet Rose Hair Tie puts a blue flower at the back of the head. Girls who refuse plain elastics will wear it to school. Bridesmaids can match it to the wedding colour. Make a Crochet Rose Hair Tie for the sister who borrows your scrunchies and never returns them.
Crochet Rose Hair Tie
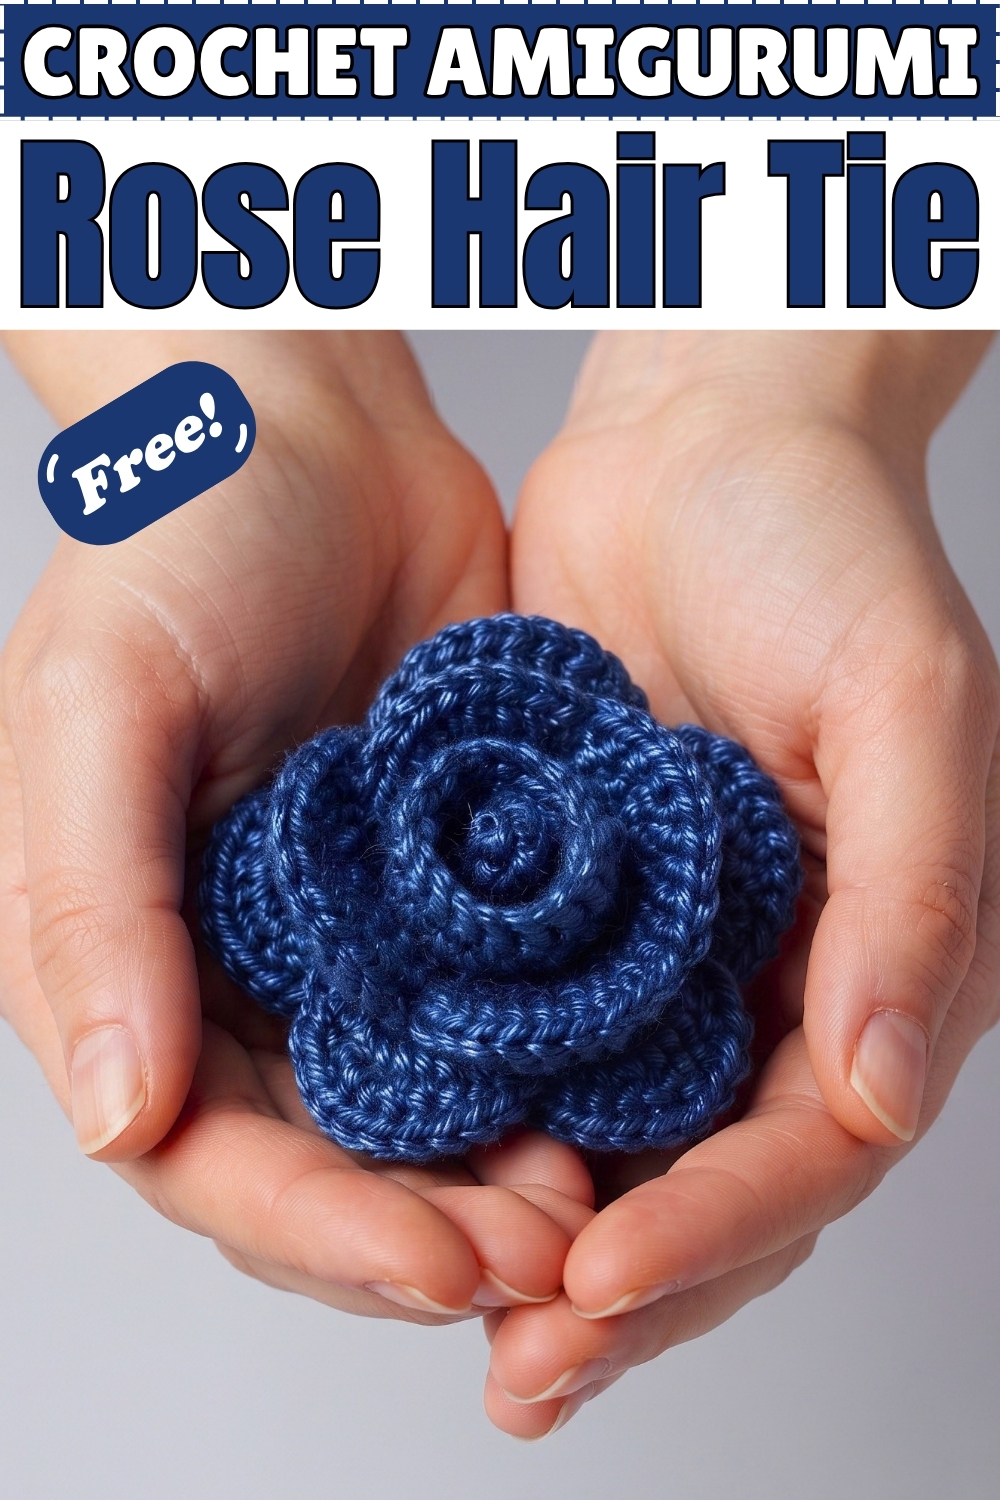
Rolling a long strip of graduated petals into a tight spiral is what builds this crochet rose hair tie into a three dimensional bloom with no separate flower centre to attach. Starting from small six stitch petals and ending with large ten stitch ones, the strip naturally forms inner and outer layers when rolled. My version uses navy blue cotton throughout with no contrasting border, so the whole rose reads as one deep solid colour. Underneath, a small crocheted circle locks an elastic hair tie in place. The finished rose sits flat and secure in a ponytail without flopping.
Materials and Tools
- 4-ply milk cotton yarn in navy blue (one colour used throughout; contrasting border is optional)
- 3.5 mm crochet hook
- One elastic hair tie
- Yarn needle and scissors
Abbreviations (US Terms)
- ch: chain
- sc: single crochet
- dc: double crochet
- rsc: reverse single crochet (also called the crab stitch)
- inc: increase (2 sc in the same st)
- sl st: slip stitch
- st(s): stitch(es)
Difficulty and Time
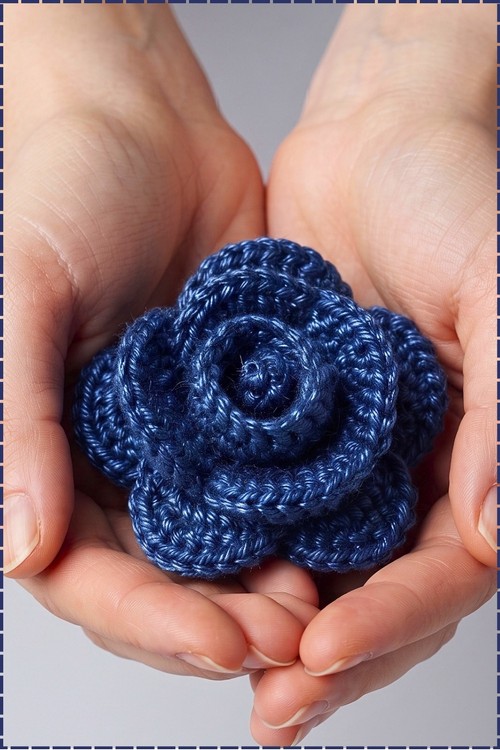
This is easy to intermediate. The V stitch row is straightforward once you get into the rhythm. In my experience the whole piece takes about an hour, including rolling and sewing. The rose fits in the palm of the hand when finished.
The Pattern
Rose Petals (Navy Blue)
- Foundation: ch 59 [59 ch]; keep the chains loose so the V stitches sit evenly.
- Row 1: in the 5th ch from the hook, work (1 dc, ch 4, 1 dc) into the same st [first V stitch].
- Skip the next 3 ch, then in the next ch work (1 dc, ch 4, 1 dc) [second V stitch].
- Repeat (skip 3 ch, then work (1 dc, ch 4, 1 dc) in the next ch) all the way to the end of the chain [14 V stitches total]; you should have a long strip of open loops.
- Row 2: ch 2 and turn; you will now work into the ch 4 gaps.
- Small petals: work (6 dc, 1 sc) into each of the first 2 ch 4 spaces [2 petals].
- Medium petals: work (8 dc, 1 sc) into each of the next 3 ch 4 spaces [3 petals].
- Large petals: work (10 dc, 1 sc) into each of the remaining 9 ch 4 spaces [9 petals]; the strip should now look like a wavy ribbon with petals graduating in height from left to right.
- Ch 1, cut the yarn, and pull it through to secure.
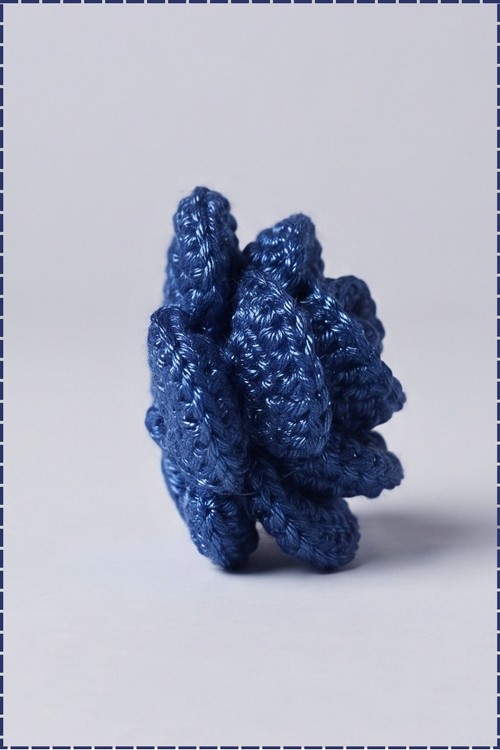
Petal Border (Optional Contrasting Colour or Same Colour)
- Attach yarn to the first st at the beginning of the petals.
- Work 1 rsc into every st all the way along the wavy edge of the petals; the rsc moves right to left and creates a neat twisted cord edge.
- Sl st, ch 1, cut the yarn, and leave a very long tail of at least 12 inches for sewing; this tail is what holds the whole rolled rose together, so do not trim it short.
- Note: my version uses the same navy yarn throughout rather than a contrasting colour, so the border blends into the petals.
Shaping the Rose
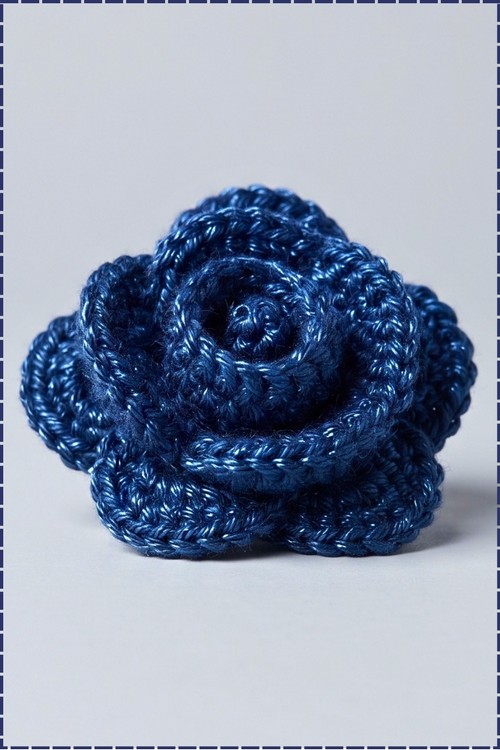
- Starting from the small petal end, roll the strip inward tightly in a continuous spiral so the larger petals fan out around the outside.
- Keep the flat bottom edges aligned as you roll so the base of the rose sits level.
- Thread the long yarn tail onto a tapestry needle.
- Flip the rose over to face the flat base and sew back and forth through every layer of the roll, catching each one so the centre cannot pop out later.
- Secure with a firm knot and leave the tail on hold for final assembly.
Hair Tie Base (Navy Blue)
- Round 1: make a magic ring, work 6 sc into it, pull tight, and sl st to join .
- Round 2: inc in each of the first 3 sts [6 sc from the increases so far].
- Pick up the elastic hair tie and hold it flat against the back of the crocheted circle.
- Inc in each of the remaining 3 sts, crocheting around the elastic band so it is locked into the fabric [12 sts total]; the elastic should be fully encased at the back by the increases worked around it.
- Sl st to join, ch 1, cut the yarn, and leave a long tail for sewing.
Final Assembly
- Place the circular base flat against the bottom of the sewn rose, hair tie facing outward.
- Thread the long tail from the base onto a tapestry needle.
- Sew around the outer edge of the base, catching the bottom stitches of the rose all the way around.
- Tie a firm knot, weave in all remaining ends, and trim.
Technique Notes
The rsc (reverse single crochet) runs in the opposite direction to your normal crochet. After finishing the petals, do not turn the work. Insert the hook into the stitch to the right instead of the left, pull up a loop, and complete as a normal sc. It takes a few stitches to feel natural and gives the edge a raised, rope like texture.
Roll the strip firmly at the centre but let it loosen slightly as you add the outer layers. Too tight all the way through makes the rose look more like a coil than a bloom.
Work the increases around the elastic in Round 2 with the band held firmly against the back of the circle. If the elastic slips, the base will not sit flat.
FAQ
Can I skip the contrasting border? Yes. I used the same navy yarn throughout and the rose still rolled cleanly. The border adds a subtle edge detail but does not affect the structure.
My rose centre pops out when I wear it. What do I do? The sewing pass at the base is the fix. Go back through with your needle and add more passes across the layers, making sure to catch the very centre roll each time.
How tight should I roll the strip? Roll the first few small petals very tightly to form a firm bud, then ease the tension as the larger petals wrap around. A good rolled rose is tight in the middle and opens gently at the edges, which is exactly how mine looks.