
No Sew Rubber Duck Crochet Pattern - One Piece Amigurumi Duck
Every spring, Easter baskets and baby shower favour bags make room for a no sew rubber duck crochet charm that nestles in cupped hands. Drivers hang a one piece amigurumi duck from the rear view mirror for a small burst of yellow on grey morning commutes.
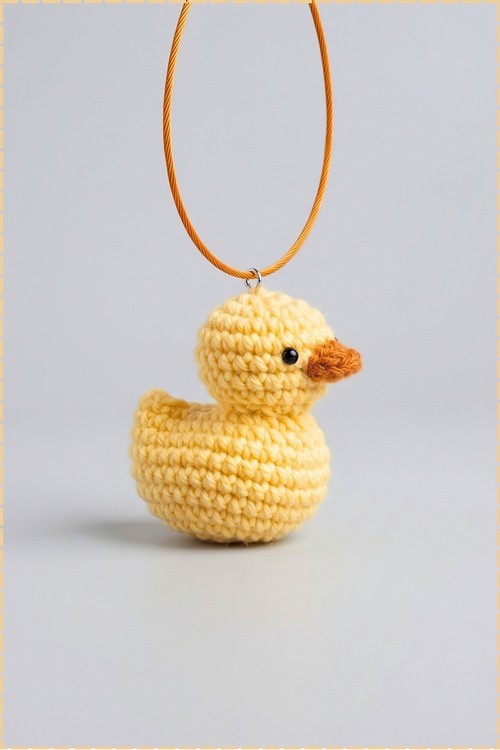
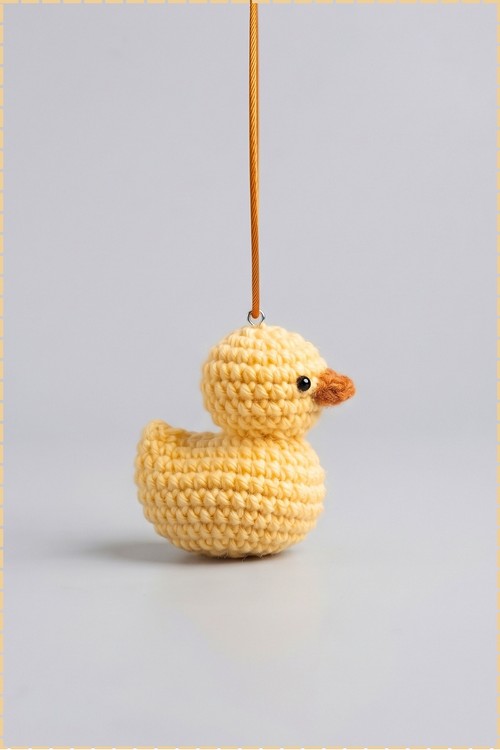
Beak up and tail cocked, the Crochet No Sew Rubber Duck hanging from that cord looks like it is waiting for applause. It carries itself like a bath toy that has never lost a race. Hang your Crochet No Sew Rubber Duck by the door and it greets every visitor beak first.
Crochet No Sew Rubber Duck
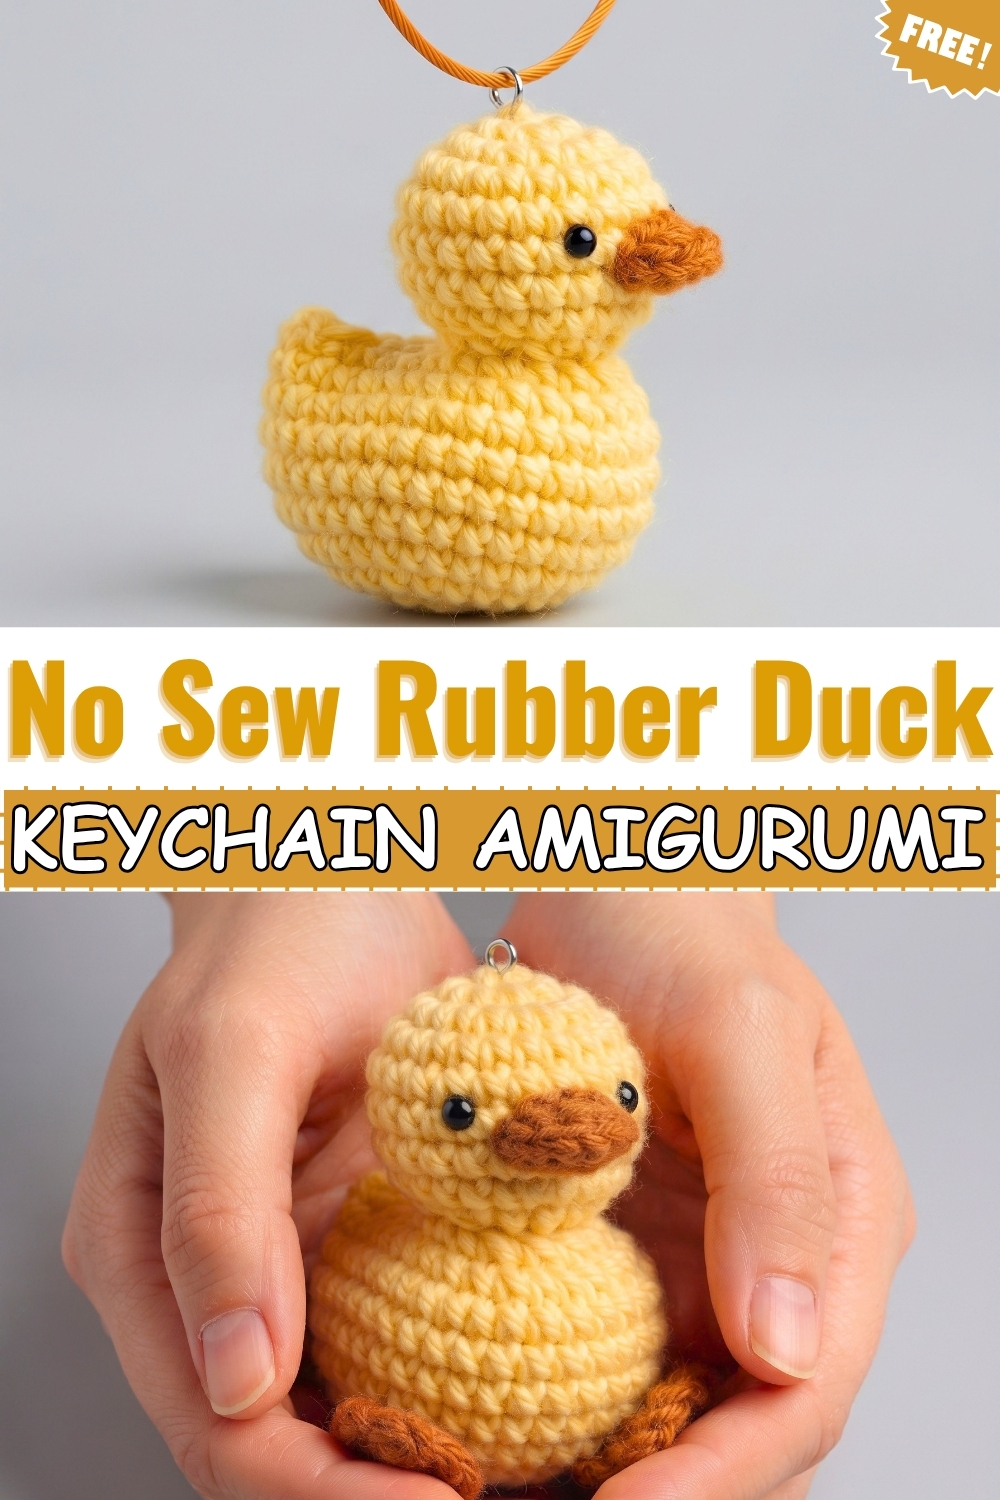
Pinching the back of the body flat and slip stitching the two sides together is what gives this crochet no sew rubber duck its shape without a single sewn seam. From those same remaining stitches, the head grows upward in one continuous piece, so the whole duck comes off the hook already assembled. I made mine in pale buttery yellow with a small orange beak worked directly into the face. A split ring and an orange cord loop through the top of the head to hang it as a pendant or bag charm. Every part of this little duck is satisfying to make.
Why I Love This One
The no sew construction is the whole magic of this duck. Figuring out how the slip stitch tail closure works feels like a small revelation, and once you see the head growing out of those eight leftover stitches, you will want to make a whole flock.
Materials and Tools
- Worsted or DK weight yarn in pale yellow for the body and head
- A small amount of orange yarn for the beak
- One 4 mm black safety eye (my version uses a single eye on the visible side; the original calls for two)
- Polyfill stuffing
- A small split ring or jump ring
- An orange cord or chain of your preferred length for hanging
- Yarn needle and scissors
- Optional: a small weight for the base if you want the duck to stand on a desk rather than hang
Abbreviations
- MR: magic ring
- sc: single crochet
- inc: increase (2 sc in the same st)
- dec: decrease (sc 2 together)
- FLO: front loop only
- sl st: slip stitch
- ch: chain
- st(s): stitch(es)
Difficulty and Time
I would call this easy for anyone who already knows how to crochet in the round. The tail closure step is the only part that needs a little attention. In my experience the whole duck takes around 45 minutes to an hour, and it fits in the palm of my hand when finished.
Beginner Technique Notes
Working in continuous rounds means you never join with a slip stitch at the end of a round. Use a stitch marker in the last stitch of each round so you always know where one round ends and the next begins. Move it up as you go.
A single crochet decrease joins two stitches into one. Insert the hook into the next stitch and pull up a loop, then insert into the following stitch and pull up another loop, then draw through all three loops at once.
Front loop only (FLO) means you insert the hook under just the front strand of the stitch, leaving the back loop unworked. This creates a small ridge line between the body and the head, which shows as a clean band on my duck.
The slip stitch tail closure is the key step of the whole pattern. Flatten the opening so that the front stitches sit directly against the back stitches, then slip stitch through both layers at once. Think of it like crocheting two pieces of fabric together, except both sides are part of the same round.
The Pattern
The Body (Yellow)
- Round 1: 8 sc in a MR .
- Round 2: inc in every st around .
- Round 3: (1 sc, inc) repeat 8 times .
- Round 4: (2 sc, inc) repeat 8 times .
- Rounds 5 to 9 (5 rounds): 1 sc in every st around ; the body should be a wide shallow bowl at this point.
- Round 10: (2 sc, dec) repeat 8 times .
- Round 11: 1 sc in every st around .
- Stuff the body firmly now, before you close the tail.
Closing the Tail (No Sew Method)
- Place a stitch marker in the very last st of Round 11.
- Ch 1.
- Flatten the opening so the stitches line up front to back; the back half becomes the tail and the front half becomes the neck opening.
- Insert the hook into the first st of Round 11 and into the last st of Round 11 at the same time, and make a sl st through both layers [1 sl st].
- Continue making 7 more sl st across the next pairs of stitches [8 sl st total]; pull each one firmly so the seam sits flat.
- You should now have exactly 8 unworked sc sts left open at the front; these become the neck opening for the head.
Head (Yellow)
- Round 12: FLO inc in every st of the 8 remaining sts ; the FLO inc creates the ridge line between the body and head.
- Round 13: (1 sc, inc) repeat 8 times .
- Rounds 14 to 17 (4 rounds): 1 sc in every st around .
- Round 18: (1 sc, dec) repeat 8 times .
- Insert the safety eye now, between Rounds 15 and 16, on the side facing forward; on my duck a single eye sits on the right side of the face with the beak just beside it.
- Stuff the head firmly.
- Round 19: dec in every st .
- Fasten off, cut the yarn leaving a tail, thread it onto a yarn needle, weave it through the front loops of the remaining 8 sts, pull tight to close the hole, and hide the tail inside.

Beak (Orange)
- Turn the duck so the face is towards you.
- Insert the hook into the st immediately next to the eye, between Rounds 15 and 16, and join orange yarn with ch 1.
- 1 sc in the next st, then 1 sc in the st after that [2 sc].
- Sl st into the next st.
- Fasten off, cut, and weave the orange ends into the head to hide them; on mine the beak is a small raised triangle pointing forward.
Hanging Cord
- Open the jump ring or split ring and thread it through the top of the head, pushing it between stitches at the very crown.
- Thread the orange cord through the ring to your preferred length and knot or close the ends securely.
- Optional: add a small weight to the base of the body if you want the duck to stand upright on a desk instead of hanging.
Mallard Variation
To make a Mallard version, follow the exact same rounds but change colours at these points:
- Rounds 1 to 11 (body): brown or tan yarn.
- Round 12 (neck): change to white before making the FLO increases.
- Rounds 13 to 19 (head): change to green yarn.
- Beak stays orange throughout.
Tips
- Stuff the body before you close the tail, not after, because the tail seam closes the only opening into the body.
- Keep the slip stitches across the tail seam firm and even. Loose slip stitches leave a gap that shows on the finished duck.
- Insert the safety eye before Round 19 because there is no way to reach the washer backing once the head is closed.
- If the duck tips forward, add a small flat weight or a few coins inside the body before stuffing and it will sit level on a desk.
- Work the beak stitches snugly. A loose beak lifts away from the face and loses its shape.
Yarn Substitution
Any smooth DK or worsted yarn in yellow works here. Cotton gives the crispest stitch definition and the cleanest look. Acrylic is softer and the stitches are slightly looser, but the duck still holds its shape well when stuffed firmly. Avoid anything fluffy or fuzzy, since the no sew seam step requires you to see and count stitches clearly.
Customization Ideas
- Make a pastel rainbow set: one duck per colour, all hung together on a cluster of rings.
- Add tiny embroidered eyebrows above the safety eye for a grumpy duck expression.
- Skip the cord and sew a pin back to the body for a brooch.
- Use a keychain hardware ring at the crown instead of a cord for a bag charm.
- Embroider small pink cheeks below the eye for a rosy look.

FAQ
Do I need to sew any parts together at all? No. The tail closes by slip stitching two layers together, and the head grows directly from the remaining stitches. The only thing to sew is hiding yarn tails.
Why do I work the FLO increase in Round 12? Working into only the front loops leaves the back loops of Round 11 exposed, which creates a small horizontal ridge line between the body and the head. It is the visual dividing line between the neck and the body on my duck.
My tail seam has a gap. What went wrong? Usually the slip stitches were too loose. Redo them with slightly firmer tension, or add a small stitch with matching yarn to close any gap before hiding the tail.
Can I make this without a safety eye? Yes. Embroider a small circle or French knot in black yarn instead. That also makes it safer for young children.
How do I make it stand upright instead of hanging? Skip the cord and push a few small flat weights or coins into the bottom of the body before stuffing, then stuff around them. The added weight at the base stops it tipping forward.