
Crochet Stitch Toys Free Pattern For Beginners And Fans
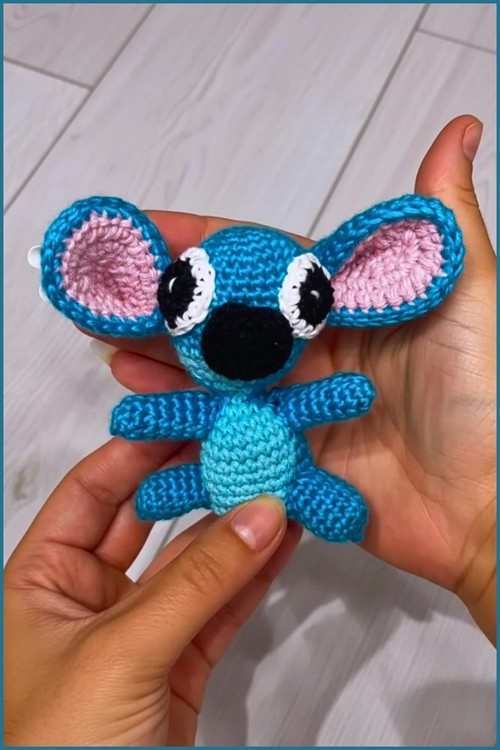
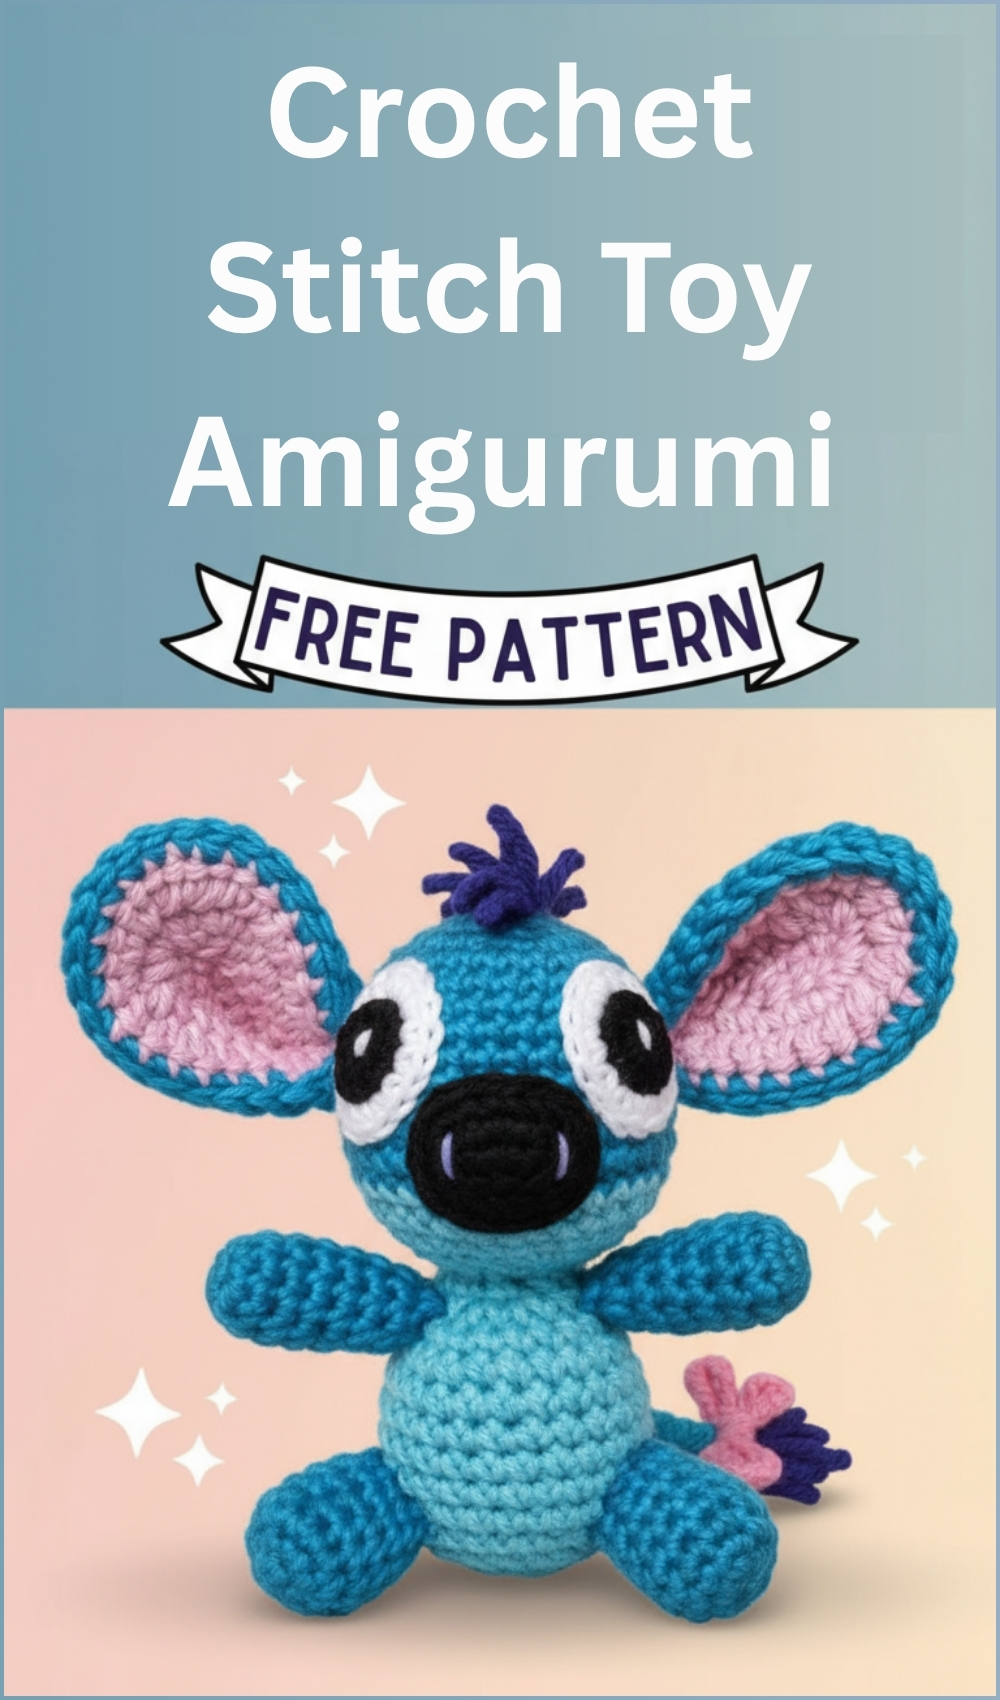
Color changes, layered ears, and oversized features come together in a way that gives this plush its personality right from the first round. The shaping builds gradually, letting you see the character form as you go, especially in the head where the colorwork creates visual interest without complicated techniques.
Crochet Stitch Toy
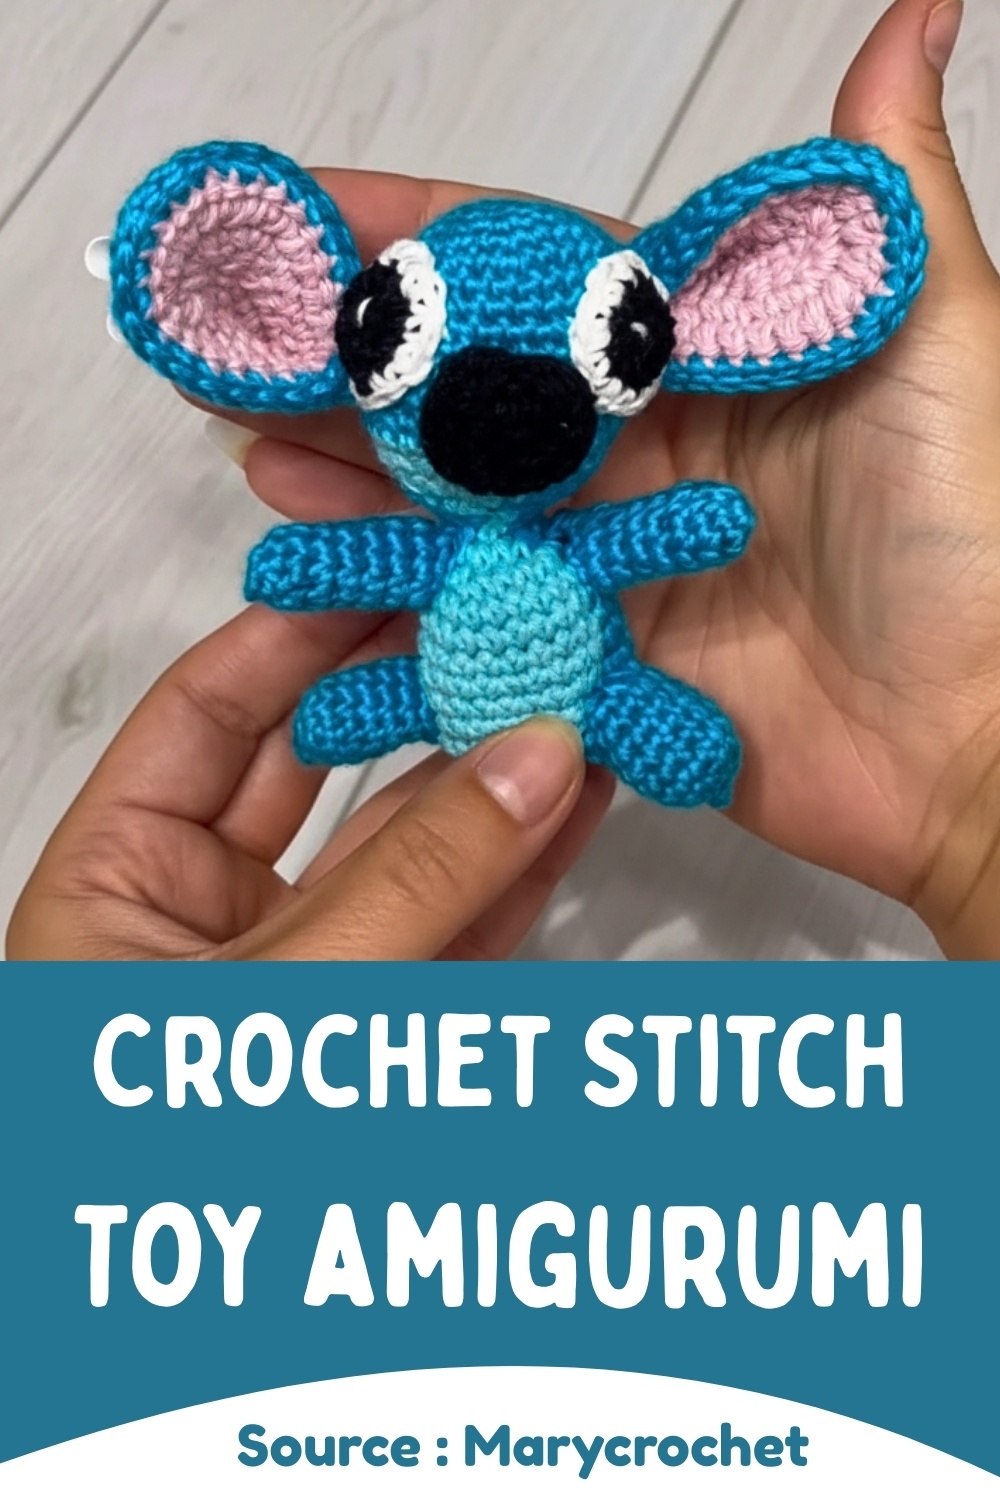
If you enjoy projects where each piece adds a new dimension to the final look, this one keeps you engaged from start to finish.
Skill Level
Intermediate beginner
(Comfortable with magic ring, increases, decreases, and basic sewing)
Finished Size
Depends on yarn and tension, but typically fits comfortably in your hand when using a 2 mm hook and standard yarn.
Materials
- Turquoise, Light Blue, Pink/Rose, Black, and White yarn
- 2 mm crochet hook
- Safety eyes, stuffing, yarn needle, scissors
- Stitch marker
Abbreviations
- MR – Magic Ring
- SC – Single Crochet
- Inc – Increase (2 SC in one stitch)
- Dec – Decrease (single crochet two stitches together)
- R – Round
Helpful Notes Before Starting
- Work in continuous rounds unless stated otherwise.
- Use a stitch marker to keep track of your rounds—this becomes especially important during shaping.
- Stuff firmly but not tightly; overstuffing can distort the shape, especially in the head.
- When changing colors, carry yarn neatly or fasten off and rejoin to keep the inside clean.
Construction Overview
This plush is built in separate pieces and assembled at the end:
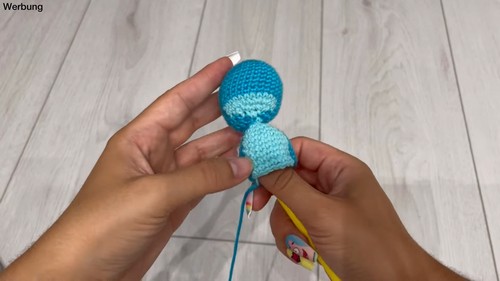
- Head is made first, shaped with gradual increases and decreases, and includes a color change detail.
- Body is worked directly from the base of the head, creating a seamless transition.
- Arms, legs, tail, ears, eyes, and nose are made separately and sewn on.
- The ears are layered (turquoise and pink), which adds thickness and structure.
Stitch and Shaping Clarity
- Increases widen the piece and form rounded areas like the head and body.
- Decreases pull the shape inward, helping close the head and taper the body.
- The head’s shaping is what gives the plush its expressive look—pay attention to even spacing.
- The body is slightly narrower than the head, creating a cute proportion.
Pattern Instructions
HEAD
- R1: Magic Ring with 6 SC
- R2: Inc in each stitch (12)
- R3: (1 SC, Inc) x 6 (18)
- R4: (2 SC, Inc) x 6 (24)
- R5: (3 SC, Inc) x 6 (30)
- R6–R12: SC around (30)
- R13: Change to Light Blue for 12 SC, continue Turquoise for 18 SC (30)
- R14: (3 SC, Dec) x 6 (24)
- R15: (2 SC, Dec) x 6 (18)
- R16: (1 SC, Dec) x 6 (12), stuff head
- R17: (Dec) x 6 (6), close and secure+

Explanation:
The long stretch of even rounds (R6–R12) builds the height of the head. The color change in R13 creates a facial or design detail—keep your tension consistent here so the transition looks clean. Decreases begin right after to round off the shape.
BODY
- Continue from head base with 6 SC
- R1: Inc in each stitch (12)
- R2: (1 SC, Inc) x 6 (18)
- R3: (2 SC, Inc) x 6 (24)
- R4–R10: SC around (24)
- R11: Switch to Turquoise, (2 SC, Dec) x 6 (18)
- R12: (1 SC, Dec) x 6 (12), stuff body
- R13: (Dec) x 6 (6), fasten off and close
Explanation:
The body mirrors the head’s structure but is shorter and slightly tapered. The decreases in the final rounds help create a soft, rounded base so the plush sits nicely.
ARMS (MAKE 2)
- R1: Magic Ring with 6 SC
- R2: (2 SC, Inc) x 2 (8)
- R3–R8: SC around (8), fasten off with tail for sewing
Tip:
Light stuffing is optional. Leaving them unstuffed gives a softer, more flexible look.

LEGS (MAKE 2)
- R1: Magic Ring with 6 SC
- R2: Inc in each stitch (12)
- R3–R7: SC around (12), fasten off with tail for sewing
Tip:
Stuff lightly at the base if you want the plush to sit more steadily.
TAIL
- R1: Magic Ring with 6 SC
- R2: (2 SC, Inc) x 2 (8)
- R3: SC around (8), fasten off with tail for sewing
NOSE
- R1: Magic Ring with 6 SC
- R2: Inc in each stitch (12)
- R3: (3 SC, Inc) x 3 (15)
- R4–R5: SC around (15), fasten off with tail
Explanation:
The nose is slightly domed due to the increase-heavy shaping. This helps it stand out once attached.
EYES (MAKE 2)
- R1: With Black, Magic Ring with 6 SC
- R2: Inc in each stitch (12)
- R3: Change to White, (1 SC, Inc) x 6 (18), fasten off
- Add a small white embroidery dot on each eye
Tip:
The white round creates a bold outline, making the eyes more expressive and visible.
EARS (MAKE 2 PAIRS – TURQUOISE AND PINK)
- Chain 7, SC in next 6 chains
- Row 1: Work 3 extra SC into last chain, continue up the other side (15)
- Row 2: 5 SC, Inc x4, 5 SC (18)
- Row 3: 7 SC, Inc x4, 7 SC (22)
- Row 4: 9 SC, Inc x4, 9 SC (26)
- Row 5: 11 SC, Inc x4, 11 SC (30)
- Row 6: 13 SC, Inc x4, 13 SC (34)
Join one turquoise and one pink piece using SC around edge, leave tail for sewing
Explanation:
Working around both sides of the chain creates an oval base. The repeated increases along the edge help the ear flare outward. Joining two colors gives structure and a layered look.
Assembly Guidance
- Sew the head and body together if not already fully connected.
- Position arms slightly below the head for a natural look.
- Attach legs evenly at the base so the plush sits balanced.
- Place the tail at the back, centered.
- Align ears symmetrically on top of the head—use pins first before sewing.
Eye and Facial Feature Placement
- Position eyes evenly on either side of the face, typically between R8–R11 of the head.
- The nose sits centered between the eyes, slightly lower.
- Check alignment from multiple angles before securing.
Stuffing Tips
- Stuff the head firmly to hold shape.
- Keep the body slightly softer for a balanced feel.
- Add stuffing gradually—this avoids lumps.
Beginner Notes
- Count stitches at the end of each round to avoid shaping issues.
- Use a stitch marker—losing your place is one of the most common mistakes.
- Take your time with assembly; placement makes a big difference in the final look.
Troubleshooting
- Head looks uneven: Check increase spacing and stuffing distribution.
- Gaps between stitches: Try tightening tension or using a smaller hook.
- Pieces don’t align: Pin everything in place before sewing permanently.
Customization Ideas
- Adjust yarn colors for different character styles.
- Add embroidery details like blush, eyebrows, or patterns.
- Use larger yarn and hook for a bigger plush.
- Turn it into a keychain by attaching a loop at the top.
Finishing Notes
Weave in all ends securely and shape the plush gently with your hands. Small adjustments—especially around the face and ears—make a big difference in bringing the character to life.