
Crochet Star Keychain Free Pattern For Beginners
Backpack zippers, pencil cases and car keys all carry a palm sized crochet star keychain without adding bulk or weight. Kids love the yellow amigurumi star as a birthday party favor, and an easy star keychain slips neatly into a stocking or an end of term gift bag.
Friends spot this crochet star keychain dangling from your keys and ask where to get one. That squinting face does most of the work. Since the crochet star keychain needs little yarn, leftovers from other projects cover a batch. Every request gets its own crochet star keychain, so nobody waits.
Crochet Star Keychain
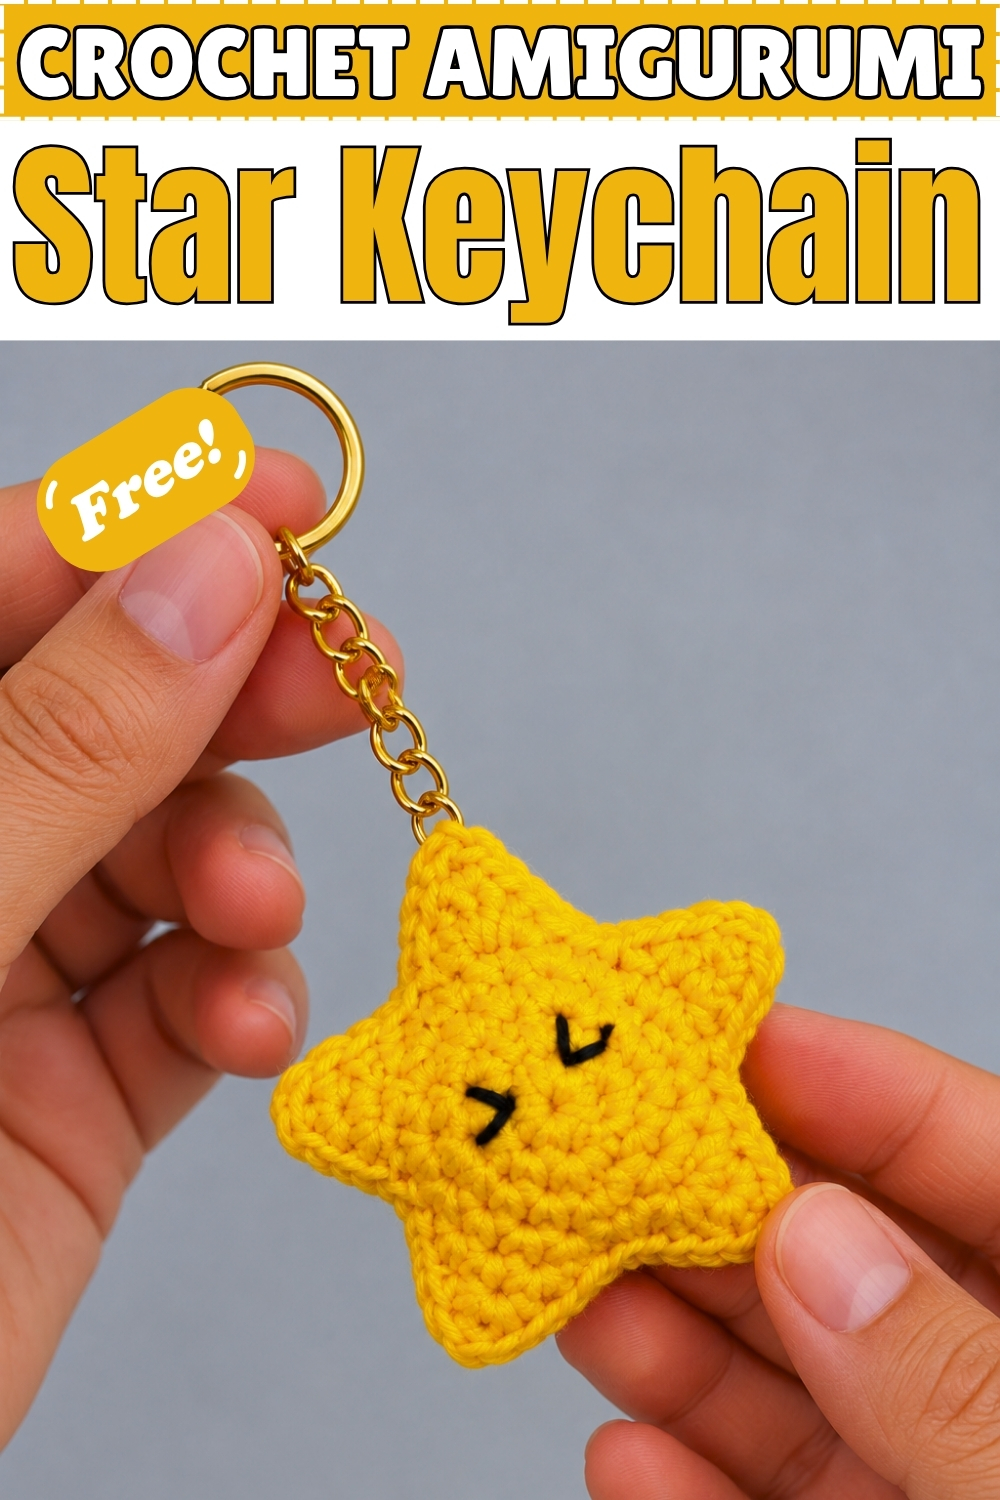
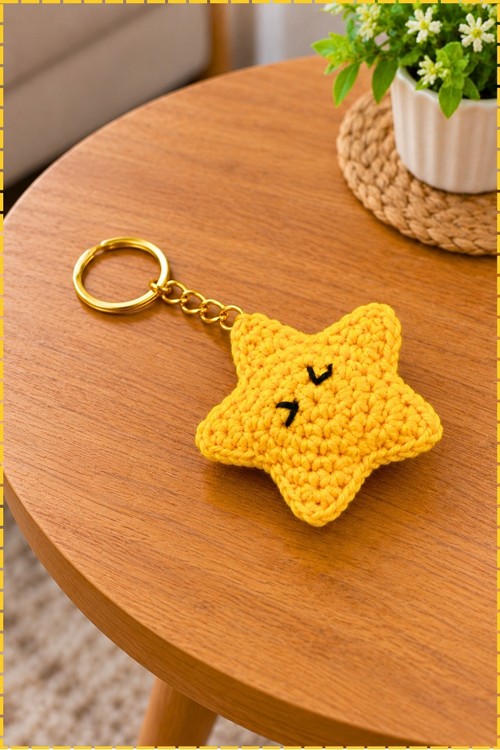
Stuffing tucked between two matching panels gives the star its puffy pillow shape. I made my crochet star keychain in sunny yellow cotton and hung it from a gold keyring and short chain. Black thread forms two closed eyes, one shaped like a small arrow and one like a tilted check mark, which gives it a squinting, happy face. Every point stays sharp because the outer round climbs from single to double crochet and back down. Beginners can finish one in about an hour, in my experience. Keep a few spare panels handy, because friends will ask for their own.
Materials and Tools
- Bright yellow cotton yarn (acrylic also works)
- 2.5 mm crochet hook
- Yarn needle
- Toy stuffing (polyfill)
- Black embroidery thread for the face
- Gold keyring with a short chain and a jump ring
Difficulty and Time
Easy and beginner friendly. One star took me about an hour, though your first may take a little longer while you get used to the point shaping.
Beginner Technique Notes
- Magic ring: wrap the yarn around two fingers, insert your hook, pull up a loop, chain 1, and work your stitches over both strands. Pull the tail tight at the end so no hole shows in the center of the star.
- Chain (ch): yarn over and pull through the loop on your hook.
- Single crochet (sc): insert the hook, yarn over, pull up a loop (2 loops on hook), yarn over, and pull through both loops. This is the shortest stitch and keeps the panel firm.
- Half double crochet (hdc): yarn over, insert the hook, pull up a loop (3 loops on hook), yarn over, and pull through all three. It sits halfway between sc and dc in height.
- Double crochet (dc): yarn over, insert the hook, pull up a loop, yarn over and pull through two loops, then yarn over and pull through the last two. This tallest stitch forms the tip of each point.
- Slip stitch (sl st): insert the hook, yarn over, and pull straight through the stitch and the loop on your hook. It adds almost no height, which creates the dip between points.
- Increase: work 2 sc into the same stitch. This keeps the circle flat as it grows.
- Whipstitch: pass the needle through both edges from the same side every time, wrapping the yarn over the edge. It is the easiest way for beginners to join two panels.
- Stitch marker: clip it into the first stitch of each round so you always know where the round starts.
The Pattern
Star Panels (Make 2)
- Round 1: make a magic ring, ch 1, and work 5 sc into the ring, then pull the tail to close (5 sts); you should have a tiny tight circle with no gap in the middle.
- Round 2: work 2 sc in each stitch around (10 sts); the circle doubles in size and should still lie flat.
- Round 3: (1 sc, 2 sc in the next stitch) repeat around (15 sts); if the edge starts to curl up like a bowl, your tension is too tight, so loosen up slightly.
- Round 4: (1 sc, 1 sc, 2 sc in the next stitch) repeat around (20 sts); you now have a flat disc about the size of a large coin in my experience.
- Round 5: for each point, work 1 sc, 1 hdc, 1 dc, 1 hdc, 1 sc, then sl st into the next 3 stitches, and repeat this sequence 5 times in total (5 points); the stitches rise to a peak and drop back down, so you should see five clear points form around the disc.
- Fasten off the first panel and weave in the ends.
- Fasten off the second panel, leaving a long tail for sewing.
Sleepy Face
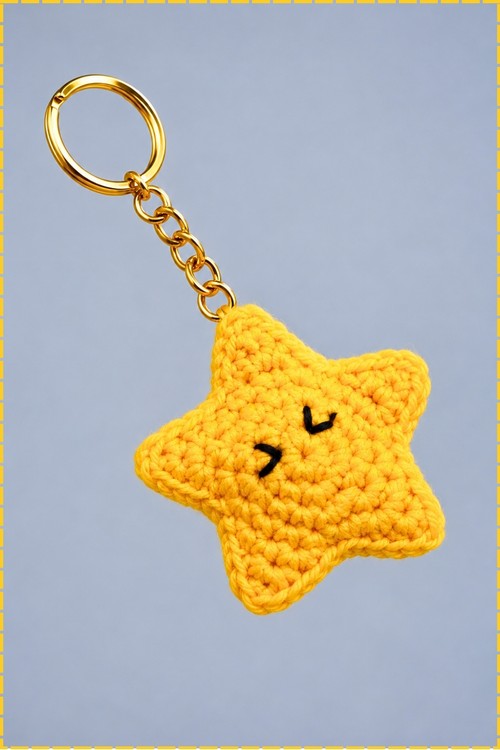
- Choose the neatest panel for the front, then thread black embroidery thread onto your yarn needle and stitch two closed eyes near the center; on my star one eye is a small sideways arrow shape and the other is a tilted check mark, set slightly apart with the left eye a little lower.
- Tie off the thread on the back of the panel so the knots hide inside once the star is stuffed.
Assembly and Stuffing
- Place the two panels together with the wrong sides facing in, lining up each point exactly; mismatched points make the finished star look twisted.
- Using the long tail from the second panel, whipstitch or mattress stitch the edges together all the way around.
- Stop before closing the final point, leaving a small opening for stuffing.
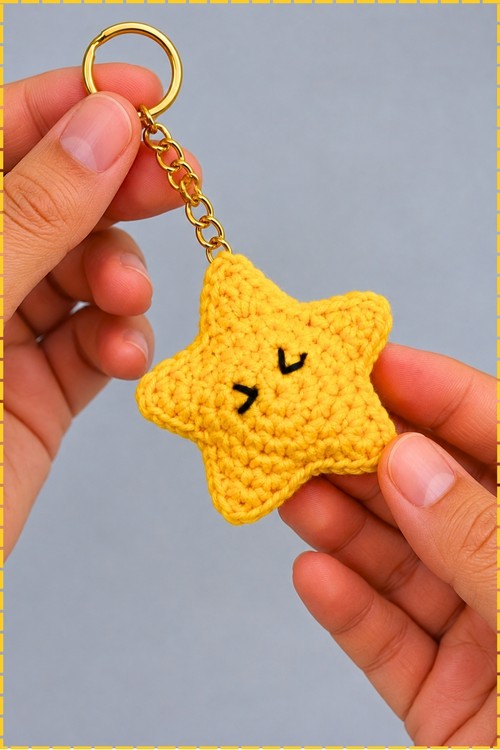
- Stuff the star firmly, pushing filling into each point with the back of your crochet hook; my star is plump in the middle with soft rounded edges, so fill the center well.
- Sew the last edge closed completely.
- Secure and weave in all loose ends by burying them inside the star.
Keychain
- Open the jump ring on your keychain hardware, slide it through a few stitches at the top point of the star, and close it tightly; on mine a gold chain and ring hang straight up from the top point.
Tips and Troubleshooting
- Count Round 5 carefully on the first point, then copy the same spacing on the other four so all points match.
- Use a stitch marker at the start of each round; the yellow yarn makes it hard to see where the round began.
- Embroider the face before sewing the panels together, while you can still reach the back.
- Hook the jump ring through more than one stitch so the star does not tear off your keys.
Yarn Substitution
Cotton gives the crispest points. Soft acrylic works, but the points will look rounder. Thicker yarn and a bigger hook will make a larger star with the same counts.
Customization Ideas
- Make a pastel rainbow set with one star in each colour.
- Embroider pink cheeks under the eyes.
- Add a tiny loop of yarn instead of hardware to hang it on a tree as an ornament.
- Use glow in the dark yarn for a nighttime keychain.
FAQ
I have never made a magic ring. Is there an easier start? Yes. Chain 2 and work your Round 1 stitches into the second chain from the hook.
Why does my star look like a flower instead of a star? Your points are probably too rounded. Pull the dc tall and keep the slip stitches snug between points.
How tight should I stuff it? Firm enough that it holds its shape, but not so full the stitches stretch and stuffing shows through.
What if I lose count in Round 5? Undo back to the last slip stitches and restart that point. It only takes a minute.
Can I use yarn instead of embroidery thread for the face? Yes. Thin black yarn works fine, just keep the stitches small.