
Crochet Spider Ornament Amigurumi Pattern Free - Quick Halloween Spider
Spooky season parties call for friendly faces, and a mustard yellow crochet spider ornament amigurumi sits flat on any snack table or windowsill. Little ones who shy away from creepy decor happily grab a googly eyed Halloween spider amigurumi for a treat bag or classroom desk.
October doorways get this crochet spider ornament amigurumi dangling, legs curled toward the trick or treaters. Hang a crochet spider ornament amigurumi on the Halloween tree, or tuck one beside the pumpkins. Visitors flinch, then laugh. After the candy runs out, the crochet spider ornament amigurumi waits for next autumn.
Crochet Spider Ornament Amigurumi
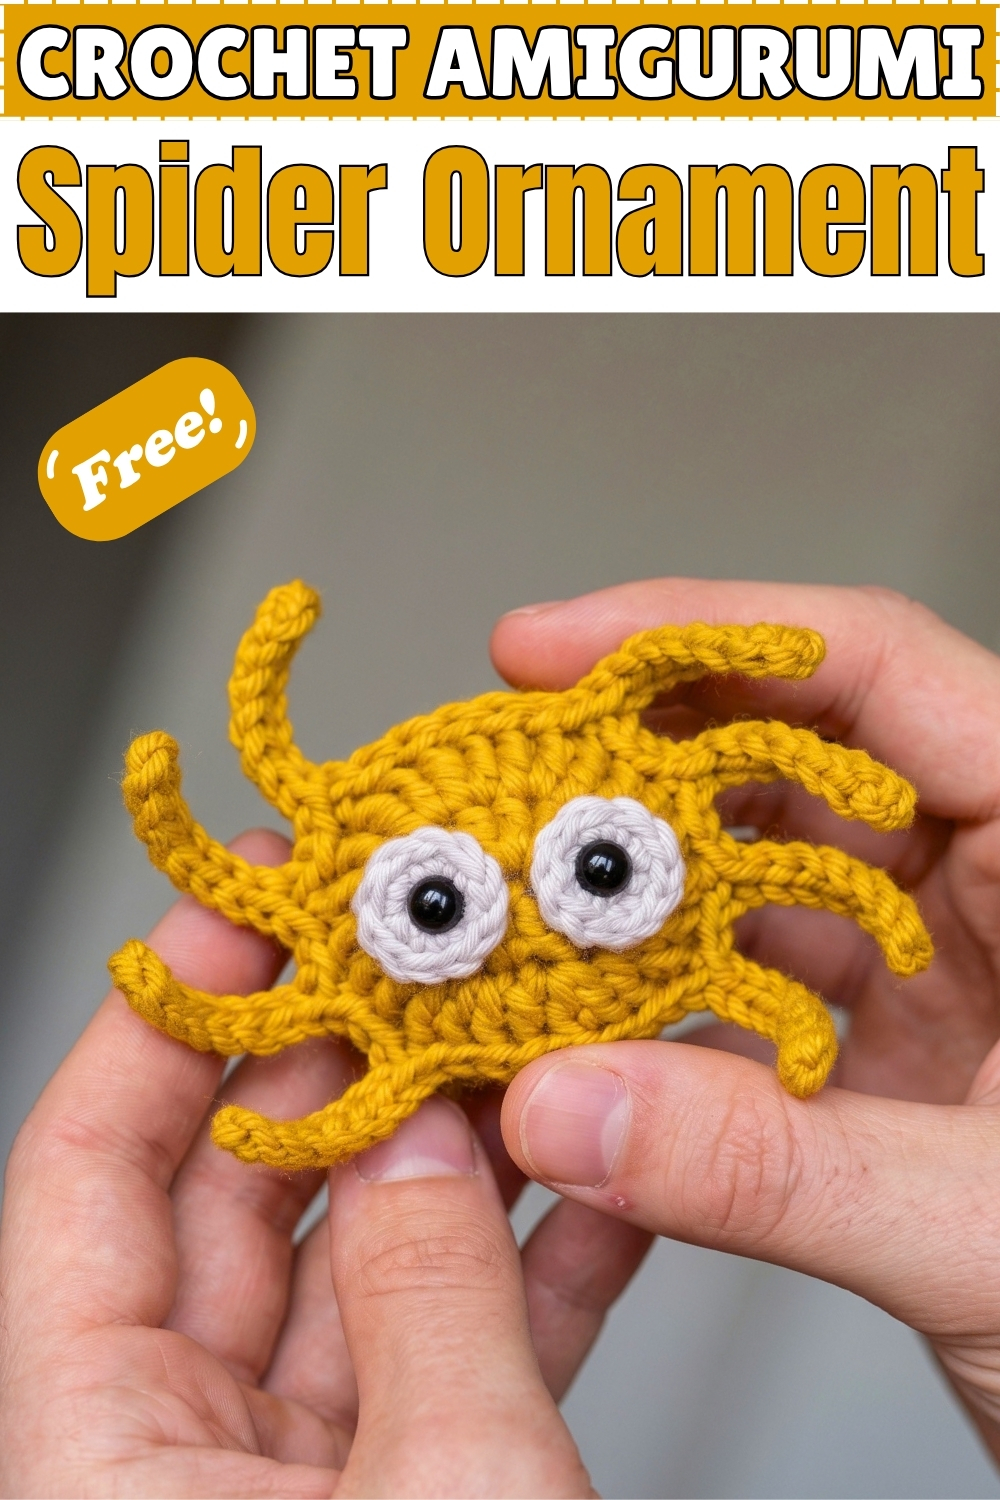
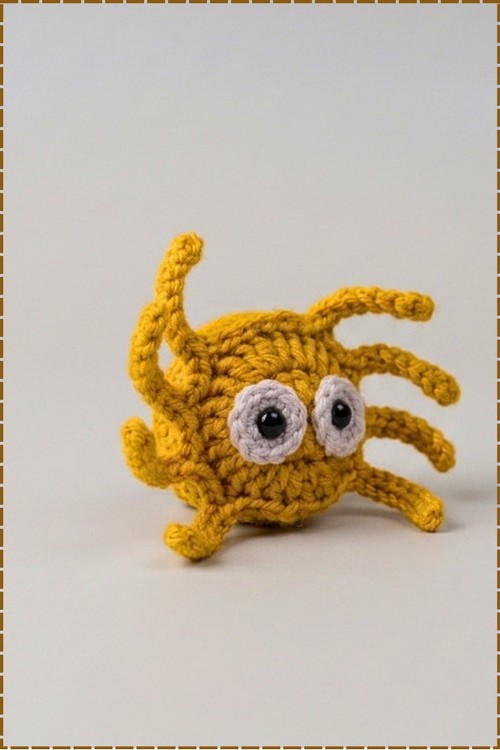
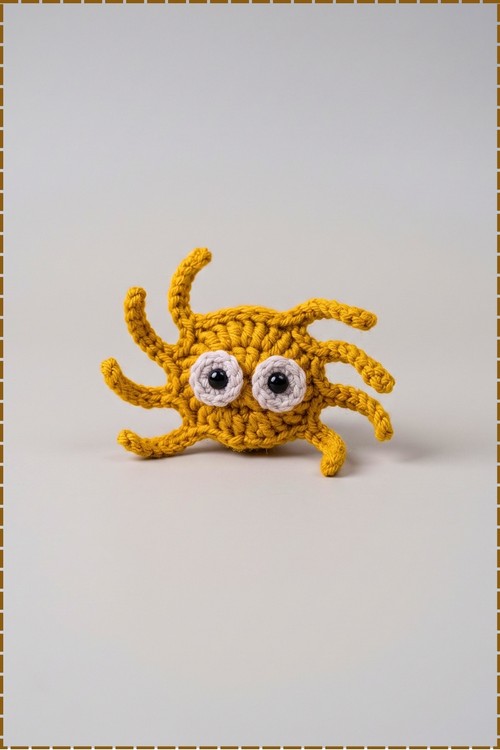
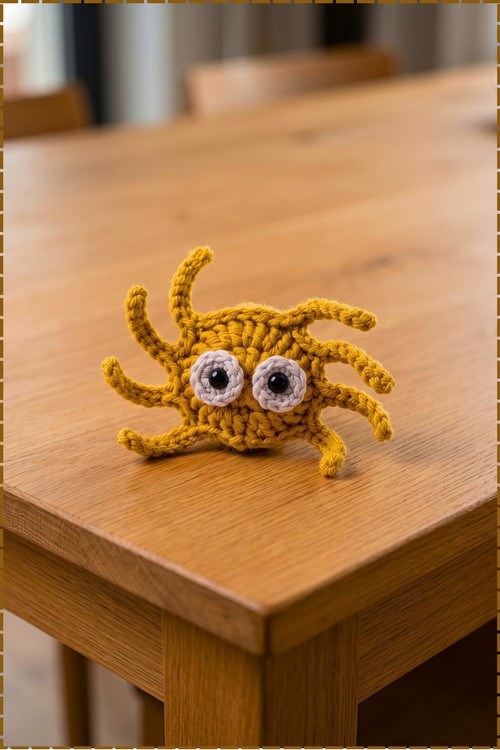
Legs grow straight off the final round as chains worked back in slip stitch, so the only pieces sewn on are the eyes. I made my crochet spider ornament in mustard yellow rather than the usual black, and it turned out friendlier than any Halloween spider I have made. Two white eye circles with black safety eyes sit wide on the front, giving it a startled look. Each of the eight legs curls naturally as the slip stitches tighten. Front and back circles join with a simple whipstitch. Expect to finish one in under an hour, in my experience.
Materials and Tools
- Mustard yellow yarn for the body and legs (black works for a classic spider)
- White or very pale grey yarn for the eyes
- Two small black safety eyes (or black yarn for French knots)
- Crochet hook to suit your yarn
- Tapestry needle
- Scissors
- Thin cord or yarn for a hanging loop (optional)
Difficulty and Time
This is an easy project. In my experience one spider takes well under an hour, and once you know the leg rhythm you can make a whole batch in an evening.
Beginner Technique Notes
- Magic ring (MR): wrap the yarn around your fingers, work the first round over both strands, then pull the tail to close the center completely.
- Chain (CH): yarn over and pull through the loop on your hook.
- Slip stitch (SS): insert the hook, yarn over, and pull straight through the stitch and the loop on your hook. Keep these relaxed, or the legs become stiff and hard to work.
- Single crochet (SC): insert the hook, yarn over, pull up a loop, yarn over, and pull through both loops.
- Double crochet (DC): yarn over, insert the hook, pull up a loop, then yarn over and pull through two loops twice.
- Double crochet increase (DC INC): work 2 DC into the same stitch.
- Whipstitch: pass the needle through both edges from the same side each time so the yarn wraps over the seam.
The Pattern
Spider Body Front
- Round 1: with mustard yellow, make a MR, CH 1, work 12 DC into the ring, pull it tight, and join with an SS into the first DC (12 sts); the center should close with no visible hole.
- Round 2: CH 1, work 2 DC into each stitch around, and join with an SS into the first stitch (24 sts); you now have a flat circle about the size of a large coin in my experience.
- Round 3 start: work 4 SS into the next 4 stitches of Round 2.
- Leg 1: CH 8, then starting in the second chain from the hook work 7 SS back down the chain toward the body.
- Work 2 SS into the next 2 stitches of the base round.
- Leg 2: CH 8, then work 7 SS down the chain.
- Work 2 SS into the next 2 stitches.
- Leg 3: CH 8, then work 7 SS down the chain.
- Work 2 SS into the next 2 stitches.
- Leg 4: CH 8, then work 7 SS down the chain; the first four legs now fan out along one side of the circle.
- Work 6 SS into the next 6 stitches of the base round; this wider gap is the spider's face, so leave it clear of legs.
- Leg 5: CH 8, then work 7 SS down the chain.
- Work 2 SS into the next 2 stitches.
- Leg 6: CH 8, then work 7 SS down the chain.
- Work 2 SS into the next 2 stitches.
- Leg 7: CH 8, then work 7 SS down the chain.
- Work 2 SS into the next 2 stitches.
- Leg 8: CH 8, then work 7 SS down the chain.
- Work 2 SS into the final 2 stitches of the base round (8 legs), then CH 1 and fasten off with a short tail to weave in; the legs on mine curl gently on their own, which gives the spider its wriggly look.
Spider Body Back
- Rounds 1 and 2: work exactly as for the front (24 sts), then fasten off and leave a long tail for sewing; this piece has no legs.
Eyes (Make 2)
- Round 1: with white yarn, make a MR, CH 1, work 6 SC into the ring, join with an SS, and CH 1, then fasten off with a sewing tail (6 sts); each eye is a small flat circle.
- Push a small black safety eye through the center of each white circle, or embroider a French knot with black yarn instead.
Assembly
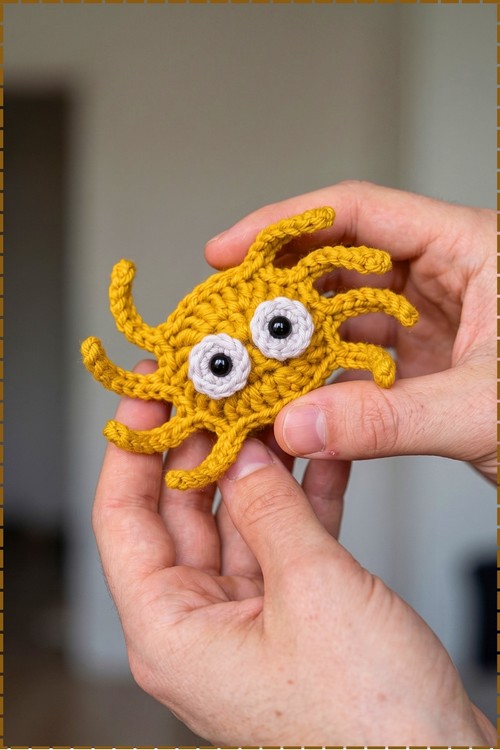
- Sew the two eyes onto the front piece just above the 6 slip stitch gap, with the safety eye backings secured on the inside; on my spider the eyes sit side by side across the middle of the body, almost touching.
- Place the front and back pieces together with the wrong sides facing in.
- Using the long tail from the back piece, whipstitch around the outer edge, sewing through the base stitches so all eight legs stay free on the outside.
- Knot the yarn securely and weave all remaining tails inside the body.
- For an ornament, thread a length of cord or yarn through the top edge of the body and knot it into a loop at your preferred hanging length (optional; my photo shows the spider without a loop).
Tips and Troubleshooting
- Count your slip stitches between legs out loud. A missed stitch shifts the face gap and makes one side crowded.
- Keep your leg chains slightly loose so the slip stitches have room to work back down.
- Attach the eyes before sewing the halves together, because you need to reach the backings from inside.
- Curl the legs with your fingers after finishing if you want a more dramatic wiggle.
- Use a slightly smaller hook for the eyes so they stay tight and neat.
Yarn Substitution
Any smooth worsted yarn works well. Cotton gives crisper legs, while acrylic gives softer, curlier ones. Fuzzy yarn hides the stitch definition, so I would avoid it for the legs.
Customization Ideas
- Make a classic black spider for Halloween and a bright one like mine for a kids' bug party.
- Stitch a small smile under the eyes.
- Add a tiny felt bow or a bead on the head.
- Make a set in mixed colours and string them on a garland.
- Glue a magnet to the back for a fridge spider.
FAQ
Do I need to stuff the spider? No. Mine is flat, which makes it light enough to hang on a tree branch.
Why do my legs twist around each other? The slip stitches are probably too tight. Loosen your tension on the way back down the chain.
Can I make it without safety eyes? Yes. Embroider French knots with black yarn instead, which is safer for young children.
How do I turn it into a hanging ornament? Thread a loop of cord through the top edge before or after sewing the halves together.
Can I make the legs longer? Add chains to suit your taste, keeping the slip stitches one fewer than the chain each time.