
Crochet Rose Flowers Free Pattern With Three Petal Sizes
Unlike a cut bouquet, crochet rose flowers stay yellow for years in a bud vase, on a dresser, or tucked beside a gift bow. Yellow roses traditionally stand for friendship, which makes a handmade crochet rose a thoughtful thank you for a teacher, neighbour, or Thanksgiving host.
Petals that open wide instead of sitting flat give this crochet rose flower its confident, slightly showy personality. Yellow reads loud, the green leaves argue back, and the little bud on the side keeps things from getting formal. Anyone who likes a crochet rose flower with attitude will enjoy shaping these curls.
Crochet Rose Flower
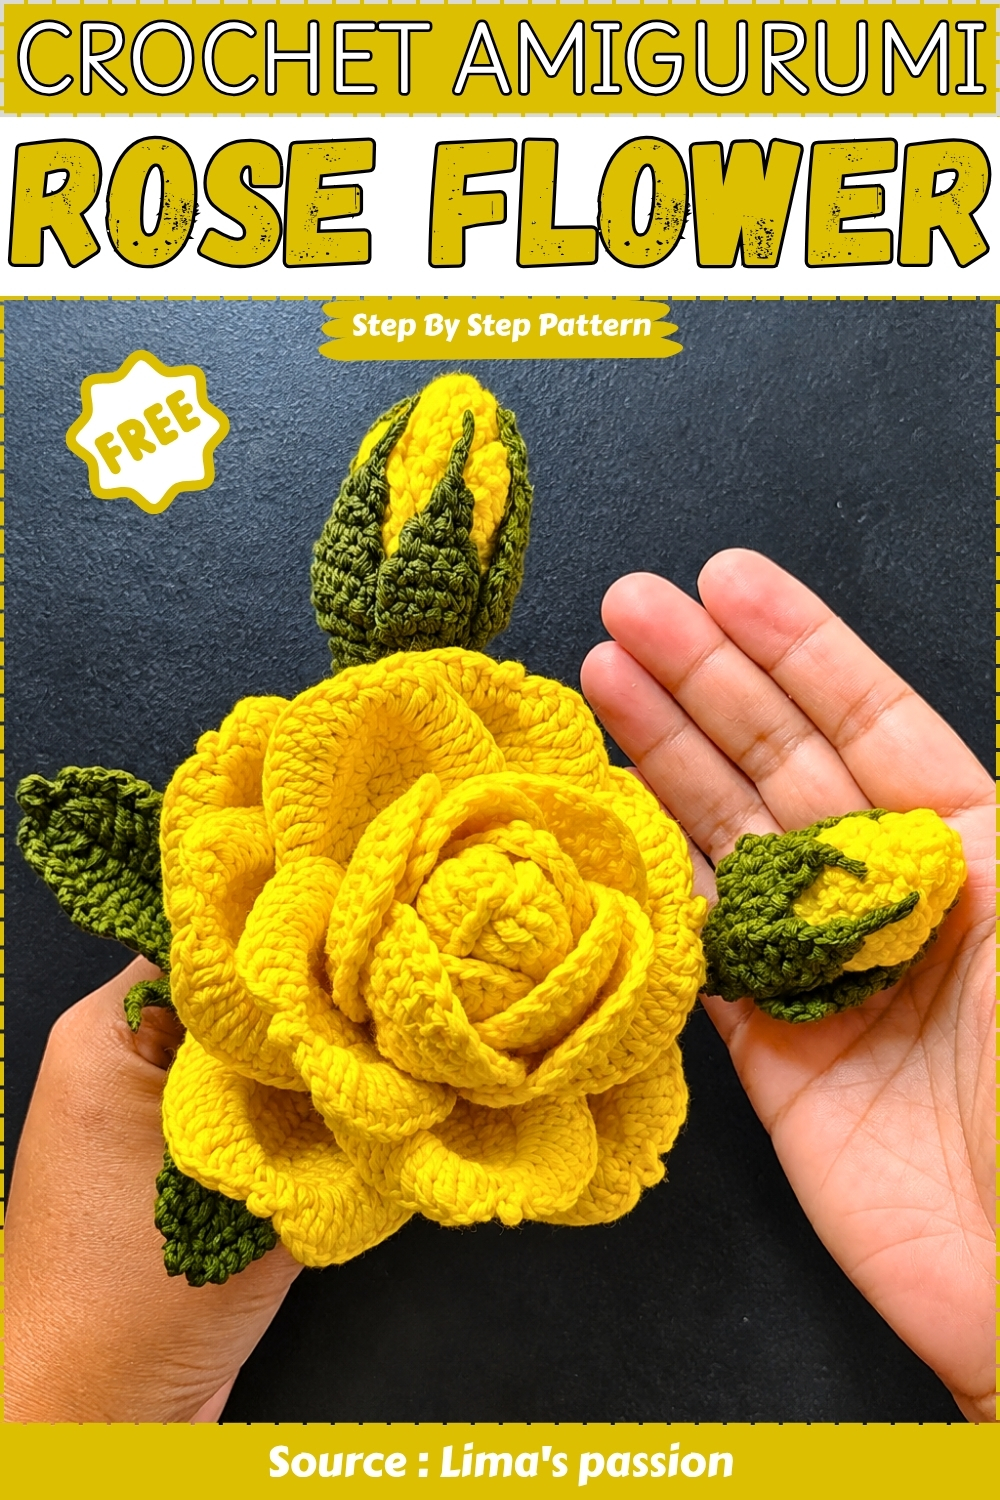
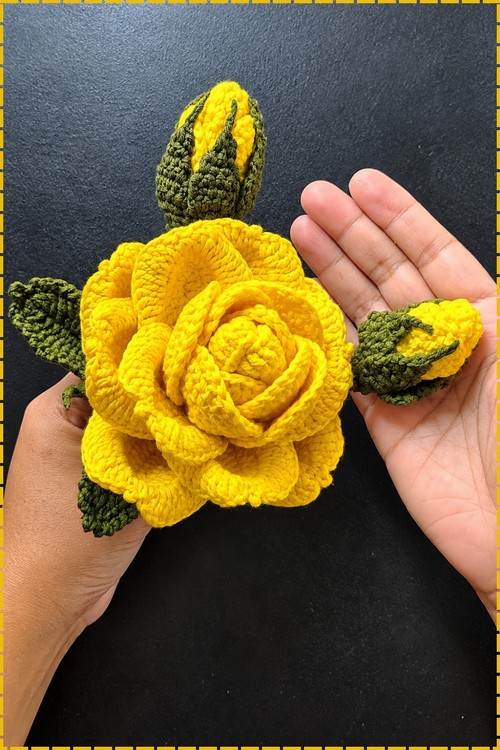
Layered petals spiral out from a tight center until the open bloom fills an entire palm. Green sepals wrap the base and curl into pointed leaves, and a closed bud sits on its own stem beside the main flower. The petals are worked in rounds and joined in rows, so the piece comes together as separate parts rather than one continuous shape. Leaves and bud are made the same way and attached at the end. Most of the work repeats once the first layer of petals makes sense, which keeps the build steady even though the finished flower looks complicated from the front.
Pieces List
- Large petals: 10
- Medium petals: 6
- Small petals: 4
- Center base (rolled): 1
- Calyx with 5 sepal points: 1
- Leaf: the pattern gives one leaf construction; make as many as you want for the stem
- Wire stem: not crocheted, assembled separately
Materials and Tools
- Five-ply cotton for the petals (the pattern suggests Butter Yarn or Five Cotton)
- Green yarn for the leaves and calyx (the pattern suggests Summer Yarn)
- 2.5 mm crochet hook
- Floral wire for the stem and petal edging
- Glue or needle and thread for assembly
Eyes and Stuffing
This is a decorative flower with no face, no eyes and no stuffing. Both non-negotiable sections do not apply here. The petals are flat by design and get their shape from the wire edging rows.
The Pattern
Large Petals (Make 10)
- Chain 12.
- Skip 1 chain, then work: 2 single crochet, 2 half double crochet, 6 double crochet, then 5 double crochet in the last chain for the petal tip. Checkpoint: the petal tip should fan into a clear rounded point.
- On the opposite side of the chain: 6 double crochet, 2 half double crochet, 3 single crochet.
- Row 2: 2 single crochet, 2 half double crochet, 6 double crochet, then double crochet increase in the next 5 stitches, 6 double crochet, 2 half double crochet, 3 single crochet. Checkpoint: the petal should have a visible rounded centre and straight sides.
- Edging with wire: 2 single crochet, 2 half double crochet, 4 double crochet, 1 double crochet increase, treble crochet increase in next 5 stitches, 1 double crochet increase, 1 single crochet, picot, 1 single crochet, 1 double crochet increase, treble crochet increase in next 5 stitches, 1 double crochet increase, 4 double crochet, 2 half double crochet, 2 single crochet, slip stitch to join. Fasten off. Checkpoint: the wire edging should allow the petal to hold a gentle curl when shaped by hand. If the edges buckle instead of curving, loosen your tension on the treble crochet increases.

Medium Petals (Make 6)
- Chain 7.
- Work 6 single crochet, then 1 single crochet in the last chain.
- On the opposite side: 1 single crochet, 2 half double crochet, 2 double crochet, 5 double crochet in the centre stitch, 2 double crochet, 2 half double crochet, 2 single crochet. Checkpoint: the petal is shorter and rounder than the large petal.
- Row 2: 2 single crochet, 2 half double crochet, 3 double crochet, double crochet increase in next 4 stitches, 3 double crochet, 2 half double crochet, 2 single crochet.
- Edging with wire: 2 single crochet, 2 half double crochet, 2 double crochet, 1 double crochet increase, treble crochet increase in next 6 stitches, 1 double crochet increase, 2 double crochet, 2 half double crochet, 2 single crochet, single crochet decrease, chain 2. Fasten off. Checkpoint: the medium petal should curve tighter than the large, sitting closer to the rose centre when assembled.
Still learning how amigurumi patterns work? That's totally okay, follow the video tutorial below and check the written pattern as you go!
Small Petals (Make 4)
- Chain 7.
- Work 6 single crochet, then 1 single crochet in the last chain.
- On the opposite side: 1 single crochet, 2 half double crochet, 2 double crochet, 5 double crochet in the centre, 2 double crochet, 2 half double crochet, 2 single crochet. Checkpoint: same oval shape as the medium petal at this stage.
- Edging with wire: 2 single crochet, 2 half double crochet, 2 double crochet, 1 double crochet increase, treble crochet increase in next 4 stitches, 1 double crochet increase, 2 double crochet, 2 half double crochet, 2 single crochet, slip stitch to join. Fasten off leaving a long tail. Checkpoint: the smallest petal should be noticeably tighter than the medium, with a higher peak at the centre.

Center Base (Rolled Piece)
- Make a magic ring.
- Chain 1, work 1 single crochet, chain 2, then 11 double crochet into the ring. Slip stitch to join. Checkpoint: a flat circle of double crochets off the ring.
- Chain 2, then work double crochet 2 together in the next 2 stitches, repeat around for 6 total. Slip stitch to join. Chain 1 and fasten off. Checkpoint: the circle should cup slightly. Roll it up tightly from one edge to form the rose bud centre; the long tails hold the roll in place.
Calyx and Sepal (Green Yarn)
- Magic ring. Chain 1, work 5 single crochet, slip stitch to join. (5)
- Chain 1, single crochet increase in each stitch. Slip stitch to join. (10)
- Chain 1, then (single crochet increase, 1 single crochet) repeat around. Slip stitch to join. (15)
- Chain 1, work 1 single crochet in each stitch for 2 rounds. Slip stitch to join after each. Checkpoint: a small flat green disc with a raised edge, about the size of a two pence or quarter coin. (15)
- For each sepal point: Chain 1, work (1 single crochet, single crochet increase, 1 single crochet). Chain 1, turn.
- (Single crochet increase, 1 single crochet, single crochet increase, 1 single crochet). Chain 1, turn.
- 6 single crochet. Chain 1, turn.
- Skip 1 single crochet, 5 single crochet. Chain 1, turn.
- Skip 1 single crochet, 4 single crochet. Chain 1, turn.
- Skip 1 single crochet, 3 single crochet. Chain 1, turn.
- Skip 1 single crochet, 2 single crochet. Chain 1, turn.
- Single crochet 2 together. Chain 3. Fasten off.
- Repeat for a total of 5 sepal points. Checkpoint: the 5 points should be equal in height and sit evenly around the disc.

Leaf (Make as Many as Desired)
- Chain 16.
- Work: 2 single crochet, 2 half double crochet, 2 double crochet, 2 treble crochet, treble crochet increase twice, 2 treble crochet, 2 double crochet, then 3 double crochet in the last chain for the leaf tip.
- On the opposite side: 2 double crochet, 2 treble crochet, treble crochet increase twice, 2 treble crochet, 2 double crochet, 2 half double crochet, 2 single crochet. Checkpoint: a flat pointed oval with the tip at the chain end.
- Edging: (chain 2, slip stitch in next stitch) to the tip, 1 single crochet, picot, then continue (chain 2, slip stitch in next stitch) to the end. Single crochet 2 together. Chain 1. Fasten off. Checkpoint: the edging should give the leaf a scalloped outline and the picot should sit clearly at the tip.

Assembly
- Roll the center base tightly and secure the tail around the base to hold the roll.
- Attach the 4 small petals around the rolled center, with each petal curving inward.
- Add the 6 medium petals around the small ones, offsetting their positions so they sit between the inner petals.
- Add the 10 large petals in the outermost layer, again offset from the medium petals.
- Secure the whole base with a tight wrap of yarn.
- Insert the floral wire stem through the centre of the calyx and attach it beneath the assembled rose.
- Wrap the stem with green yarn.
- Attach the leaves to the wrapped stem at your chosen heights.
Assembly Guide
Work the assembly steps in the order given and secure each layer before adding the next.
- Roll the center piece as tightly as you can, starting from one edge. Use the long tail to wrap around the base several times and knot it. This is the inner bud.
- Surround the bud with the 4 small petals, tails inward, and sew or wire them in place. Bend each petal inward over the bud.
- Add the 6 medium petals offset between the small ones, curling slightly outward.
- Add the 10 large petals in the outermost ring, flaring fully outward.
- Wrap the combined base with yarn tightly to bind everything together. This also forms the top of the stem above the calyx.
- Thread the wire up through the calyx hole from below, then push it up into the rose base. Bend the top of the wire to form a small hook so it doesn't pull through.
- Wrap the entire stem wire with green yarn, attaching leaves as you wrap down.
Pin the petals at each layer before committing to the attachment. Walk away and come back — it's easy to miss a lopsided petal when you're close to the work.
FAQ
- Do I need wire for every petal? The wire edging round is what gives each petal the ability to hold a shape. Without it the petals will lie flat and the rose won't have dimension. You can omit it for a flat decorative version, but it won't look like a rose.
- What can I use instead of floral wire? A thin milliner's wire or fine covered craft wire works. The gauge should be thin enough to pass through crochet stitches but stiff enough to hold a curve when bent. Avoid galvanised wire, which is too rigid.
- My petals are different sizes even though I used the same hook. Cotton yarn changes behaviour depending on how it was stored and how your tension runs. Crochet all petals of the same size in one sitting and check the first against the last before moving on to the next size.