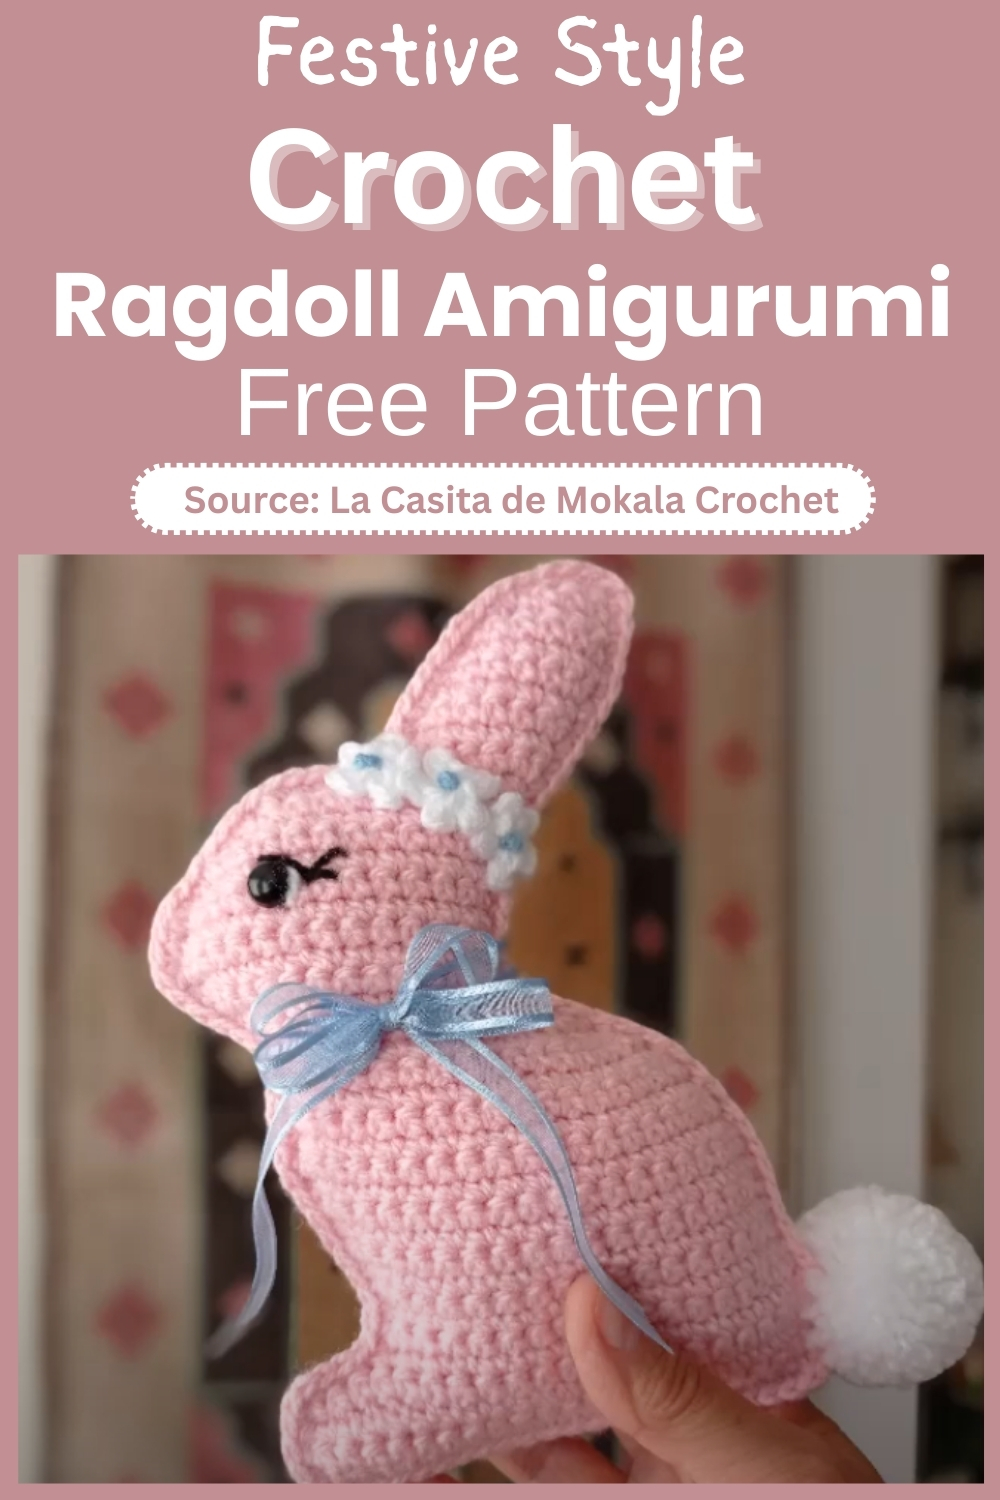
Crochet Ragdoll Bunny Amigurumi Free Pattern For Beginners
Careful shaping and thoughtful construction give the Crochet Bunny Amigurumi pattern a clean, recognizable form that works across many uses. The finished bunny carries a soft, rounded body with gently defined ears, creating a look that feels calm and balanced when placed on a shelf, added to a gift set, or used as a handmade toy.
Crochet Ragdoll Bunny Amigurumi
Its appearance can shift easily depending on yarn color and finishing details, allowing you to create anything from a playful character to a more minimal decorative piece. This flexibility, combined with its neat structure, makes it a reliable choice for projects where both appearance and usability matter.
Skill Level
Beginner to Intermediate
This pattern is approachable for confident beginners, but it does require attention to shaping through increases and decreases.
Finished Size
The final size will depend on your yarn and hook choice, but expect a small, flat bunny suitable for appliqué, decoration, or soft toy use.
Materials
- Yarn
- Crochet hook
- Safety eyes
- Yarn needle
- Stuffing
- Pompom for tail
Abbreviations
- sc: single crochet
- inc: increase (2 stitches in the same stitch)
- dec: decrease (combine stitches)
Helpful Notes Before Starting
- This pattern is worked in rows, not rounds.
- Chain loosely at the beginning to avoid a tight base edge.
- Turning at the end of each row is essential to maintain shape.
- Count stitches at the end of each row to stay on track.
Construction Overview
The bunny is made as two flat panels that are later joined together.
- The lower rows form the feet and body
- The middle rows shape the torso
- The upper rows form the head and ears
- After completing both panels, they are joined and stuffed
This row-by-row shaping is what gives the bunny its distinct outline.
Stitch and Shaping Clarity
- Increases widen the shape and are used where the bunny needs rounding (head and body curves).
- Decreases pull the shape inward, helping define areas like the neck and top of the head.
- Alternating increases and decreases creates symmetry and gentle curves instead of sharp edges.
If your piece starts curling, that’s normal early on. It will flatten as more rows are added.
Bunny Body Pattern
- Row 1: Create 23 loose chains, then single crochet 22 stitches starting in the second chain from the hook. Chain one and turn.
- Row 2: Single crochet 23 stitches, with an increase in the last stitch. Chain one and turn.
- Row 3: Single crochet 23 stitches, one in each stitch. Chain one and turn.
- Row 4: Decrease by skipping the first stitch and then crocheting, ending with 22 stitches.
- Row 5: Begin with a decrease, finishing with 18 stitches.
- Row 6: Single crochet until the last stitch, then decrease to finish with 17 stitches.
- Row 7: Single crochet 17 stitches.
- Row 8: Start with an increase, finishing with 18 stitches.
- Row 9: Make an increase at the end to finish with 19 stitches.
- Row 10: Single crochet 19 stitches.
- Row 11: Increase at the end to finish with 20 stitches.
- Row 12: Single crochet 20 stitches.
- Row 13: Decrease at the beginning and increase at the end, finishing with 20 stitches.
- Row 14: Single crochet 20 stitches.
- Row 15: Start with a decrease, finishing with 19 stitches.
- Row 16: Single crochet 19 stitches.
- Row 17: Begin with an increase, finishing with 18 stitches.
- Row 18: Decrease at the end, finishing with 17 stitches.
- Row 19: Start with two decreases, finishing with 15 stitches.
- ROW 20
- Row 20: Increase on the first two stitches and decrease on the last two, finishing with 15 stitches.
- Row 21: Begin with two decreases and end with an increase, finishing with 14 stitches.
- Row 22: Start with an increase and end with a decrease, finishing with 14 stitches.
- Row 23: Begin with a decrease and end with an increase, finishing with 14 stitches.
- Rows 24 and 25: Single crochet 14 stitches per row.
- Row 26: Start with a decrease, finishing with 13 stitches.
- Row 27: Decrease at the end, finishing with 12 stitches.
- Row 28: Single crochet 12 stitches.
- Row 29: Decrease at the end, finishing with 11 stitches.
- Row 30: Decrease at the beginning and increase at the end, finishing with 11 stitches.
- Row 31: Increase at the beginning and decrease at the end, finishing with 11 stitches. Cut the yarn, leaving a 10-12 cm tail.

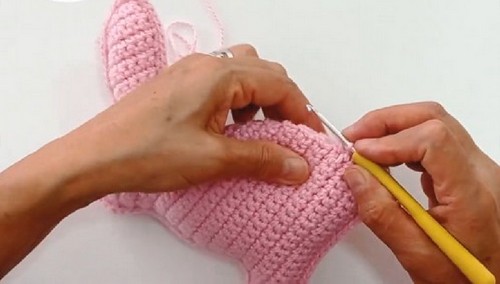
Assembly Guidance
- Make two identical panels using the pattern above.
- Place them together with the right sides facing outward.
- Begin joining with single crochet stitches around the edge.
Stuffing Tips
- Add stuffing gradually as you work around the edges.
Focus on:
-
- Ears: light stuffing to keep shape without stiffness
- Head: slightly firmer for structure
- Feet: moderate stuffing for balance
Avoid overstuffing, as it can distort the flat shape.
Eye and Facial Feature Placement
- Place safety eyes evenly across the head section
- Keep equal spacing from the center line for symmetry
Add:
-
- Eye shine using white yarn or thread
- Eyelashes for expression
Take time here—small adjustments make a big difference in personality.
Finishing the Bunny
- Adding Details: Position and attach safety eyes, create eye shine and eyelashes, and attach a pompom tail.
- Flowers: Follow the pattern for five-petal flowers and attach them to the bunny's head.
- Assembly: Join the two pieces of the bunny using single crochet stitches and stuff the ears, head, and feet.

Beginner Notes
- If your edges look uneven, try using stitch markers at the start of each row.
- Keep your tension consistent, especially when switching between increases and decreases.
- Count stitches often—this pattern relies heavily on shaping accuracy.
Troubleshooting
- Bunny shape looks uneven: Check placement of increases/decreases
- Edges are curling inward: Chains may be too tight; try loosening tension
- Panels don’t match: Recount stitches row by row and compare
Customization Ideas
- Add a bow instead of flowers
- Use textured yarn for a fluffy bunny look
- Embroider a nose or mouth for extra character
- Turn it into a keychain or wall decoration