
Crochet Pumpkin Keychain Free Pattern With Ribbed Body
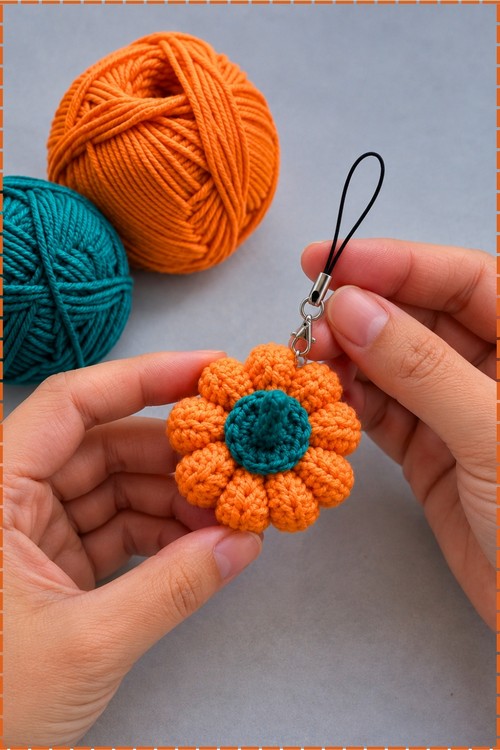
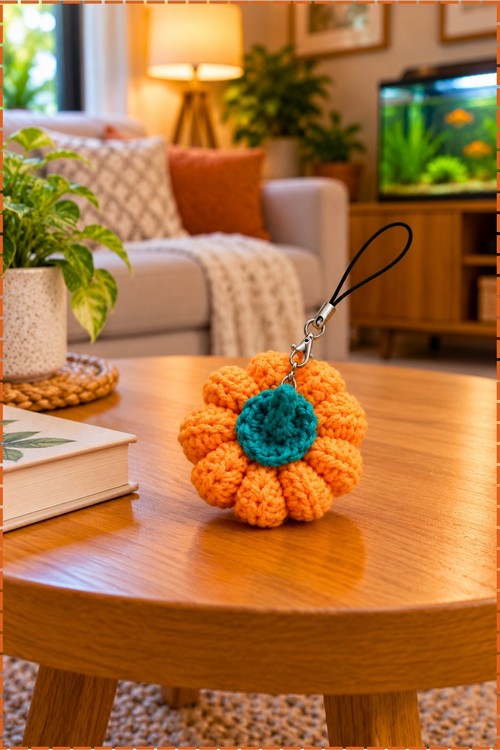
Autumn tote straps carry the crochet pumpkin keychain all season, and its puffy lobes look like an orange flower from above. Thanksgiving place settings look festive with a pumpkin bag charm clipped beside every name card, and guests take the teal leafed gourd home as fall décor.
Puff by puff, the Crochet Pumpkin Keychain grows in your hands until the last segment closes the circle. That moment feels earned. The cap goes on next, and the piece looks like a pumpkin. Clipping the Crochet Pumpkin Keychain onto its strap comes last, and that snap feels like signing the work.
Crochet Pumpkin Keychain

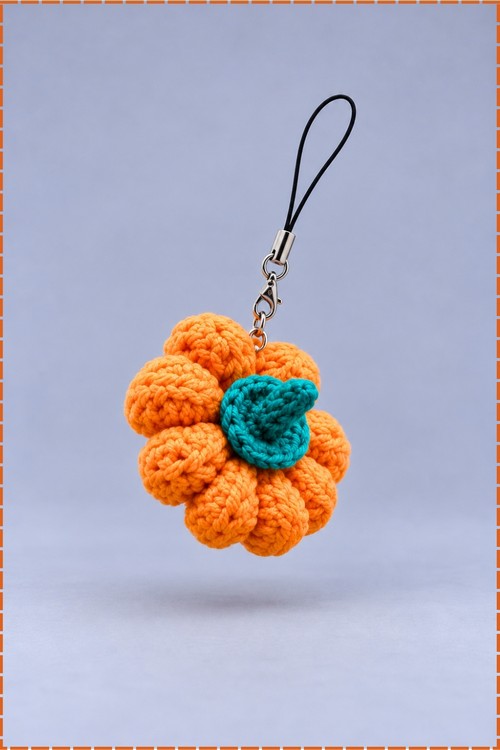
Crocheting a rectangle in back loop only half double crochets and then cinching it into a round creates the ribbed pumpkin shape without a single increase row. I used bright orange for the body and deep teal for the stem piece. Eight wrapping passes pulled through the centre divide the stuffed ball into the eight plump sections you see from the front. My crochet pumpkin keychain attaches to a black cord and lobster clasp, so it clips to a bag strap or zipper in seconds. The whole pumpkin fits in a closed fist and works up from scrap yarn in under an hour in my experience.
Quick Facts
- Difficulty: easy, suitable for anyone who knows half double crochet.
- Time: in my experience about 45 minutes to one hour, including shaping and assembly.
- Hook: sized for your orange yarn. I used a smooth cotton weight.
Customization Ideas
- Swap orange for burgundy or pale yellow for a different pumpkin variety.
- Use a contrasting colour for the ridge wrapping thread to add a stripe effect.
- Replace the lobster clasp with a split key ring for a classic keychain.
- Make three in different sizes for a harvest display on a bowl or wreath.
- Leave out the clasp hardware and use only the chain loop for a bag charm.
Materials and Tools
- Orange yarn for the pumpkin body. I used a smooth cotton or cotton blend, which gives the ribs a clean line.
- Teal or deep green yarn for the stem piece.
- Darning needle or tapestry needle.
- Crochet hook sized for your yarn.
- Stuffing or scrap yarn to fill the pumpkin.
- A metal lobster clasp and short black cord for the hardware. The clasp threads through the chain loop at the top of the stem.
- Scissors.
- Optional: a dab of fabric glue to secure the stem to the pumpkin top.
The Pattern
Part 1: The Pumpkin Body
- Use orange yarn.
- Make a slip knot.
- Chain 15.
- Row 1: work 14 half double crochets (HDC) into the chain [14 stitches].
- Row 2: chain 1 and turn your work. Work 14 HDC in the back loop only (BLO) [14 stitches]; working in the back loop only each row is what creates the raised ridges down the length of the rectangle.
- Rows 3 to 18: repeat Row 2 sixteen more times to build a ribbed rectangle [14 stitches per row]; each row adds one more visible rib to the long face of the piece.
- Chain 1, then pull the thread leaving a long tail for sewing, and cut the yarn.
Part 2: Assembling and Shaping
- Fold the rectangle so the two short ends meet and the ribbed face is on the outside.
- Using your darning needle and the long orange tail, whip stitch the two short ends together to form a tube; the ribbed lines should run vertically around the outside of the tube.
- Thread the yarn in and out evenly around the top open edge of the tube.
- Pull the thread tight to cinch the top opening completely closed.
- Pass the yarn through the side of the pumpkin and turn the piece inside out so the seam is hidden on the inside.
- Fill the pumpkin with stuffing or scrap yarn, packing it fully so the ball holds its round shape.
- Thread the yarn around the bottom open edge and pull tight to close the bottom, then secure with a knot.
- Shaping the ridges: push your darning needle straight through the centre of the pumpkin from top to bottom.
- Pull the thread around the outside of the pumpkin and push the needle back through the centre from bottom to top to pull that edge inward, creating one curved ridge section.
- Repeat this wrapping pass 8 more times evenly around the pumpkin to create 9 distinct sections in total; each wrap should land in the valley between two neighbouring ribs and pull them toward the centre.
- Pass the remaining yarn tail inside the pumpkin and trim to hide it.
Part 3: The Stem and Keychain Loop
- Use teal yarn.
- Make a magic ring.
- Round 1: chain 1, then make 6 single crochets (SC) into the magic ring. Pull tight to close the ring and slip stitch to join [6 stitches].
- Round 2: chain 1. Work 2 SC in the same stitch for an increase. Repeat this increase 5 more times all the way around [12 stitches]. Pull the thread leaving a longer tail, cut it, and close the round neatly with the darning needle.
- Keychain loop: pass the teal yarn through the centre of this flat stem piece from back to front.
- Using your crochet hook, chain 9 from where the yarn exits the centre.
- Pass the yarn back down through the centre of the stem and tie a knot at the back to secure the looped chain.
- Thread the lobster clasp cord through the chain loop so the clasp hangs free from the top of the stem; on mine a short black cord connects the chain loop to a silver lobster clasp.
- Weave in any remaining loose ends.
Part 4: Final Assembly
- Apply a small dab of fabric glue to the centre top of the pumpkin.
- Press the flat stem piece firmly onto the glue, centred over the cinched top, and hold it in place until set; on my pumpkin the teal stem sits flat against the orange top with the chain loop and clasp standing upright from the centre.
Three Tips
- Count your rows by the ribs on the face of the rectangle rather than by turn chains. Each back loop only row adds one rib, so 18 rows should give you 18 visible lines before folding.
- Fill it firmly before closing the bottom. A loosely stuffed pumpkin collapses during the ridge wrapping stage and the sections lose their plump shape.
- Space the ridge wraps by eye rather than counting stitches. Hold the pumpkin flat and press in at each wrap point before you pull the thread through, so all nine sections end up roughly the same width.
FAQ
Can I use chenille or plush yarn for the body?
Yes, and it gives a softer, squishier pumpkin. The ribs are less defined in a textured yarn, but the overall round shape comes out well. The source creator actually fills the body with leftover chenille yarn as stuffing, so chenille is already part of this project.
Do the 9 ridge sections match the 18 rows?
Each ridge stitch wraps between two fabric ribs, so 9 wrapping passes divide the 18 rows into 9 pairs. Space them evenly and the sections will line up with the ribs automatically.
What if the top or bottom does not close fully?
Pull the gathering thread tighter before knotting and then pass the yarn through the centre hole several times in different directions to close the gap. A crochet hook helps pull the tail through if the hole is very small.
Can I use a key ring instead of a lobster clasp?
Yes. Thread a split key ring directly through the chain loop instead of using a cord and clasp. The ring sits at the same point and gives a classic key hook finish.