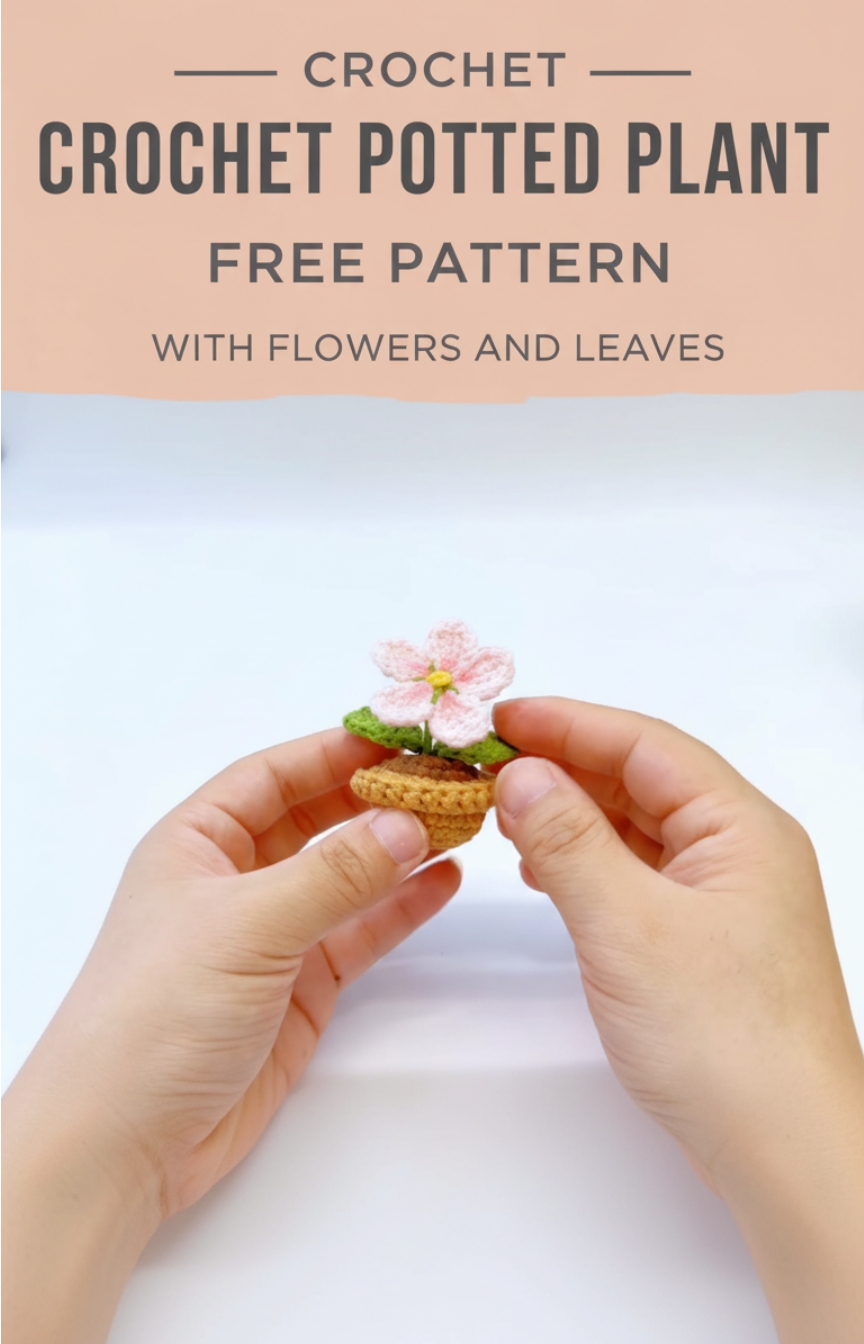
Crochet Potted Plant Free Pattern With Flowers And Leaves
This crochet pattern will guide you through creating a charming mini potted plant, complete with a delicate flower, vibrant green leaves, and a cute little pot. Perfect for beginners and seasoned crafters alike, this project offers endless possibilities for customization.
Crochet Potted Plant


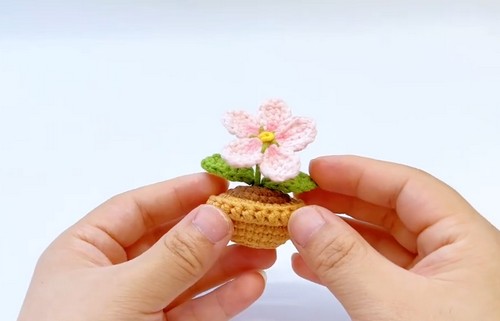

Enhancing your interior design with a handmade Crochet Potted Plant allows you to enjoy the timeless elegance of greenery without the constant need for watering or sunlight. These textile treasures stand out with their intricate ribbed leaves and plump, stuffed bases, flawlessly replicating the organic silhouettes of cacti or ivy in soft, tactile yarn. Their utility is unmatched for those who travel often or live in low-light apartments, as these sturdy blossoms remain vibrant and perky throughout every season. Key features often include internal wire supports for poseable stems and a variety of stitch textures that mimic everything from fuzzy moss to sharp aloe spikes.
Skill level
-
This project is suitable for intermediate beginners who are comfortable with magic rings and working around wire.
Finished size
-
Depending on your yarn weight and tension, this mini plant typically stands between 3 and 4 inches tall.
Materials
-
Cotton yarn in flower, leaf, soil, and pot colors
-
Crochet hook suitable for your yarn weight
-
Floral wire for the leaves
-
Fiberfill stuffing
-
Plastic sheet for the pot base
-
Glue and blush for finishing
-
Yarn needle and scissors
Abbreviations
-
sc: single crochet
-
inc: increase
-
hdc: half double crochet
-
dc: double crochet
-
sl st: slip stitch
-
ch: chain
-
blo: back loops only
Construction overview
-
The project is built in four distinct parts: the multi-petaled flower, a small cup-like holder to support the bloom, wired leaves for poseability, and a sturdy pot with a flat base. The soil is crocheted as a separate disc and joined to the pot at the end to encase the stuffing.
Stitch and shaping clarity
-
The petals use "incomplete" stitches, which means you leave the last loop of each stitch on the hook to cluster them together, creating a teardrop shape.
-
The pot uses back-loop-only stitches in round 4 to create a sharp 90-degree turn, which helps the pot sit flat on surfaces.
-
The leaves are worked on both sides of a foundation chain, with a wire trapped under the stitches to allow you to bend and shape them.
Flower instructions
-
Begin with a magic ring and crochet five single crochets into it.
-
Pull the loop tight and slip stitch into the first stitch to close the circle.
-
To create the petals, chain four and pinch the fourth chain.
-
Crochet three incomplete single crochets into the back bump of the chain, leaving four loops on your hook.
-
Chain one and pinch the thread tail.
-
Crochet four more incomplete single crochets into the back bump.
-
Slip stitch into the next stitch to complete the first petal.
-
Repeat this process four more times to create a total of five petals.
-
After completing all five petals, chain one and cut the yarn, leaving a tail to weave in.
Flower Holder instructions
-
Make a magic ring and crochet five single crochets into it.
-
Pull the loop tight and slip stitch into the first stitch.
-
Crochet a second round of five single crochets and slip stitch into the first stitch to complete the round.
-
Turn the piece inside out, cut the yarn, and leave a long tail.
-
Use a sewing needle to attach the flower to the holder, pulling the thread through the center of the flower and the first stitch of the holder.
Leaves instructions
-
Chain seven.
-
Add a wire and, into the second chain from the hook, crochet one single crochet.
-
Crochet one half-double crochet into the next stitch, followed by two double crochets.
-
Crochet one half-double crochet and one single crochet.
-
Chain one and single crochet into the same stitch.
-
Crochet a half-double crochet, followed by two double crochets.
-
Crochet a half-double crochet and a single crochet.
-
Slip stitch into the first single crochet to finish the leaf.
-
Cut the wire and wrap the end with yarn to secure it.
-
Repeat the process to make a second leaf.
Pot instructions
-
Round 1: Make a magic ring and chain one. Crochet six single crochets into the ring.
-
Round 2: Crochet six single crochet increases.
-
Round 3: Crochet one single crochet and one increase. Repeat five times.
-
Round 4: Working only in the back loops, crochet one increase followed by two single crochets. Repeat five times.
-
Rounds 5-7: Crochet 26 single crochets in each round.
-
Flip the piece inside out.
-
Cut a small circular piece of plastic and glue it to the bottom of the pot.
-
To create the soil, make a separate piece following the same pattern as Rounds 1-4 of the pot. The only difference is that you work in both loops for Round 4, not just the back loop.
Assembly guidance
-
Line up the pot and the soil pieces and slip stitch them together.
-
Stuff the pot with a small amount of filling.
-
Finish the final stitches to close the pieces together.
-
Chain two and slip stitch in the front loops.
-
Adjust the leaves and apply a bit of blush to the petals to complete the mini potted plant.
Eye and facial feature placement
-
While this pattern is a realistic plant, you can add 4mm or 6mm safety eyes between rounds 5 and 6 of the pot if you want to give it a "kawaii" personality.
Stuffing tips
-
Ensure the plastic base is glued securely before adding stuffing; this prevents the bottom from bulging and keeps the pot stable.
-
Stuff the pot firmly but do not overfill, as the soil disc needs to sit relatively flat for a neat finish.
Troubleshooting
-
If the pot is wobbling, check that the plastic insert is perfectly flat and covers the entire diameter of the base.
-
If the petals look floppy, ensure your "incomplete" stitches are pulled tight before chaining one to close the cluster.
Customization ideas
-
Change the flower colors to match different seasons, such as deep reds for autumn or bright yellows for spring.
-
Use a variegated yarn for the pot to mimic the look of stone or ceramic.