
Crochet Plush Loaf Cat Free Pattern Anyone Can Make
The Cute Easy Loaf Cat crochet pattern is designed to help you create a soft, squishy cat with a simple loaf shape that works up quickly. This pattern is ideal for beginners and plush yarn lovers, offering clear steps, minimal shaping, and easy assembly.
Crochet Plush Loaf Cat
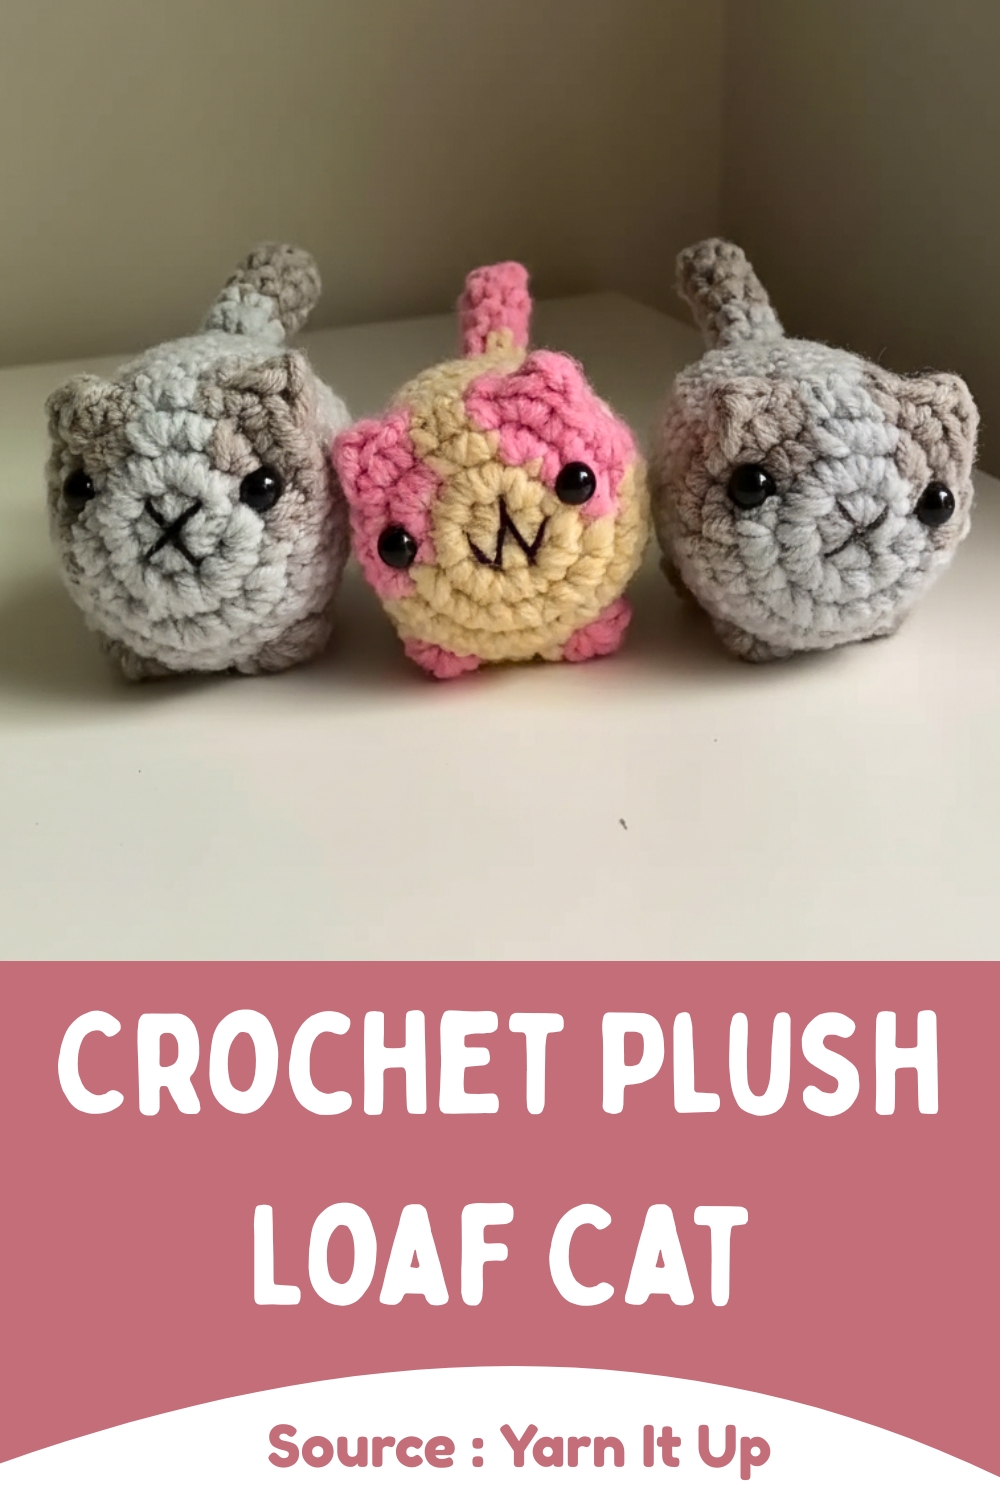
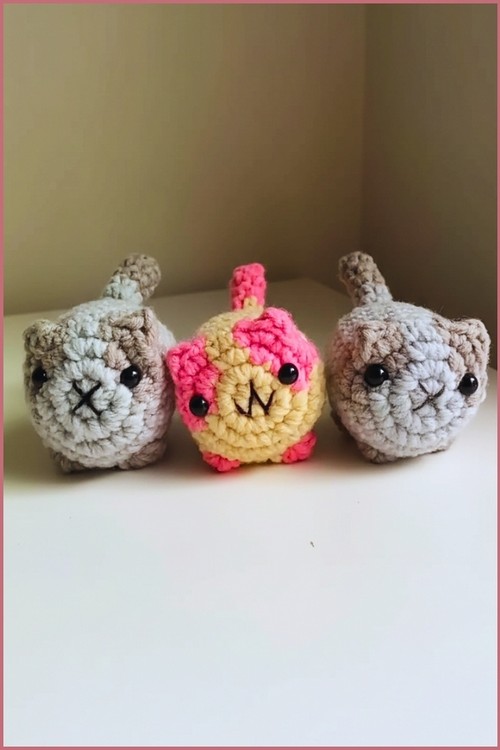
Nothing beats the pure joy of crafting a squishy Crochet Plush Loaf Cat masterpiece, which perfectly mimics the blocky, legless tuck of a snoozing kitten. This chunky, rounded buddy serves beautifully as a supportive neck rest or a quirky mantle display. Highlighted by stitched-on details and massive color flexibility, the project offers endless artistic charm for enthusiastic yarn crafters.
Skill level
-
Advanced Beginner
Finished size
-
Approximately 4 to 5 inches long depending on tension and yarn brand
Materials
-
Velvet or chenille yarn in a main body color and white for the face or belly
-
5.0 mm crochet hook
-
10 mm or 12 mm safety eyes
-
Fiberfill stuffing
-
Yarn needle
-
Scissors
-
Stitch marker
Abbreviations
-
MR: Magic Ring
-
Sc: Single crochet
-
Inc: Increase (two single crochets in the same stitch)
-
Dec: Decrease (joining two stitches into one)
-
Ch: Chain
-
St: Stitch
Helpful notes before starting
-
Use a stitch marker at the beginning of every round because plush yarn makes it difficult to see individual stitch definitions.
-
Avoid pulling the magic ring too tight initially as velvet yarn can snap or "shed" fibers if pulled with too much force.
-
If you find the safety eyes difficult to push through the plush yarn, use the back of your crochet hook to gently widen the space between stitches first.
Construction overview
-
The body is worked in one continuous piece from the front of the face to the back of the tail.
-
The face patch and ears are worked separately and sewn on afterward to create depth.
-
The shaping relies on a standard spherical increase followed by a long tube of even stitches to create the "loaf" look.
Stitch and shaping clarity
-
The increase rounds expand the diameter quickly to create a flat face.
-
The eight rounds of even single crochet are what define the length of the toy; keep your tension consistent here to avoid a "lumpy" body.
-
Decreasing in every stitch at the very end creates a clean, gathered finish that mimics the start of the project.
Step by step pattern instructions
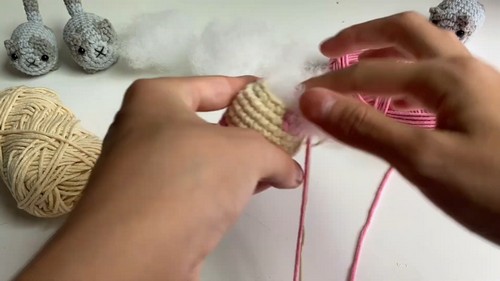
BODY MAIN COLOR
-
Start with a magic ring and work 6 single crochet
-
Increase in every stitch for a total of 12 stitches
-
Work 1 single crochet then 1 increase repeatedly for 18 stitches
-
Work 2 single crochet then 1 increase repeatedly for 24 stitches
-
Single crochet in every stitch for the next 8 rounds keeping 24 stitches
-
Insert safety eyes between rounds 4 and 5 spaced 4 to 5 stitches apart
-
Work 2 single crochet then 1 decrease repeatedly for 18 stitches
-
Begin stuffing the body firmly
-
Work 1 single crochet then 1 decrease repeatedly for 12 stitches
-
Decrease in every stitch to reach 6 stitches then fasten off and close
EARS MAKE TWO MAIN COLOR
-
Start with a magic ring and work 4 single crochet
-
Work 1 single crochet then 1 increase once for 6 stitches
-
Fasten off leaving a long tail and flatten without stuffing

TAIL MAIN COLOR
-
Chain 7
-
Single crochet in the second chain from the hook and across for 6 stitches
-
Fasten off leaving a tail for sewing
FACE BELLY PATCH WHITE
-
Start with a magic ring and work 6 single crochet
-
Increase in every stitch for 12 stitches
-
Fasten off
Assembly guidance
-
Pin the white patch to the face first to ensure it is perfectly centered between and slightly below the eyes.
-
Use the long tails from the ears to sew them onto round 3, ensuring they are tilted slightly forward for a cute expression.
-
When sewing the tail, attach it to the center-back of the body so the loaf sits flat on a surface without tipping.
Eye and facial feature placement
-
Place the safety eyes before you finish the long middle section of the body while the opening is still wide.
-
Ensure the washers are pushed all the way down until they click to prevent them from pulling through the large stitches of the plush yarn.
-
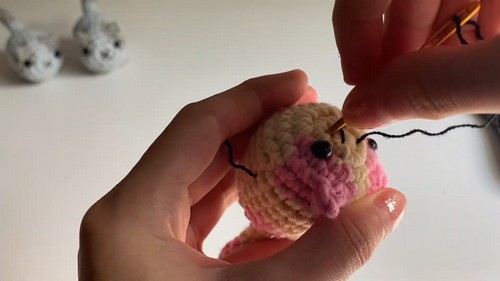
Embroider the nose after the patch is sewn on to ensure the "V" shape is perfectly aligned with the center of the eyes.
Stuffing tips
-
Stuff the front of the head firmly to support the weight of the safety eyes.
-
As you move to the back of the body, add stuffing in small clumps to avoid creating a "lumpy" texture under the velvet yarn.
-
Do not overstuff the very last round or it will be difficult to weave the tail through the final 6 stitches for a clean closure.
Finishing notes
-
Use the yarn needle to weave the remaining tail through the front loops of the final 6 stitches and pull tight like a drawstring.
-
Knot your yarn ends securely and hide the "tails" inside the body of the toy.
Beginner notes
-
If you struggle to see the stitches, try feeling for the "holes" with your fingers rather than relying on sight.
-
Count your stitches at the end of every round to ensure you still have 24 stitches during the long middle section.
Troubleshooting
-
If your toy looks too skinny, you may be using a hook that is too small or pulling your tension too tight.
-
If the stuffing is showing through the stitches, try dropping down to a 4.5 mm hook.
Customization ideas
-
Change the main body color to create different animals like a grey cat, a brown bear, or a pink bunny.
-
Lengthen the body by adding 2 or 3 extra rounds of single crochet if you prefer a longer loaf shape.
-
Use a different color for the ears to give your character more personality.