
Crochet Mini Tulip Keychain Pattern Free Amigurumi
Spring arrives early on any key ring that carries a crochet mini tulip keychain, here stitched in buttercup yellow and cobalt blue. Mother’s Day cards rarely get a sweeter add-on than a free amigurumi tulip bud, which slips into an envelope or onto a teacher’s lanyard.
Watch the petals curl in as the rounds decrease with this crochet mini tulip keychain. The shaping does the work for you, so your hands stay busy and your mind does not. Finish one, reach for another colour, repeat. That loop is the whole appeal of making these.
Crochet Mini Tulip Keychain

Petals close over the top of each bud and flare out at the sides, giving the flower a cupped shape rather than a round ball. Leaves sit behind as separate pointed pieces in green, clipped onto the same ring as the bloom. Two parts carry the whole thing, the tulip head and the leaf, joined with a small chain and keyring. Each flower works up in one continuous round with shaping at the tip, so no sewing holds the petals together. The leaf is worked flat. Nothing here asks for more than increases and decreases, which makes it an easy piece to repeat in different colours.
Materials
- Green yarn
- Flower colour yarn
- 3.5 mm crochet hook
- Stitch marker
- Yarn needle
- Scissors
- Fiberfill
- Keychain ring
Pieces List
- Stem and bud: 1 (worked as one continuous piece)
- Leaf: 1
The Pattern
Stem
- Magic ring, chain 1.
- Round 1: Work 5 sc into the ring, pull tight. [5] Checkpoint: a tight flat circle. The chain 1 does not count as a stitch.
- Round 2: Work 1 sc in each stitch. [5]
- Round 3: Work 1 sc in each stitch. [5]
- Round 4: Work 1 sc in each stitch. [5]
- Round 5: Work 1 sc in each stitch. [5] Checkpoint: a short green tube, narrow and firm. If it spirals visibly, that is normal for continuous rounds.
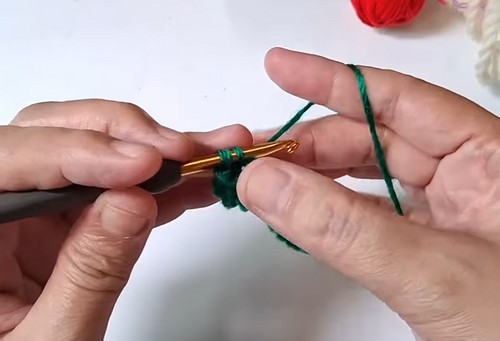
Tulip Bud
- Round 6: Switch to flower colour yarn, work 2 sc in each stitch around. [10] Checkpoint: the bud base is noticeably wider than the stem, sitting like a small platform on top.
- Round 7: Work 1 sc, 2 sc in next stitch, repeat around. [15] Checkpoint: a wider, flatter disc. The colour change line should be clean if you swapped yarn on the last yarn-over of the final green stitch.
- Round 8: Work 1 sc in each stitch. [15]
- Round 9: Work 1 sc in each stitch, increase in every fourth stitch. [18] Checkpoint: the bud walls are rising now. The piece should look like a short open cup.
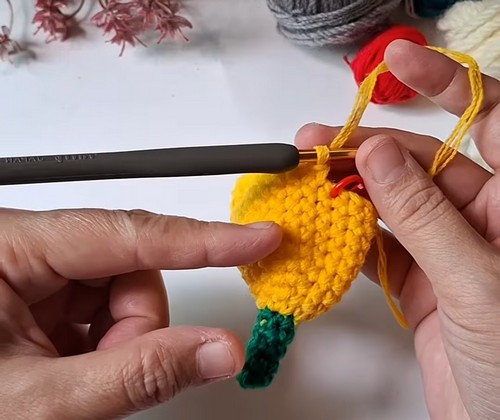
- Round 10: Work 1 sc in each stitch. [18]
- Round 11: Work 1 sc in each stitch. [18]
- Round 12: Work 1 sc in each stitch. [18]
- Round 13: Work 1 sc in each stitch. [18]
- Round 14: Work 1 sc in each stitch. [18]
- Round 15: Work 1 sc in each stitch. [18] Checkpoint: a tall straight cylinder in your flower colour. Held upright it should read immediately as a tulip bud.
Never made an amigurumi before? The video tutorial below is the perfect starting point, and the written pattern is right here whenever you're ready!
Stuffing and Closing
- Lightly stuff the bud.
- Use a C-shape stitching method across the top opening. Checkpoint: the opening pulls into a gentle oval as you stitch. Too tight and it pinches; too loose and it stays round.
- Pull gently to form the tulip bud shape.
- Secure yarn and hide the tail inside.
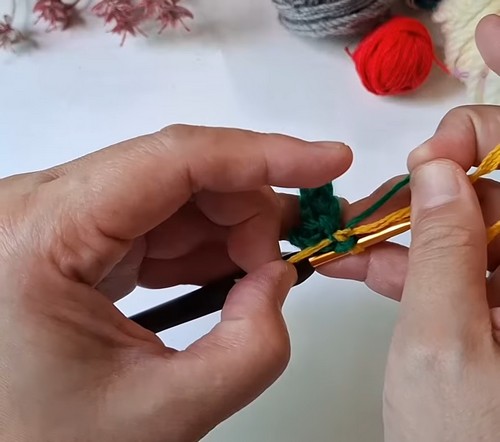
Leaf
- Chain 10.
- Starting in the second chain from the hook, work 1 sc. Checkpoint: one stitch in, eight chains remaining on this side.
- Work 1 hdc in the next stitch.
- Work 1 dc in the next 5 stitches.
- Work 1 hdc in the next stitch.
- Work 3 sc in the last chain to form the tip. Checkpoint: the three pivot stitches should curve the work clearly. The leaf tip rounds here.
- Continue down the opposite side, mirroring the stitches.
- Slip stitch to the first sc.
- Fasten off and leave a tail.
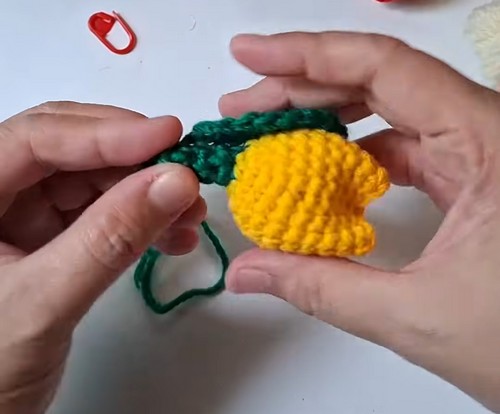
Assembly
- Sew the leaf to the stem at your desired height.
- Attach the keychain ring securely to the top of the bud.
- Weave in all ends.
Assembly Notes
- Pin the leaf in place before sewing. The natural spot is roughly halfway up the stem, angled slightly outward so it doesn't cover the colour join. Stitch through the slip stitch base of the leaf into the stem several times and knot firmly before weaving the tail in — the leaf takes all the sideways stress when the keychain swings.
- The keychain ring goes through the stitches at the very top of the closed bud. If the C-shape closure left a small hole, thread the ring through that. If not, use the yarn needle to work through two or three stitches near the top and loop the ring in before knotting. Pull the ring to test it holds before finishing.
Stuffing Guide
Light stuffing only. The bud should feel slightly soft when squeezed, not packed hard. A pinch of fiberfill is enough — the C-shape closure does the shaping work, not the filling. Overstuffed buds look like balls rather than tulips, and the top won't pull into that distinctive oval.

FAQ
- Can I make the stem longer? Yes, just add more rounds of 5 sc before switching to the flower colour. The proportions still work.
- What does the C-shape closing method actually mean? Run the yarn in a curved arc across the opening using a tapestry needle, then pull gently so the top folds into an oval. It's faster than crocheting decreases and gives the tulip its recognisable pinched top.
- My colour join shows a jog at round 6. How do I fix it? Swap to the flower colour on the last yarn-over of the final green stitch in round 5, not at the start of round 6. That moves the jog back one half-stitch and makes it almost invisible.