Crochet Flower With Pot Free Pattern For Your Desk Or Home Decor
This Crochet Flower Pot pattern is a charming project that brings a handmade touch to your home or workspace. Designed using simple single crochet stitches, it’s perfect for beginners and experienced crocheters alike.
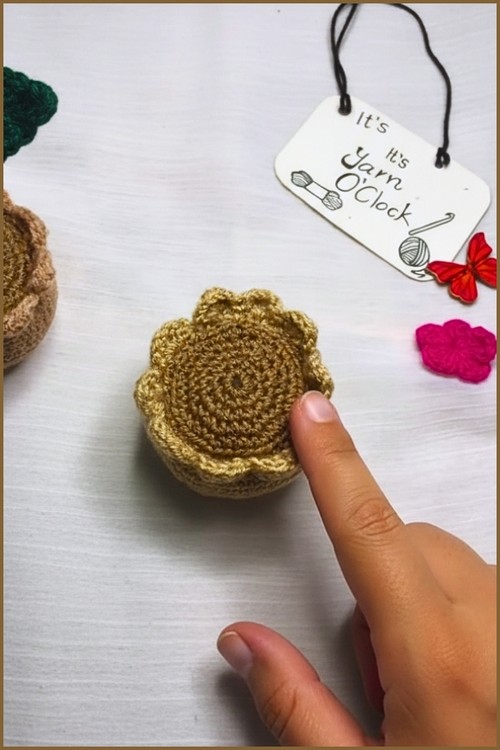
Crochet Flower Pot

The pattern includes the pot base, soil circle, and rim details, allowing you to create a realistic mini pot. You can easily customize the yarn colors or add different flowers for a unique look. Whether used as a desk accent, a gift, or part of a larger crochet plant arrangement, this crochet flower pot adds warmth and creativity to any setting.
Materials
- Yarn – Medium thickness in Light Brown, Dark Brown, Red, and Green
- Crochet Hook – 1.25 mm
- Stuffing – Cotton or fiberfill
- Sewing Needle and Scissors
Base of the Pot
- Start with a slip knot and chain 3, join to form a circle
- Work 8 single crochets into the circle and join
- Chain 1, work 2 single crochets in each stitch (16 total)
- Chain 1, repeat (2 sc in next, 1 sc in next) around (24 total)

- Chain 1, repeat (2 sc, 1 sc, 1 sc) around (32 total)
- Chain 1, repeat (2 sc, 1 sc, 1 sc, 1 sc) around (40 total)
- Make another identical circle using Dark Brown yarn for the soil and set aside

Body of the Pot
- Chain 1, work 1 single crochet in the back loop of each stitch (40 total)
- Chain 1, repeat (2 sc, 1 sc in next 3) around (48 total)
- Chain 1, work 1 sc in each stitch for six rounds (48 total)
- Chain 1, repeat (1 sc in 3 sts, decrease) around (40 total)
- Chain 1, work in front loop only – skip 2 stitches, make 5 double crochets in next stitch, skip 1, slip stitch in next stitch; repeat around for the rim


Finishing and Assembly
- Attach yarn to the unworked front loops from Round 6 and make 1 sc in each stitch to form a clean edge
- Sew the Dark Brown soil circle to the top of the pot using matching stitches
- Stuff the pot with fiberfill before fully closing
- Continue sewing until the pot is fully sealed