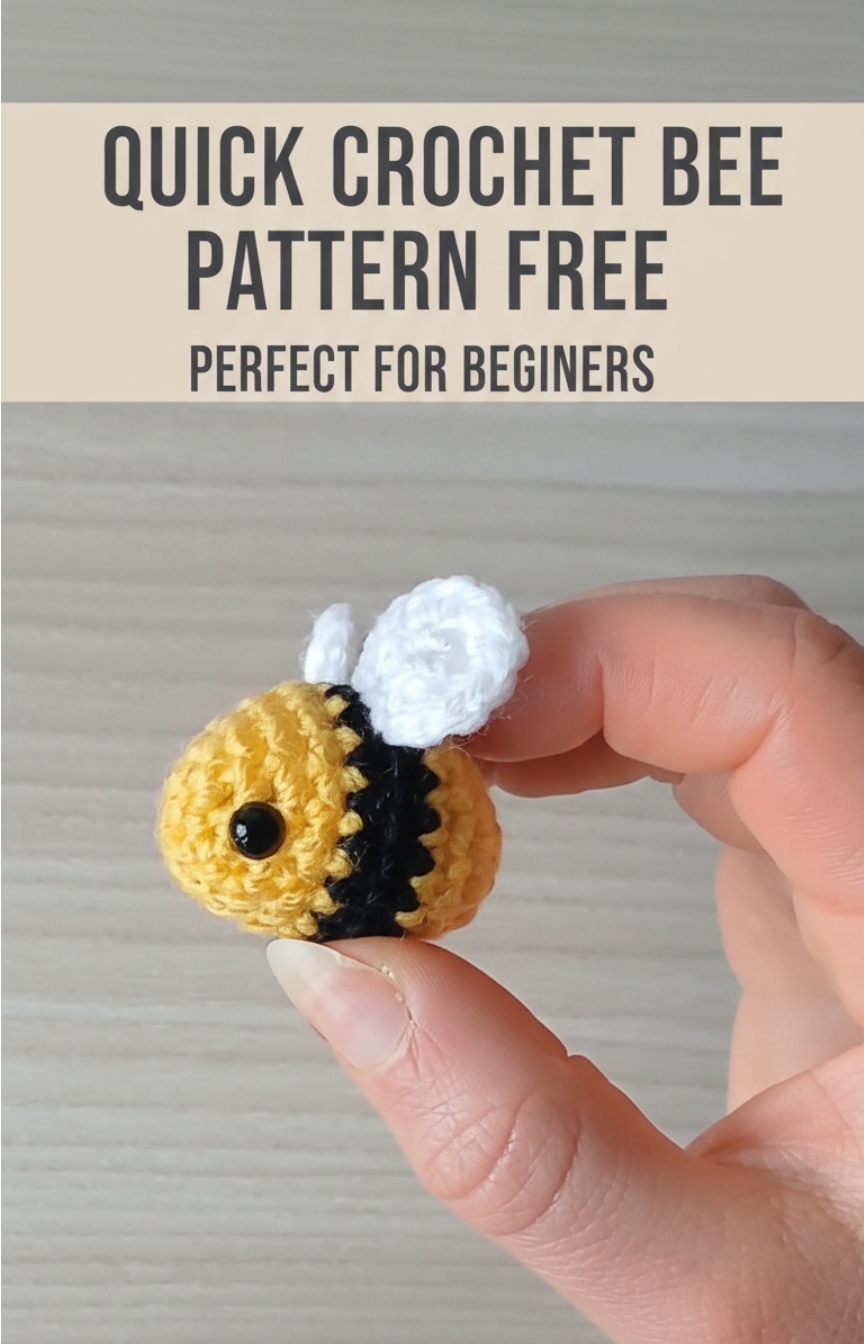
Quick Crochet Bee Pattern Free Perfect For Beginners
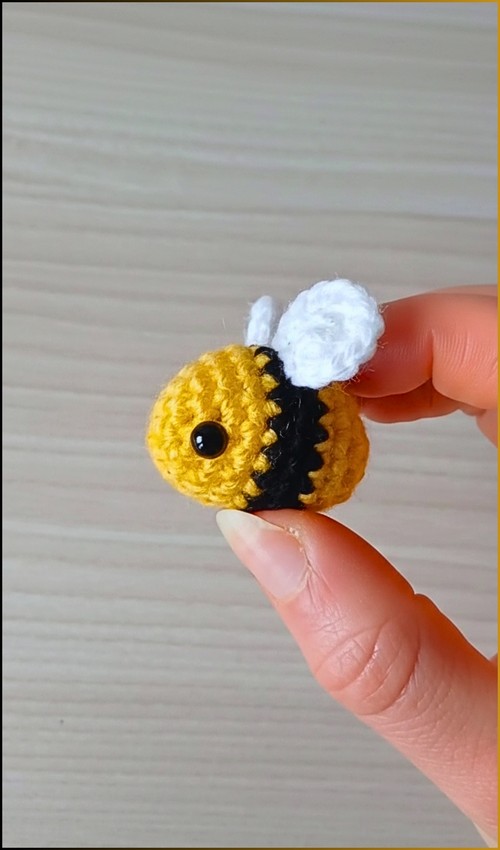
This beginner-friendly crochet bee pattern is the perfect quick and fun project for crafters of all levels. Using simple stitches and minimal materials, you’ll create a soft, round amigurumi bee that makes an adorable decoration, toy, or keychain.
Crochet Bee
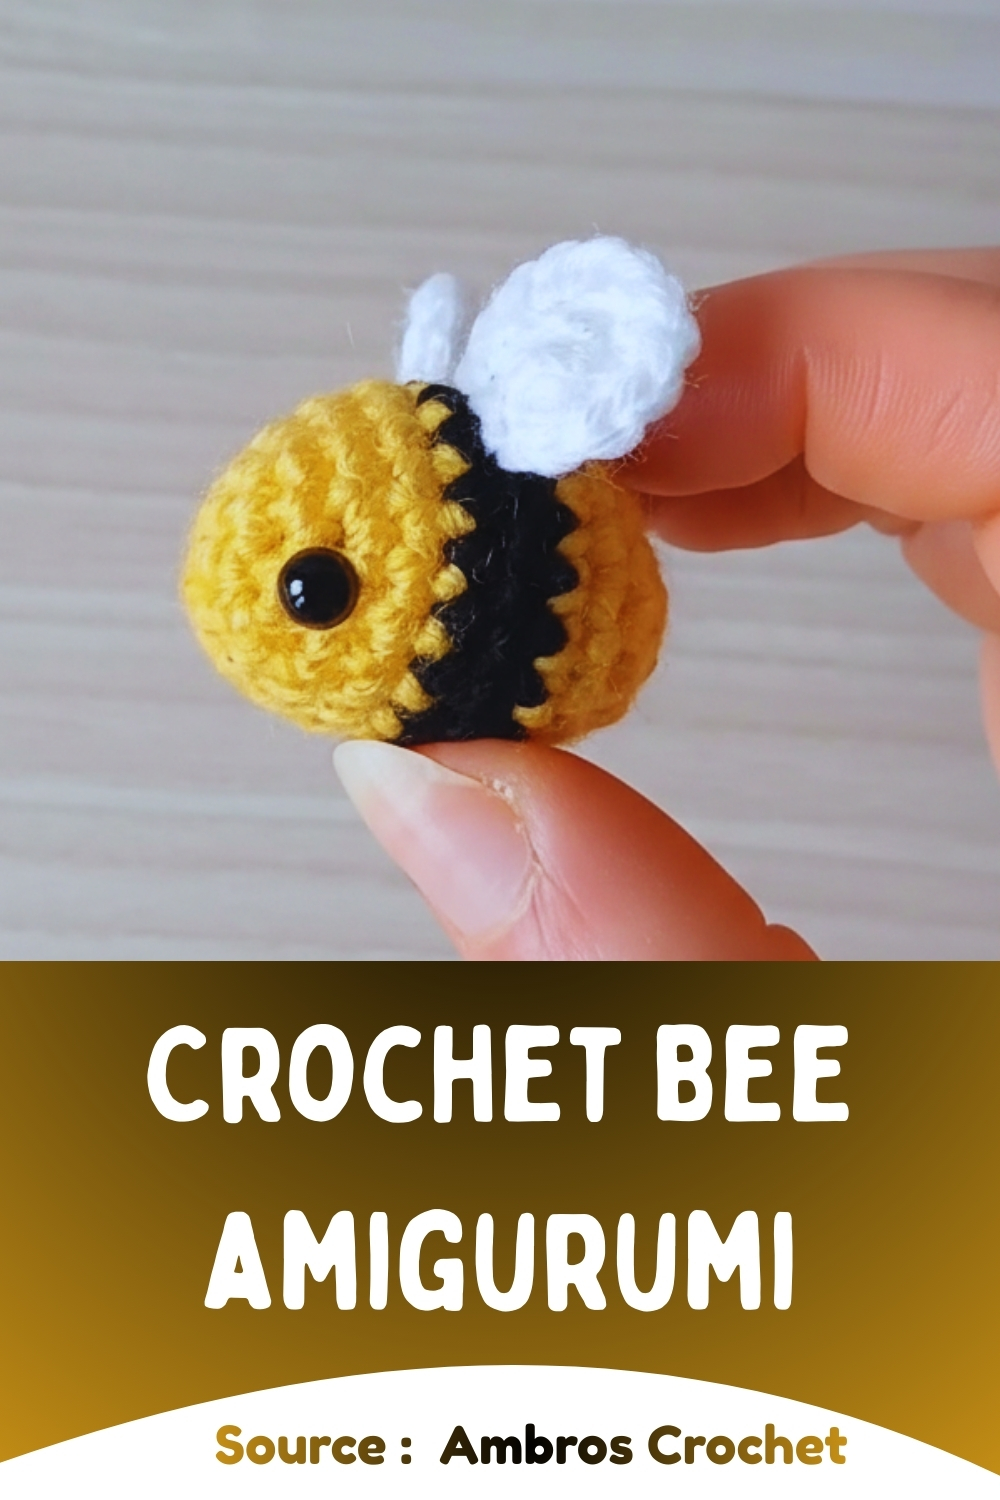
The step-by-step instructions ensure an easy, relaxing crochet experience, with room to personalize your bee using different yarn colors or sizes. Whether you’re making your first amigurumi or adding to your handmade collection, this crochet bee is a charming and satisfying project that you can finish in just a short time.
Materials
- Yellow, Black, and White Yarn
- 3mm Crochet Hook
- 6mm Safety Eyes or Embroidery Thread
- Toy Stuffing
- Tapestry Needle and Pins
Bee Body (Make 1)
- Start with Yellow Yarn.
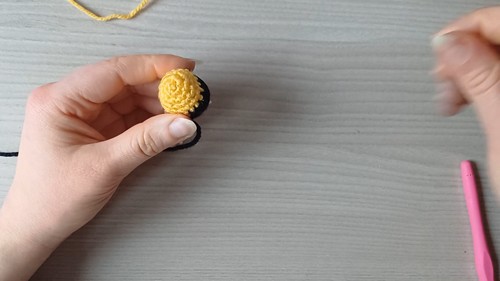
- R1: Magic Ring, 6 SC into the ring (6).
- R2: Inc in each stitch (12).
- R3: (3 SC, Inc) repeat 3 times (15).
- R4: (4 SC, Inc) repeat 3 times (18).
- R5: SC in each stitch (18).
Change to Black Yarn for the first stripe.
- R6–R7: SC in each stitch (18).
- Insert 6mm Safety Eyes between R3 and R4, spaced 7 stitches apart.
- Change back to Yellow Yarn.
- R8: SC in each stitch (18).
- R9: (4 SC, Dec) repeat 3 times (15).
- R10: (3 SC, Dec) repeat 3 times (12).
Stuff the body firmly with toy stuffing.
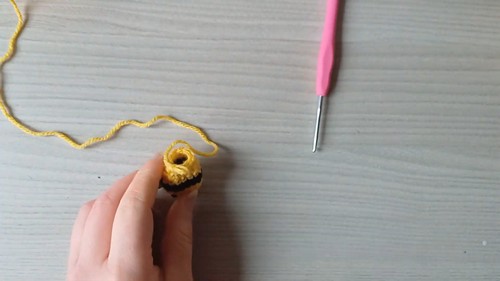
- R11: Dec 6 times (6).
- Slip stitch to close, weave the yarn tail through the front loops of the last 6 stitches, pull tight to close, and weave in the end.
Wings (Make 2)
- Start with White Yarn.
- R1: Magic Ring, 6 SC into the ring (6).
- R2: Inc in each stitch (12).
- Slip stitch to close and leave a long tail for sewing.
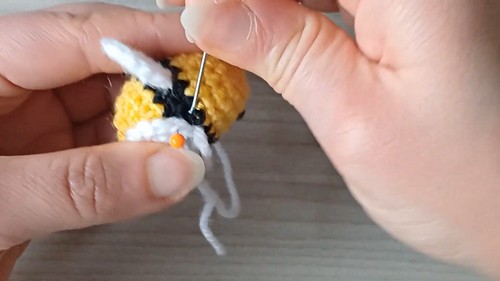
Assembly
- Position the wings between R6 and R7 in the center of the black stripe.
- Place each wing about 3 stitches above the bottom of the safety eyes.
- Sew the wings flat to the body using the yarn tails and tapestry needle.
- Secure and weave in all remaining ends.