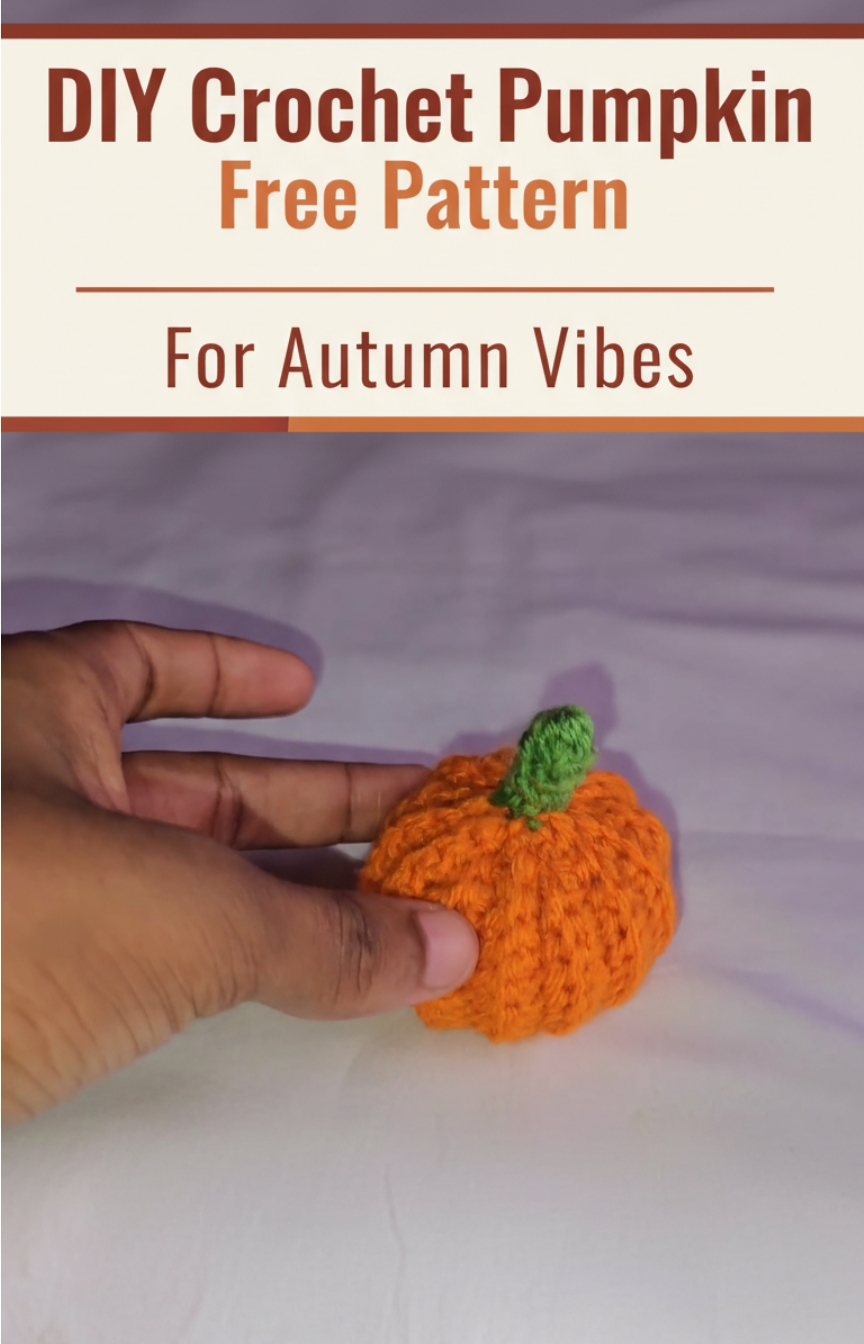
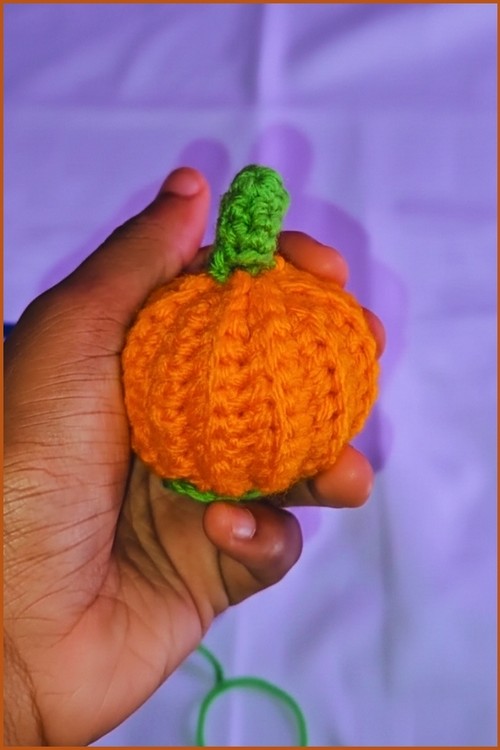
DIY Crochet Pumpkin Free Pattern Easy For Autumn Vibes
Create your own cozy autumn vibe with this adorable crochet pumpkin pattern! This beginner-friendly project is perfect for fall decorations, gifts, or market-day crafts.
Crochet Pumpkin
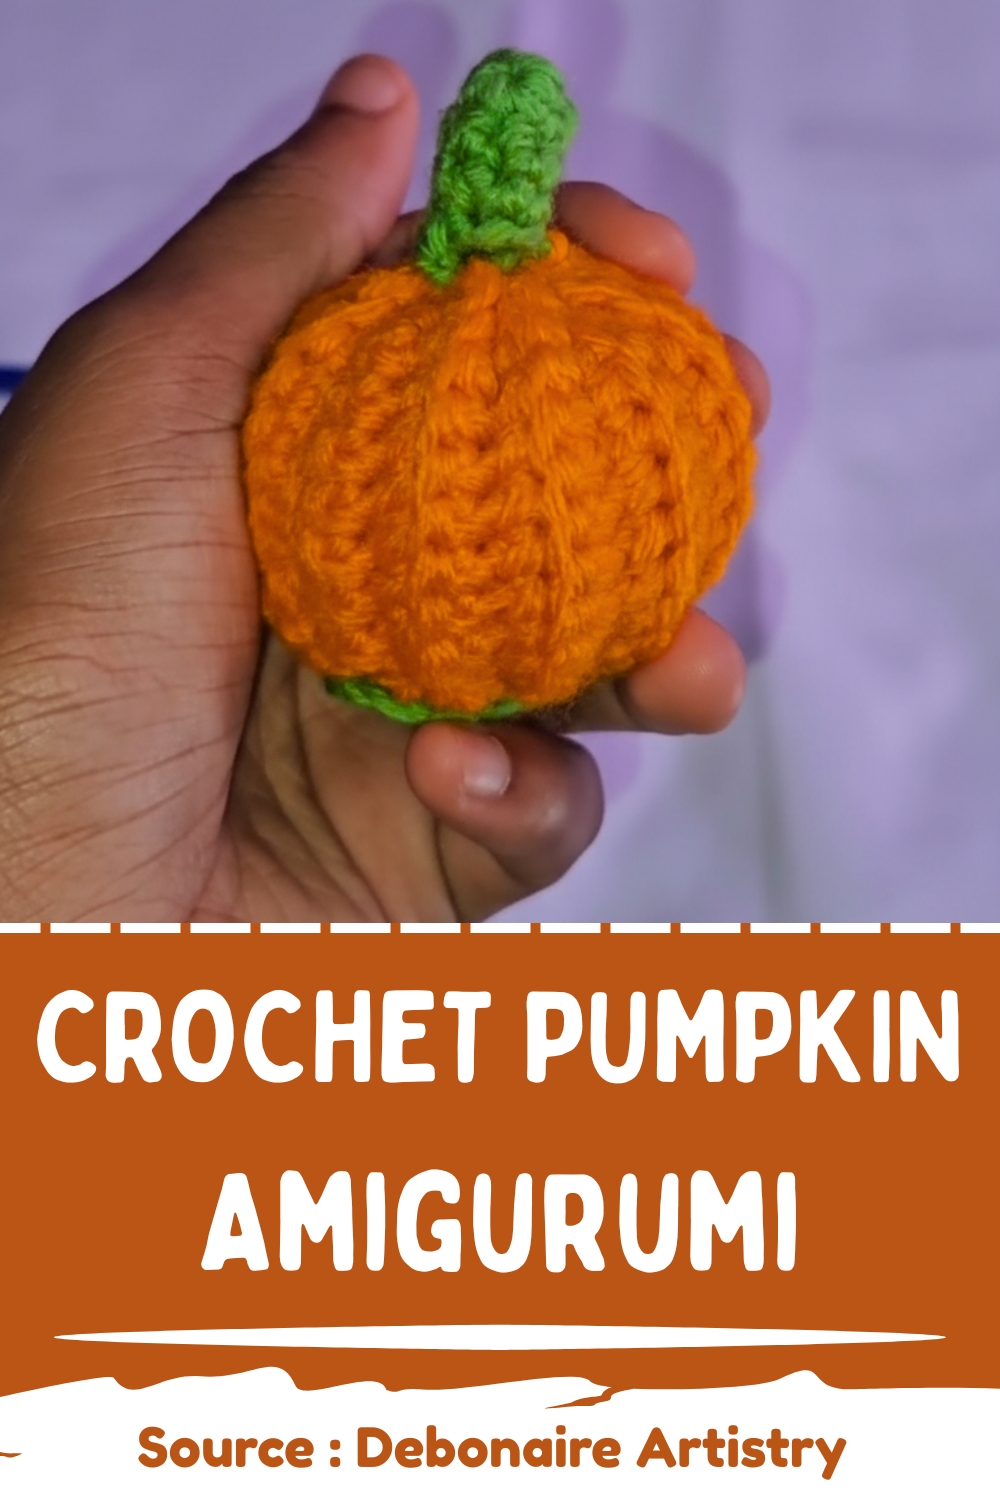
You’ll crochet a ribbed pumpkin body, a neat base, and a cute little stem all easy to assemble. Customize it with different yarn colors, from classic orange to cream or sage green, for a modern farmhouse or whimsical fall look. This quick project is both fun and satisfying for all crochet levels.
Materials
- Yarn: Worsted weight (main pumpkin color, green for stem)
- Hook: 4.0 mm–5.5 mm (3.5 mm for smaller parts)
- Tools: Yarn needle, scissors, stuffing
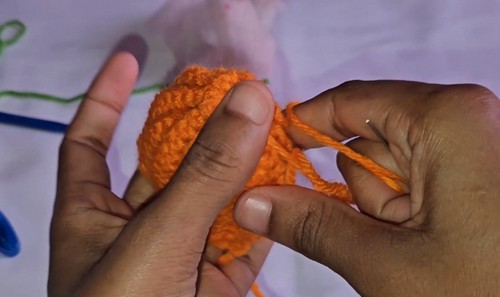
Pumpkin Body (Ribbed Panel)
- Leave a long tail and make a slip knot.
- Chain 13 (keep chains loose).
- Turn and skip the first chain. Work single crochet (sc) into the back bump of the second chain and each across (12 sc).
- Chain 1 and turn. Work sc into the back loop only of each stitch (12 sc).
- Repeat this row until you have 25 rows in total.
- Chain 1 and cut the yarn, leaving a long tail for sewing.
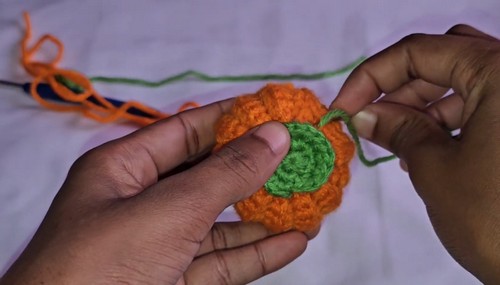
Bottom Piece (Base/Leaf Detail)
- With a 3.5 mm hook, make a Magic Circle.
- Chain 1 and work 6 sc into the circle. Pull tight to close.
- In Round 2, make 2 sc in each stitch around (12 sc).
- In Round 3, 1 sc in next stitch, 2 sc in the following stitch — repeat around (18 sc).
- Chain 1, cut yarn, and leave a tail for sewing.
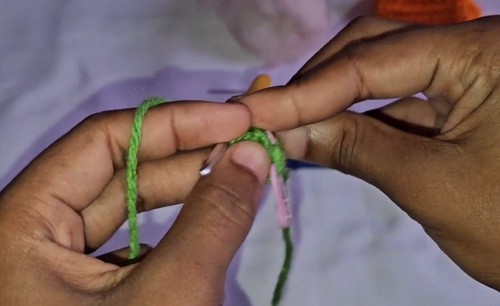
Stem Piece (Small Cylinder)
- Make a Magic Circle, chain 1, and work 6 sc into the circle.
- Pull tight to close.
- Work 3 more rounds of 6 sc (no increases).
- Chain 1 and cut yarn, leaving a tail for sewing.
Assembly
- Sew the first and last rows of the body panel together to form a tube.
- Cinch one open edge by weaving the yarn through stitches around the top, then pull tight to close.
- Secure and weave in the end.
- Stuff the pumpkin with filling material.
- Cinch the other open edge in the same way and secure it.
- Sew the Bottom Piece to the base of the pumpkin.
- Sew the Stem Piece to the top center.