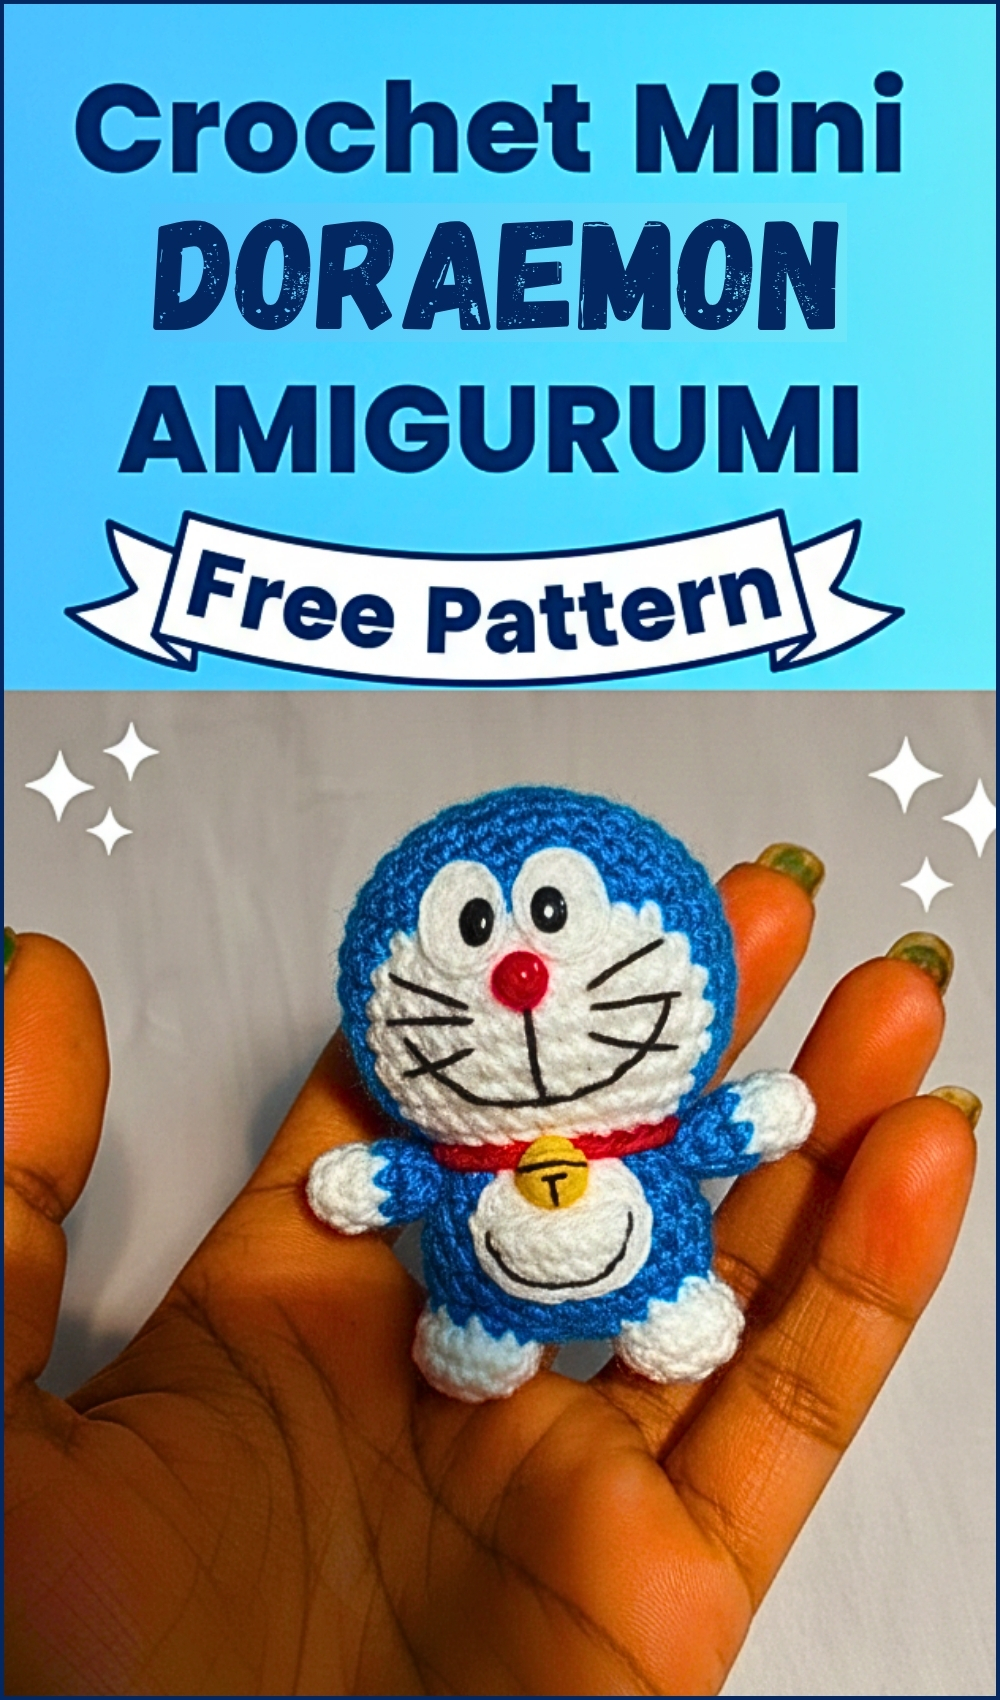
Mini Doraemon Amigurumi Crochet Pattern - Small Size Plush Toy
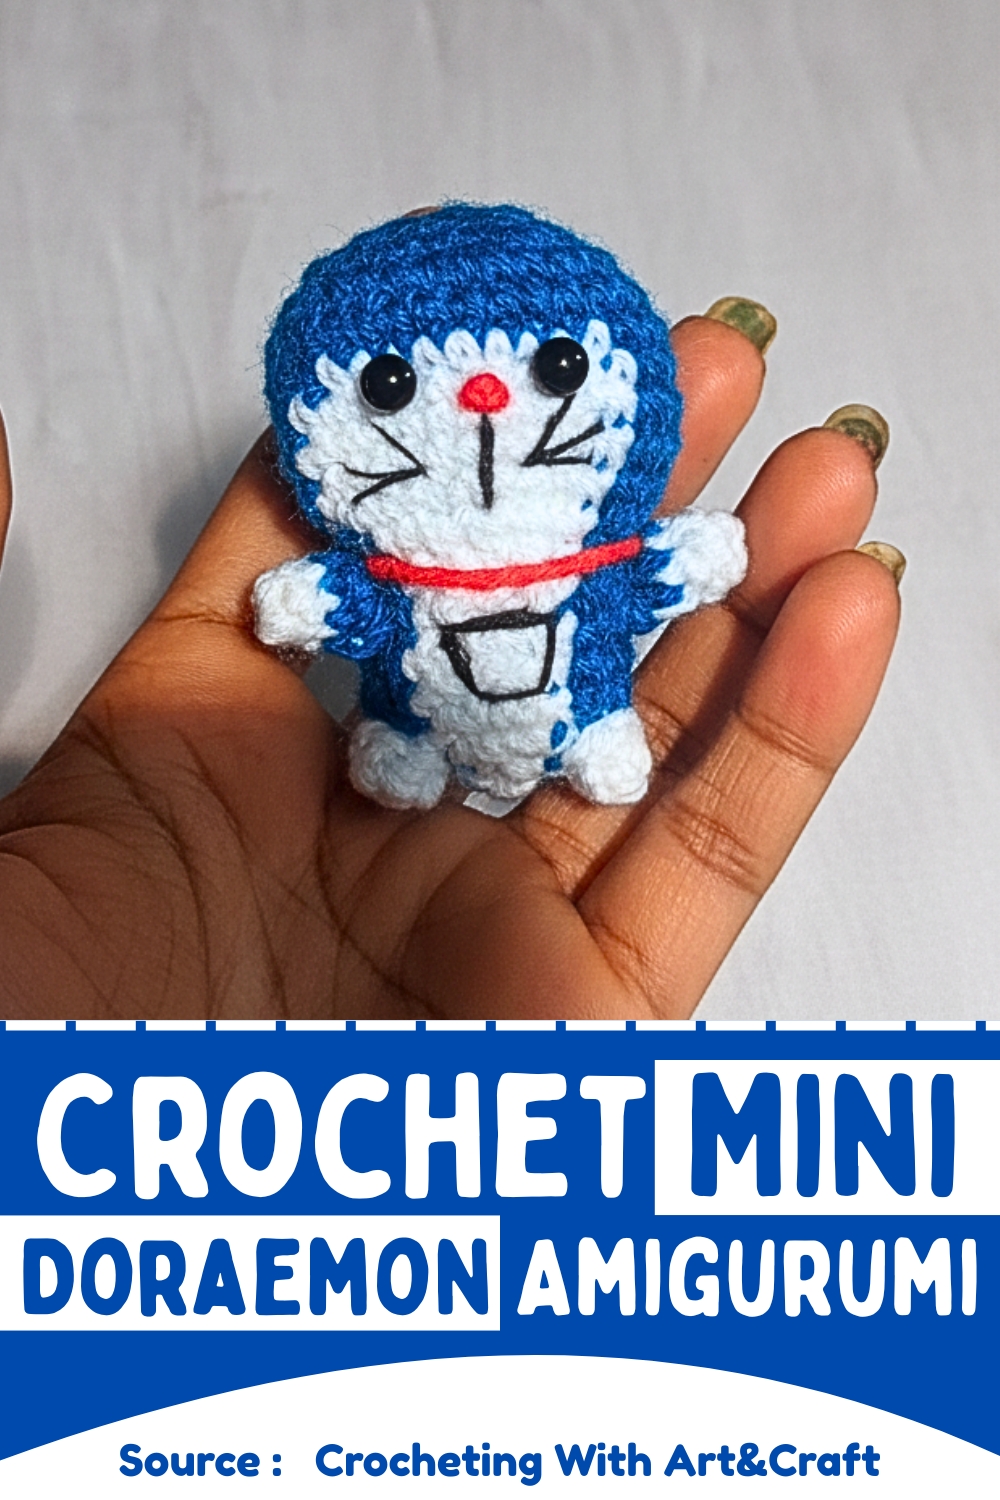
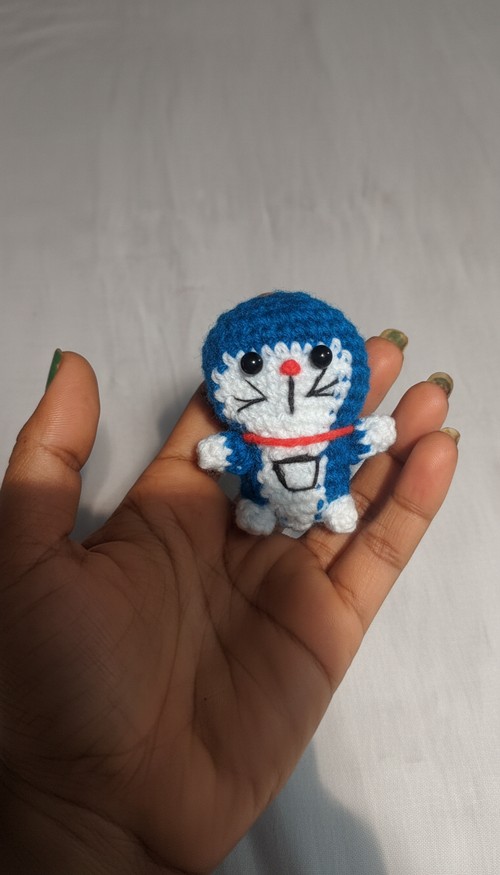
Character inspired creations often become the most memorable pieces in a crochet collection, and the Crochet Mini Doraemon Amigurumi pattern delivers that instantly recognizable look through its bold blue body, rounded shaping, and carefully placed facial features. From the neat white muzzle to the bright collar and bell detail, every element works together to create a finished piece that feels lively and expressive.
Crochet Mini Doraemon
This design is especially useful for practicing clean assembly and symmetry, while also giving you a versatile project that can be used as a decorative figure, a thoughtful handmade gift, or even a bag accessory.
Skill Level
Beginner to intermediate
You should be comfortable with:
- Magic ring
- Single crochet
- Increasing
- Basic sewing and assembly
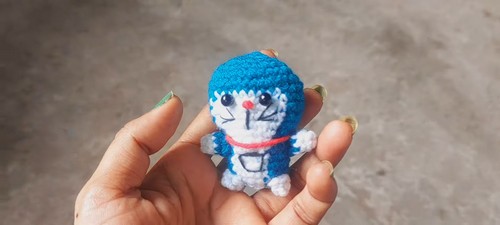
Finished Size
Depends on your yarn and hook choice, but expect a compact plush that fits comfortably in your hand.
Materials
- Blue Yarn (for the body and head)
- White Yarn (for the face, arms, legs, and pocket)
- Red Yarn (for the collar)
- Yellow Yarn (for the bell)
- Black Yarn (for the whiskers)
- White and Black Felt (or plastic safety eyes)
- Embroidery thread (for the mouth)
- Red pom-pom or felt circle (for the nose)
- Tapestry needle and scissors
Abbreviations
- SC: Single Crochet
- Inc: Increase (2 SC in same stitch)
- MR: Magic Ring
Helpful Notes Before Starting
- Work in continuous rounds unless stated otherwise.
- Use a stitch marker to track the beginning of each round.
- Keep your stitches tight to avoid gaps, especially when stuffing.
- Stuff gradually as you go to maintain a smooth shape.
Construction Overview
This design is built in separate components:
- Head and body form one continuous rounded shape
- White muzzle is added to the front
- Arms and legs are made as small tubes
- Collar and bell are separate decorative pieces
- Pocket is stitched onto the body
- Facial features are added last for precise placement
Understanding this order helps avoid overcrowding and makes assembly much easier.
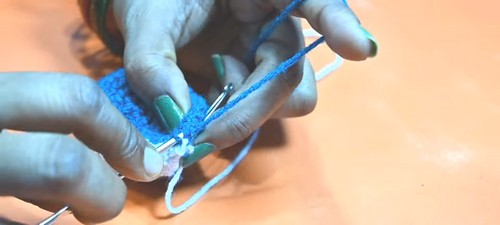
HEAD/BODY (BLUE YARN)
- Round 1: 6 SC in Magic Ring.
- Round 2: Inc x 6 (12 SC).
- Round 3: (1 SC, Inc) repeat (18 SC).
- Round 4: (2 SC, Inc) repeat (24 SC).
- Round 5: (3 SC, Inc) repeat (30 SC).
- Round 6: (4 SC, Inc) repeat (36 SC).
Explanation:
These increase rounds create a smooth, rounded shape. Each round expands evenly, forming the base of the head and upper body. Keep your increases evenly spaced to avoid a lopsided shape.
Start stuffing lightly once the piece begins to cup. This helps maintain structure without stretching the stitches.
WHITE FACE/MUZZLE
- Round 1: 6 SC in Magic Ring.
- Round 2: Inc x 6 (12 SC).
- Attach to the front of the head to form the muzzle.
Explanation: This small circular piece forms the raised face area. Position it slightly below the center of the head so there’s room above for the eyes.
ARMS AND LEGS
- Arms (White Yarn): Work small tubes with white yarn for the hands, using a round shape for each arm and attaching to the body.
- Legs (Blue Yarn for legs, White for feet): Create small tubes for legs, adding white yarn for the feet.
Explanation: Keep these pieces proportionally small so they match the compact body. Stuff lightly to avoid stiffness. Flatten slightly when sewing to help them sit naturally against the body.
RED COLLAR AND YELLOW BELL
- Collar: Crocheted in a strip of red yarn and attached around the neck.
- Bell: Work a small round in yellow yarn and attach it to the collar.
Explanation: The collar defines the separation between head and body. Keep it snug but not tight. Center the bell at the front for balance.
FACIAL FEATURES
- Eyes: Use white and black felt, or safety eyes.
- Nose: Create a small red pom-pom or felt circle.
- Whiskers/Mouth: Embroider with black thread.
Placement Guidance:
- Eyes sit above the muzzle, evenly spaced
- Nose is centered at the top of the muzzle
- Mouth curves slightly below the nose
- Whiskers extend outward symmetrically on both sides
Take time here—small adjustments make a big difference in expression.
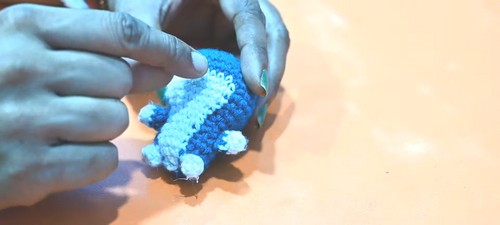
4D POCKET
- Round 1: 6 SC in Magic Ring (white yarn).
- Round 2: Inc x 6 (12 SC).
- Attach to the body as a pocket.
Explanation:
This piece should sit centered on the front of the body, just below the muzzle. Keep it slightly flattened when sewing so it resembles a real pocket.
ASSEMBLY
Sew the arms, legs, collar, pocket, and facial features onto the body and head to complete your Mini Doraemon.
Assembly Guidance (Important)
- Attach arms slightly below the head on each side
- Place legs evenly at the base so the piece can sit upright
- Align the pocket with the center line of the face
- Check symmetry from the front before securing pieces fully
Pin pieces in place first if needed—this prevents uneven placement.
Stuffing Tips
- Use small amounts at a time
- Focus on shaping the head smoothly
- Avoid overstuffing the lower body to keep it balanced
Beginner Notes
- If your circle starts to curl too much, your tension may be too tight
- If you see gaps, switch to a smaller hook
- Count stitches at the end of each round to stay on track
Troubleshooting
- Head looks uneven: Check that increases are spaced correctly and consistent
- Muzzle looks off-center: Reposition before sewing permanently
- Limbs feel floppy: Add a bit more stuffing or sew more securely
Customization Ideas
- Use pastel colors for a softer look
- Add a keychain loop to turn it into an accessory
- Experiment with embroidered eyes instead of felt for a different style