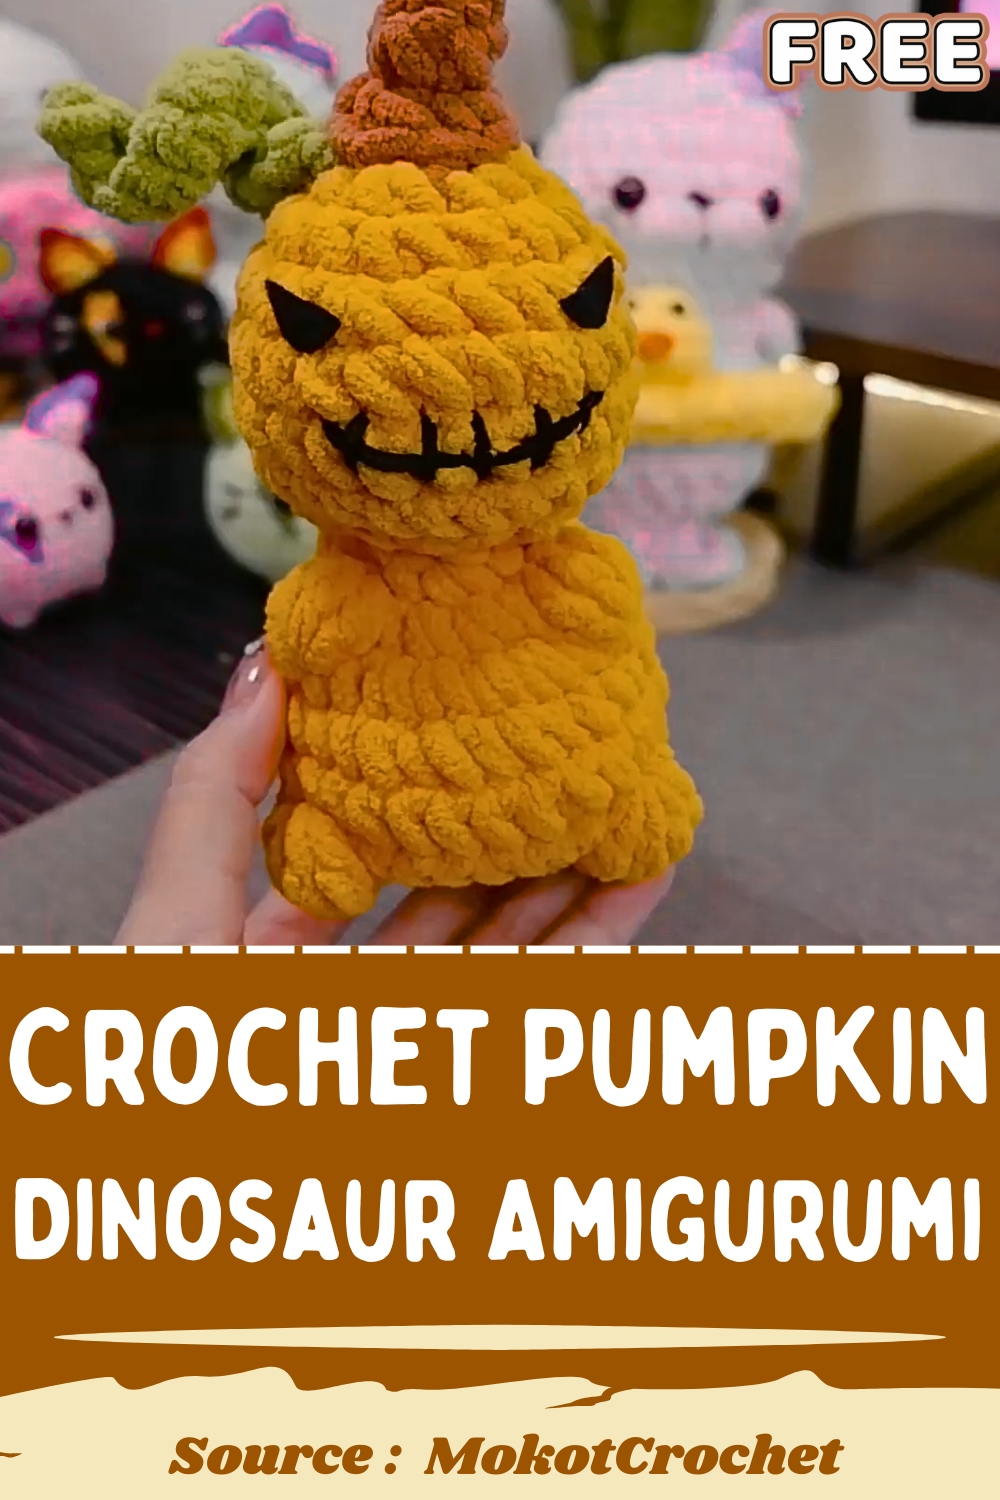
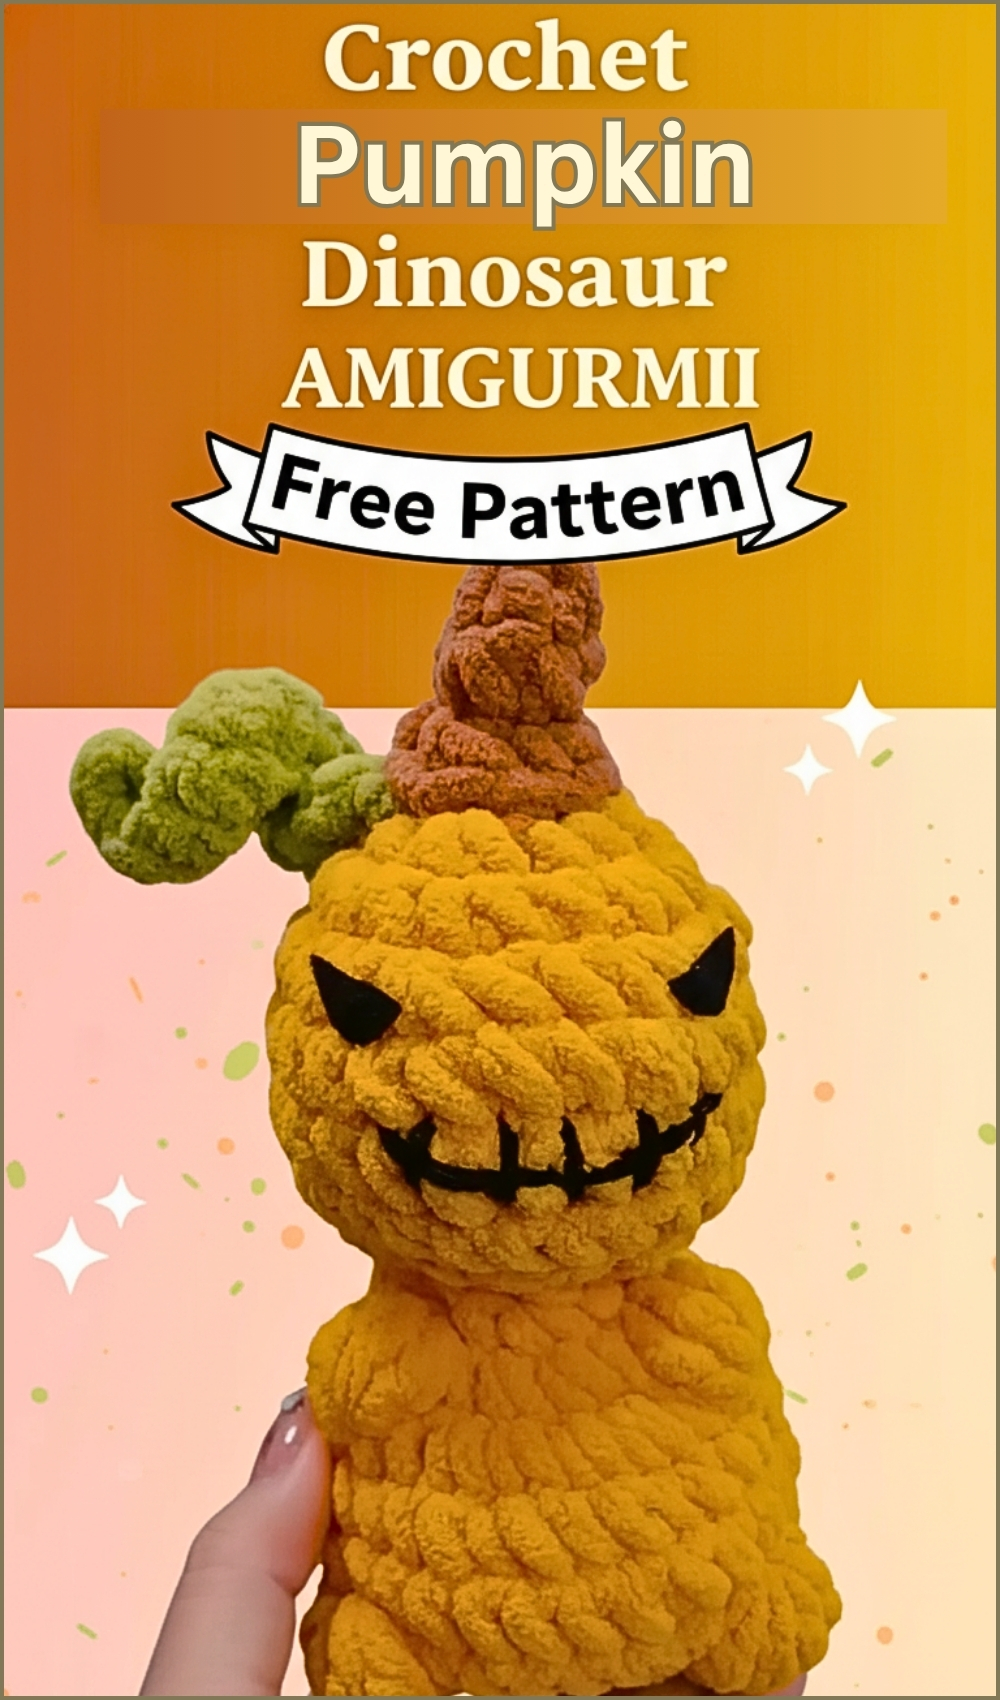
Pumpkin Dinosaur Amigurumi Crochet Pattern With Easy Instructions
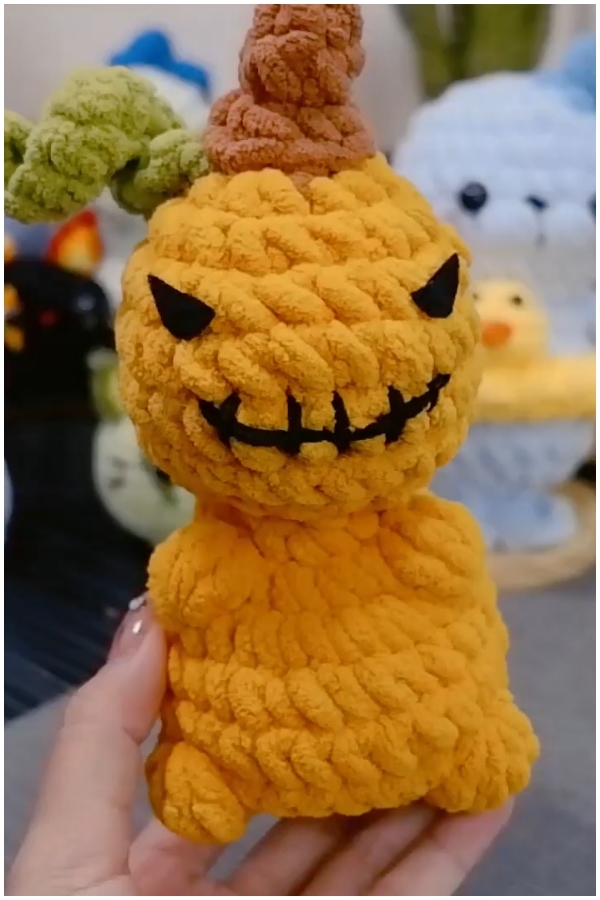
Textured stitches and thoughtful shaping bring a crochet dinosaur amigurumi pattern to life, creating a character that feels both playful and well-structured in the hands. The rounded form, raised details, and balanced proportions give the finished piece a friendly, expressive appearance that works beautifully as a handmade toy, shelf display, or personalized gift.
Crochet Pumpkin Dinosaur Amigurumi
Working through this kind of design also strengthens your ability to control shaping and placement, helping each section come together into a clean and cohesive final result.
Skill Level
Intermediate
This pattern is approachable if you're comfortable with:
- Magic rings
- Increases and decreases
- Bobble stitches
- Basic assembly
Finished Size
Depends on your yarn and hook choice, but expect a palm-sized to medium plush with a rounded body and defined features.
Materials
(Use exactly as provided in your pattern)
- Yellow yarn
- Brown yarn
- Green yarn
- Felt fabric (for eyes)
- Stuffing
- Glue (for felt pieces)
Abbreviations
- sc – single crochet
- inc – increase
- dec – decrease
- BO4 – bobble stitch (4 stitches together)
- sl st – slip stitch
Helpful Notes Before Starting
- This pattern builds the body first, then adds features like tail, stem, and spikes.
- Bobble stitches are used to create raised texture across the body—these act like little scales or bumps.
- Keep your tension consistent, especially when working bobbles, so they pop outward cleanly.
- Stuff gradually rather than all at once to maintain a smooth shape.
Construction Overview
This dinosaur is built in separate parts:
- Main body is worked in the round and shaped with increases and decreases
- Texture is added using bobble stitches placed strategically across rounds
- Tail, stem, and tendril are made separately and sewn on
- Spikes are attached along the back for the final character detail
- Face is added last using felt and embroidery
Understanding this order helps you visualize how everything comes together before you begin.
MAIN BODY (YELLOW YARN)
- Round 1: Make a magic ring, chain 1, and work 6 single crochets (sc) into the ring.
- Round 2: Chain 1, and do 6 increases ([inc] x6) for a total of 12 stitches.
- Round 3: Chain 1, and repeat the sequence of 1 sc followed by an increase 6 times ([1sc, inc] x6) for a total of 18 stitches.
- Round 4: Chain 1, and do 6 increases, followed by 6 sc, and then another 6 increases for a total of 30 stitches.
- Rounds 5-7: Chain 1, and work 1 sc into each stitch around for 3 rounds.
- Round 8: Chain 1, work 8 sc.
- Round 9: Chain 1, work 5 sc, and then do a bobble stitch (BO4).
- Round 10: Chain 1, work 4 sc.
- The video then shows another bobble stitch.
- Round 11: The video shows 5 sc followed by a bobble stitch. It then shows 1 sc followed by a bobble stitch.
- Round 12: The video shows 8 sc, followed by a bobble stitch, then 1 sc and another bobble stitch, then 1 sc and another bobble stitch.
- Round 13-14: The video shows 1 sc into each stitch around for 2 rounds.
- Round 15: The video shows 10 sc followed by a bobble stitch.
- The video then shows another bobble stitch.
- Round 16: The video shows 1 sc, dec repeated multiple times.
- Round 17: The video shows dec repeated multiple times.
- Rounds 18+: The video shows more decrease rounds to close the top of the body.
- Insert stuffing to fill the body.
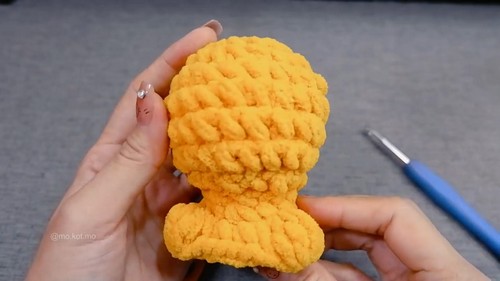
Stitch and Shaping Clarity (Body)
- The early rounds (1–4) expand the base quickly to form a wide, rounded belly.
- Rounds 5–7 stabilize the shape, giving height without changing width.
- Bobble stitches (Rounds 9–15) create raised texture—these should sit on the outside. If they appear inside, push them out gently with your fingers.
- Decrease rounds pull the top closed, forming the head area.
Take your time during decreases to avoid gaps.
TAIL (YELLOW YARN)
- Round 1: Make a magic ring, chain 1, and do 4 sc.
- Round 2: Chain 1, work 1 sc followed by an increase twice, then slip stitch.
- Round 3: Chain 1, 1 sc, increase twice, then slip stitch.
- Cut the yarn, leaving a long tail for sewing.
- Sew the tail to the back of the body between rounds 13-15.
Tail Placement Guidance
- Position the tail slightly upward rather than flat for a more lively look
- Center it between rounds 13–15 so it balances the body visually
- Stitch firmly, especially at the base, so it doesn’t droop
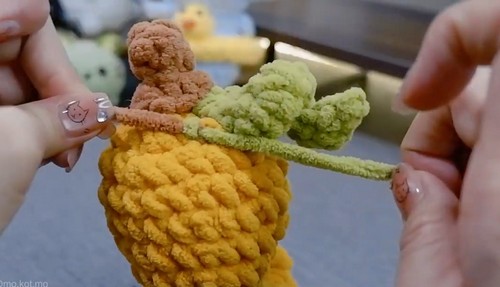
STEM (BROWN YARN)
- Round 1: Make a magic ring, chain 1, and work 4 sc.
- Round 2: Chain 1, work 1 sc into each stitch around.
- Round 3: Chain 1, work an increase in the front loop only 4 times.
- Cut the yarn, leaving a long tail for sewing.
- Sew the stem to the top middle of the head.
Stem Shaping Tip
- Working in the front loop only creates a slight flare at the top—this helps the stem look more natural and less cylindrical.
TENDRIL (GREEN YARN)
- Round 1: Make a slip knot and chain 10.
- Round 2: Do 2 slip stitches in the 2nd chain from the hook, then 1 sc, 1 half double crochet, and 1 sc in the same stitch.
- Repeat this 5 times.
- Slip stitch to the last chain, cut the yarn, and leave a long tail for sewing.
- Sew the tendril to the stem on top of the head.
Tendril Tip
The repeated stitches in one chain space cause the piece to curl naturally—this creates that spiral vine effect without extra shaping.
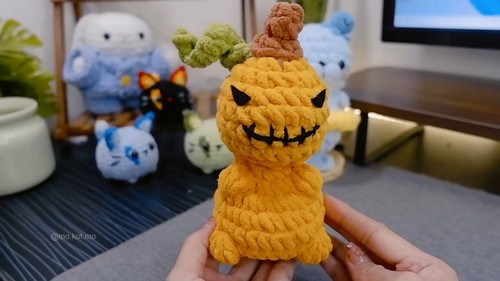
SPIKES (GREEN YARN)
- The video shows a crocheted strip with a wavy pattern attached to the back of the dinosaur.
- Attach the spikes evenly along the back, from the head to the tail, to complete the look.
Spike Placement Guidance
- Start near the stem and continue down to the tail
- Keep spacing consistent for symmetry
- Pin in place first before sewing to check alignment
FACE
- Use felt fabric to cut out eye shapes and glue them onto the body around round 4, with 4 stitches in between.
- Embroider the mouth on round 6, about 6 stitches wide.
Facial Feature Placement
- Eyes placed around round 4 keep the face centered and balanced
- Leaving 4 stitches between them avoids a crowded look
- A slightly curved embroidered mouth gives expression—adjust curve for personality
Stuffing Tips
- Stuff in layers as you go, especially before closing the top
- Focus on keeping the belly round and smooth
- Avoid overstuffing near decrease rounds to prevent stretching
Finishing Notes
- Secure all sewn parts tightly and weave in ends thoroughly
- Check symmetry from all angles before final knots
- Adjust bobble stitches if needed so they sit evenly
Beginner Notes
- Bobble stitches may feel bulky at first—slow down and keep loops even
- Use stitch markers to track rounds, especially when following video sections
- Don’t rush assembly—placement makes a big difference in the final look
Troubleshooting
- Body looks uneven: Check stitch counts and ensure increases are spaced correctly
- Bobbles not popping: Push them outward gently after each stitch
- Tail or spikes leaning: Reposition and secure with tighter stitches
Customization Ideas
- Change colors for a fantasy or pastel dinosaur
- Add blush or embroidery details for extra personality
- Adjust spike length or style for a different silhouette