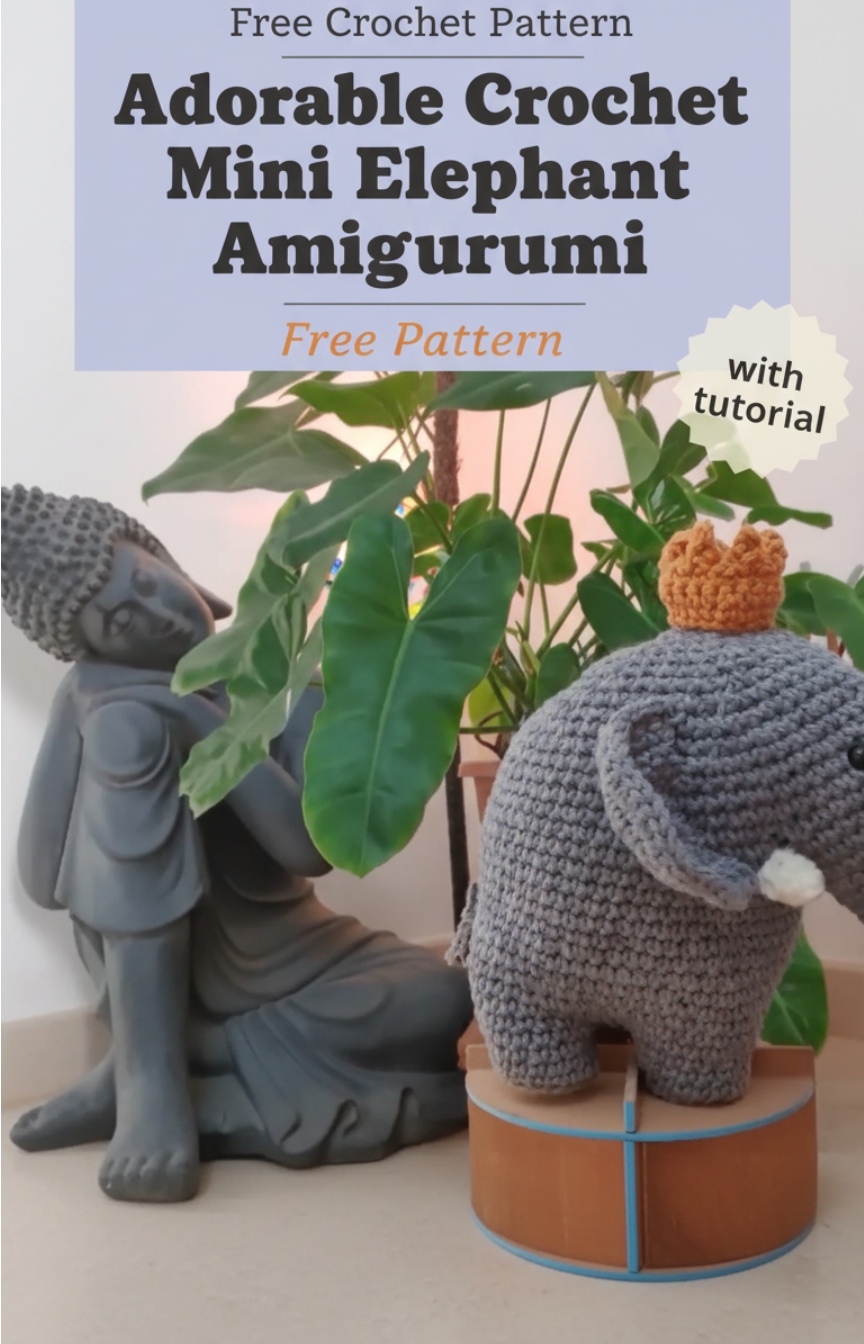
Adorable Crochet Mini Elephant Amigurumi Free Pattern You Will Love Making
This Crochet Amigurumi Elephant pattern is a charming and detailed project designed for anyone who loves making cute handmade toys. The pattern walks you through each part of the elephant in a clear and beginner-friendly way, from the long curved trunk to the sturdy legs and soft rounded body.
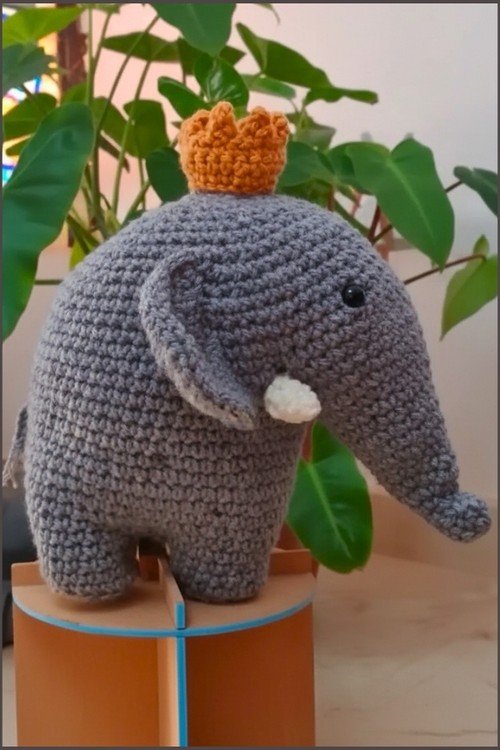
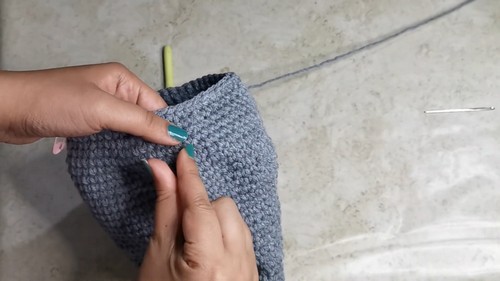
Crochet Elephant Amigurumi
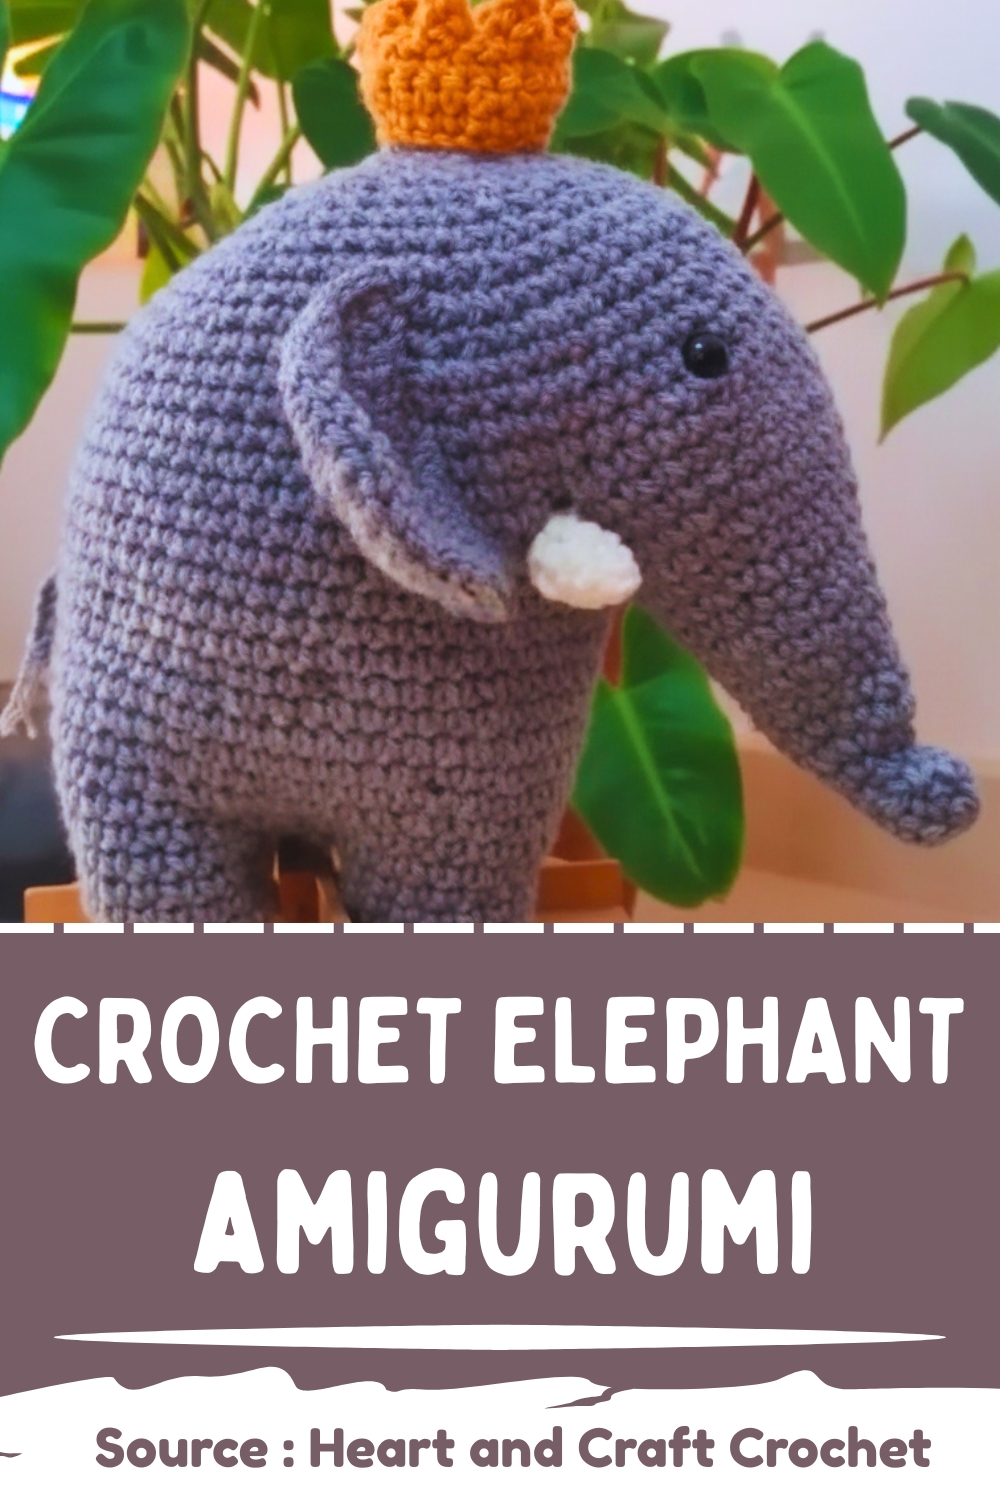
This crochet elephant is perfect as a nursery decoration, a thoughtful handmade gift, or a collectible amigurumi piece. You can easily customize the size, colors, or accessories like the crown and tusks to suit different themes or occasions, making this pattern both versatile and fun to crochet.
Trunk
- Start with a magic ring and make 6 single crochets
- Work 1 single crochet in each stitch for the next 3 rounds
- Increase in every stitch to reach 12 stitches
- Work even rounds with 12 stitches
- Increase using 1 single crochet and 1 increase around to reach 18 stitches
- Continue working even rounds with 18 stitches
- Increase using 2 single crochets and 1 increase around to reach 24 stitches
- Work one round evenly
- Increase using 3 single crochets and 1 increase around to reach 30 stitches
- Work one round evenly
- Increase using 4 single crochets and 1 increase around to reach 36 stitches
- Work one final round evenly and fasten off
Legs (Make 4)
- Start with a magic ring and make 6 single crochets
- Increase in every stitch to reach 12 stitches
- Increase using 1 single crochet and 1 increase around to reach 18 stitches
- Work one round in back loop only
- Work 3 more rounds evenly
- Cut yarn on the first three legs and leave yarn attached on the fourth leg
Body and Joining Legs
- Slip stitch the fourth leg to another leg
- Crochet around each leg, placing 14 single crochets per leg to form a full circle
- Use the remaining inner stitches to decrease and close the center gap
- Work 2 rounds evenly around the body
- Increase using 13 single crochets and 1 increase repeated 4 times
- Increase using 9 single crochets and 1 increase repeated 6 times
- Work 3 rounds evenly
- Decrease using 9 single crochets and an invisible decrease repeated 6 times
- Work 5 rounds evenly
Attaching the Trunk and Forming the Head
- Crochet 30 single crochets on the body
- Attach the trunk by crocheting through both the trunk and body stitches
- Continue crocheting around the trunk and body to form the head
- Gradually decrease each round until the head starts to close
- Insert safety eyes on each side of the trunk
- Continue decreasing until the head is fully closed
Ears (Make 2)
- Chain 2 and work 4 single crochets into the second chain from the hook
- Turn work and increase evenly each row
- Continue increasing until you reach 24 stitches
- Finish with a round of slip stitches along the edge
- Sew ears onto the head with a slight curl

Accessories
- For tusks, make a magic ring with 5 single crochets and work 2 more rows evenly, then sew beside the trunk
- For the crown, chain 22 and work 3 rows of single crochet, then add pointed details using chains and slip stitches
- For the tail, chain 5 and fray the end before attaching